Published on
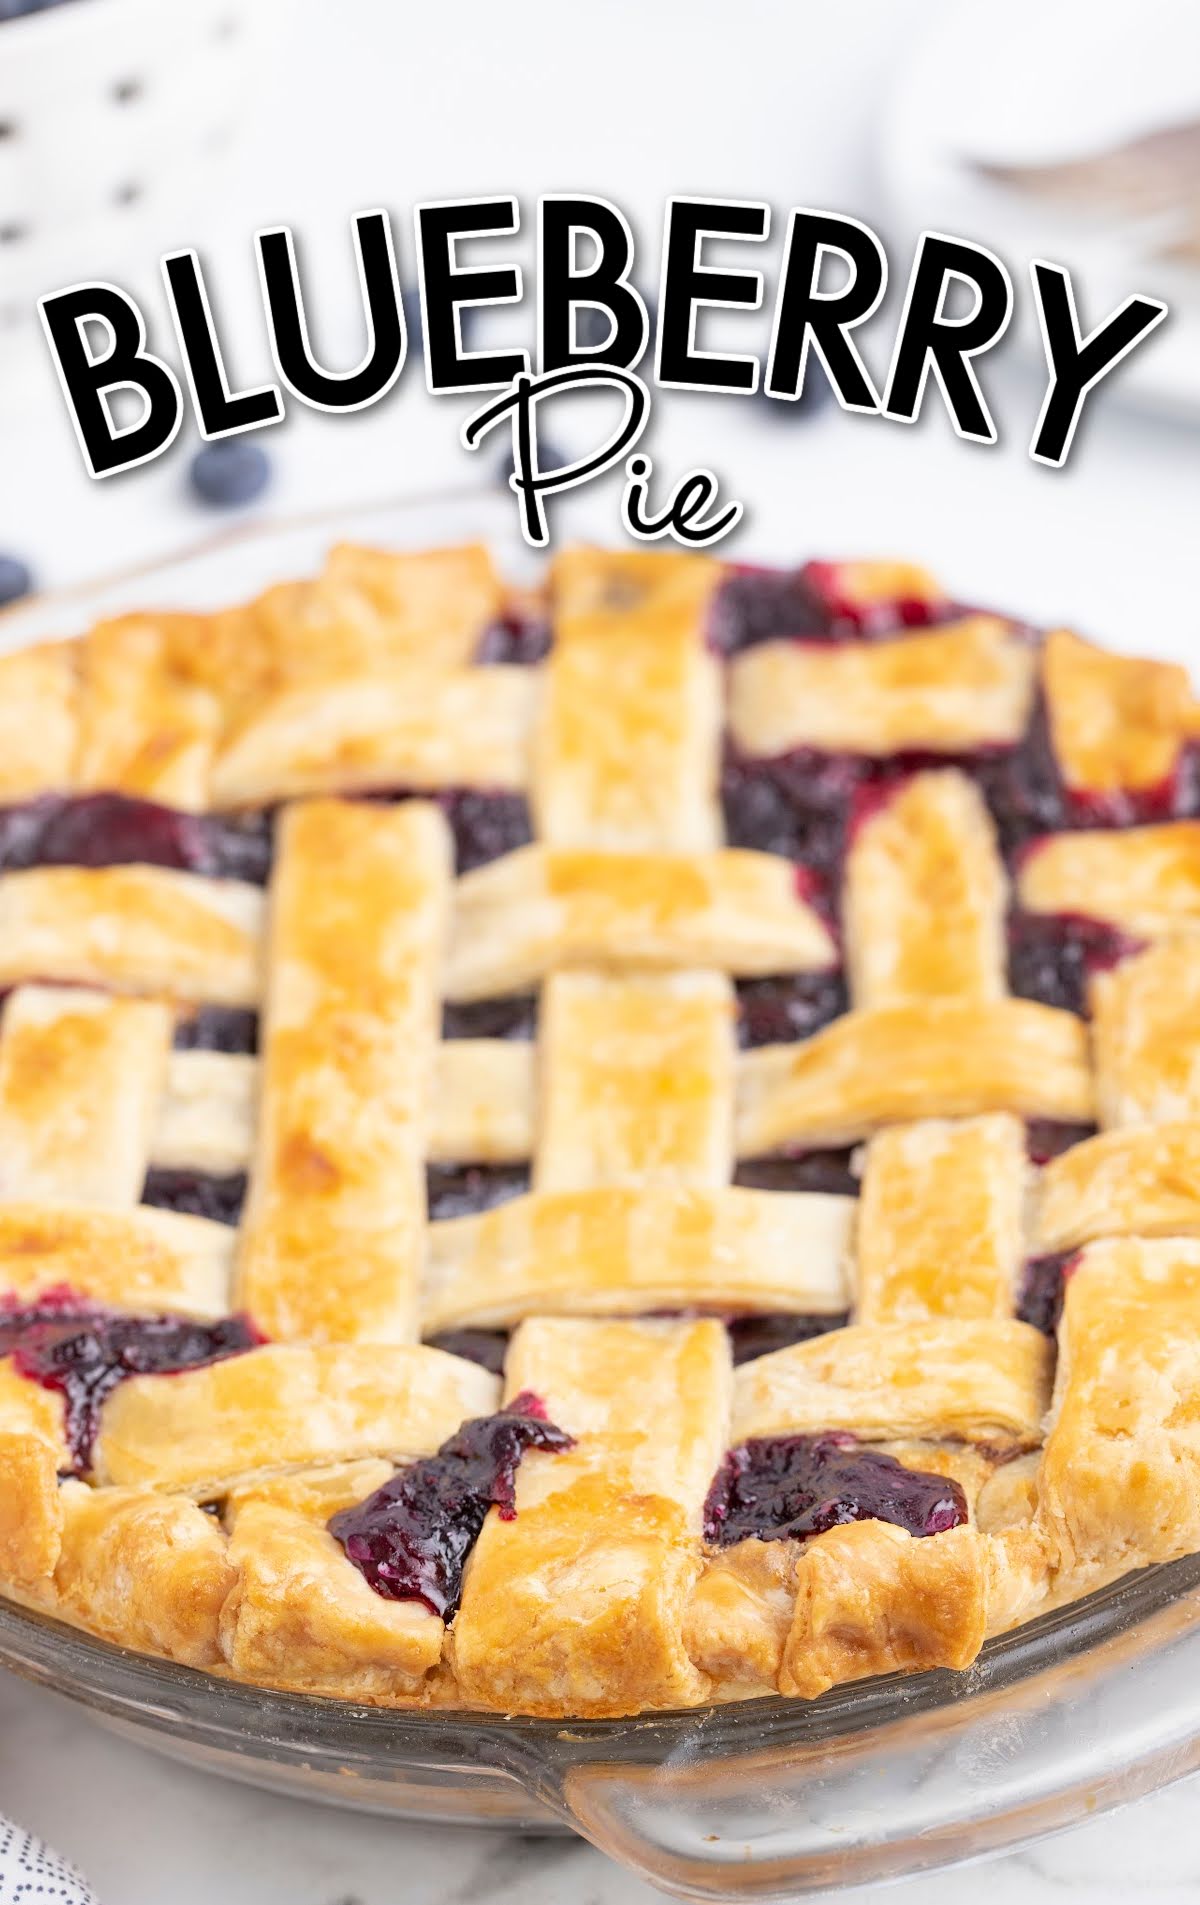
Blueberry Pie

Blueberry pie is an indulgent dessert full of sweet blueberry filling and a melt-in-your-mouth crust baked to bubbling perfection in the oven.
Jump to RecipeTable of Contents
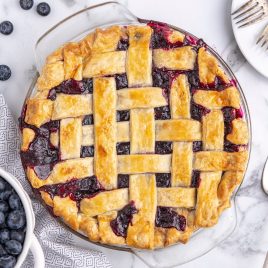
Blueberry pie is a classic and comforting dessert, featuring a bubbly filling topped with a pretty golden brown lattice pie crust. Fresh-baked homemade blueberry pie is packed with juicy blueberries and surrounded by a buttery, flaky crust. Full of rich flavor, this is simply the best blueberry pie to sink your teeth into.
Blueberry Pie Bars, Blueberry Delight, and Blueberry Cookies are three more indulgent recipes bursting with delicious blueberry flavor.
Blueberry Pie Ingredients
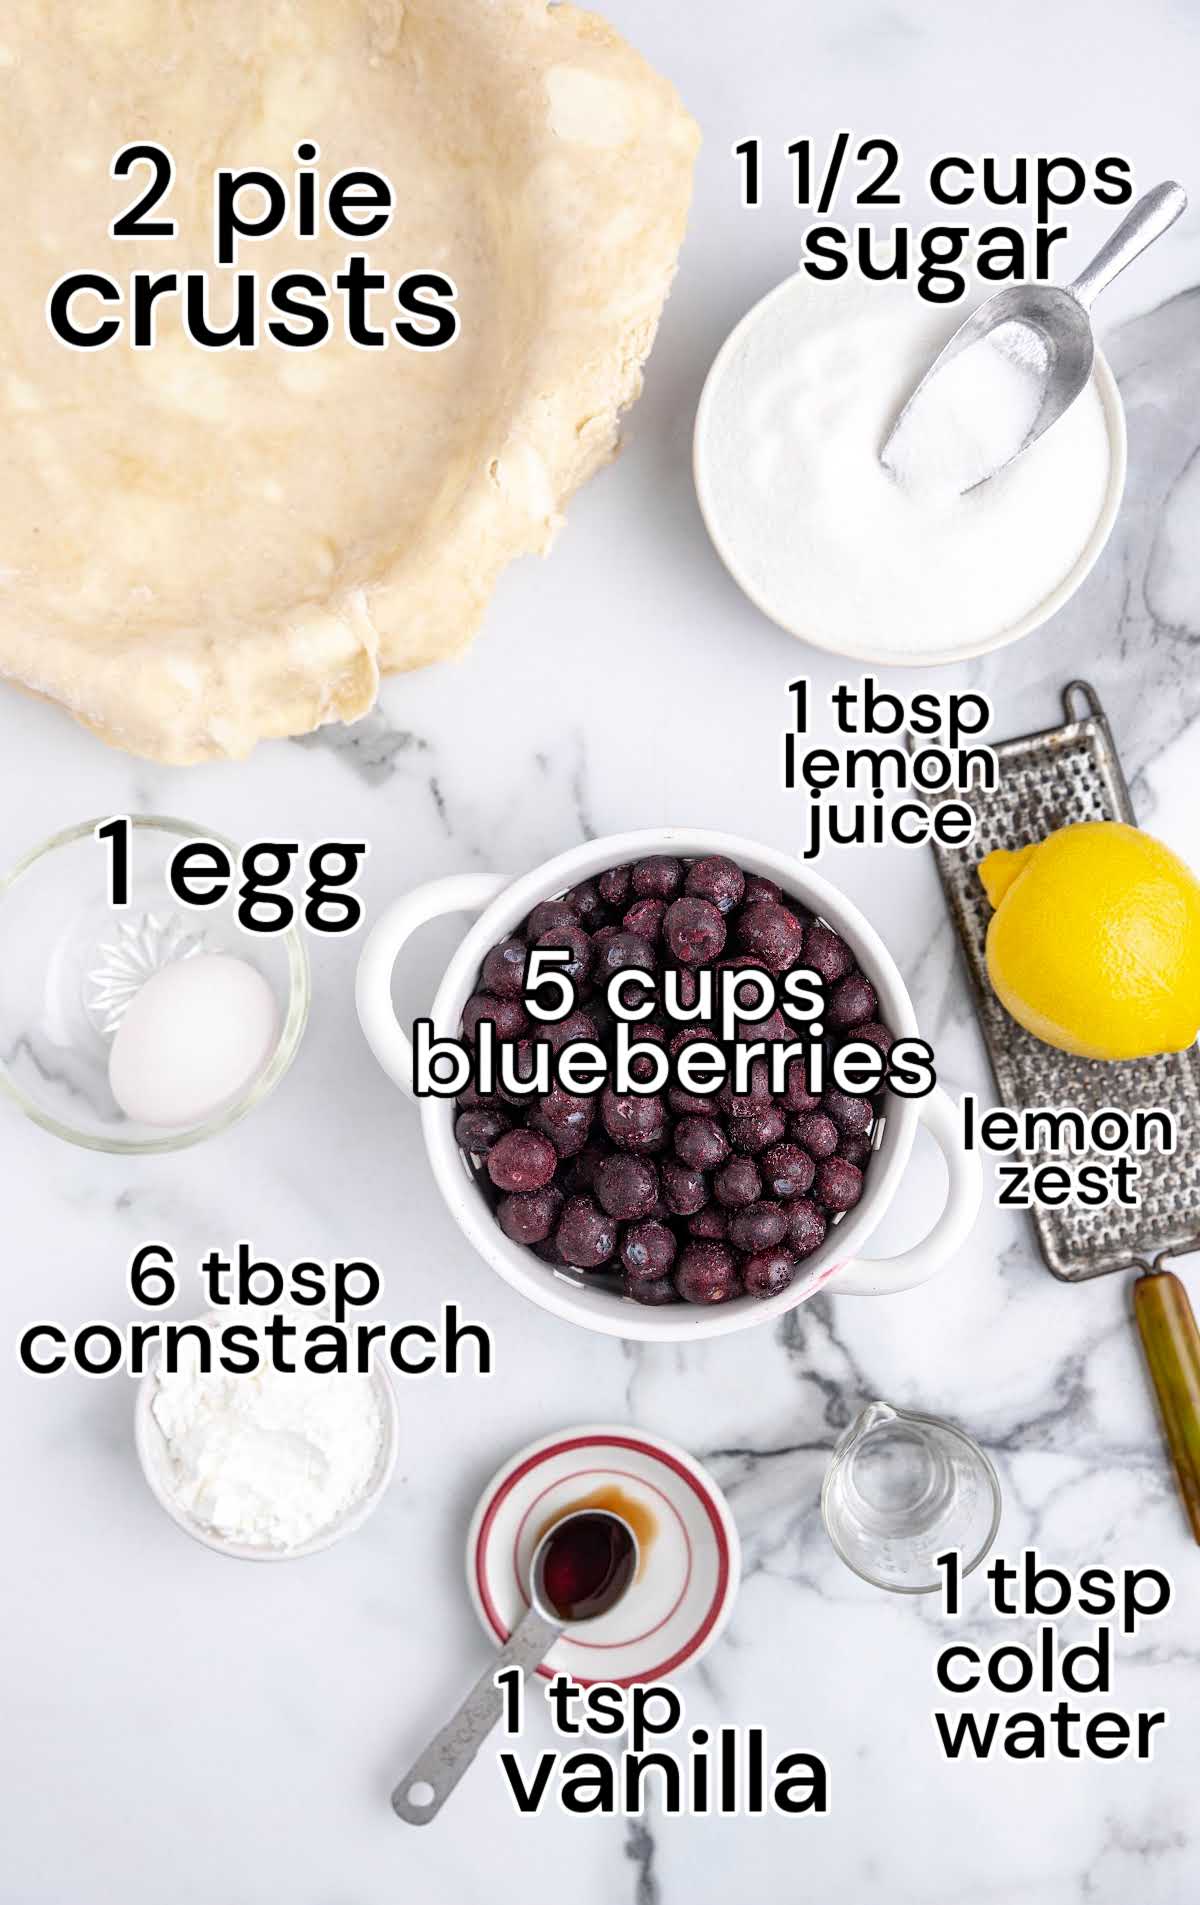
You will need:
Pie Crust
- 2 premade pie crust, either from the store or using our homemade pie crust recipe
Frozen Blueberry Filling
- 5 cups frozen blueberries, do not thaw the berries
- 1½ cups granulated sugar
- 6 tablespoons cornstarch
- 1 lemon zest
- 1 tablespoon lemon juice, from the zested lemon
- 1 teaspoon vanilla extract
Egg Wash
- 1 large whole egg
- 1 tablespoon cold water
Substitutions and Additions
FRESH VS. FROZEN: You can also use fresh blueberries in place of the frozen blueberries in this recipe.
CANNED PIE FILLING: You can make this pie using a canned blueberry filling. Check out the recipe card below for specific instructions.
How to Make Blueberry Pie
STEP ONE: Preheat the oven to 350°F.
STEP TWO: Lightly spray a 9-inch deep dish pie plate with nonstick spray and set it aside.
STEP THREE: If you are using a premade pie crust, center the pie crust in the pie plate.
Frozen Blueberry Filling
STEP FOUR: Add the frozen berries to a heavy bottom 4 to 5-quart saucepan.
STEP FIVE: Stir in the cornstarch, sugar, lemon zest, lemon juice, and vanilla extract. Stir well to coat the frozen berries.

STEP SIX: Cook the berry mixture on medium to medium-high heat, stirring well until the berries start to “melt” and the sugar starts to dissolve. Cook for 20 minutes or until the filling becomes thick.
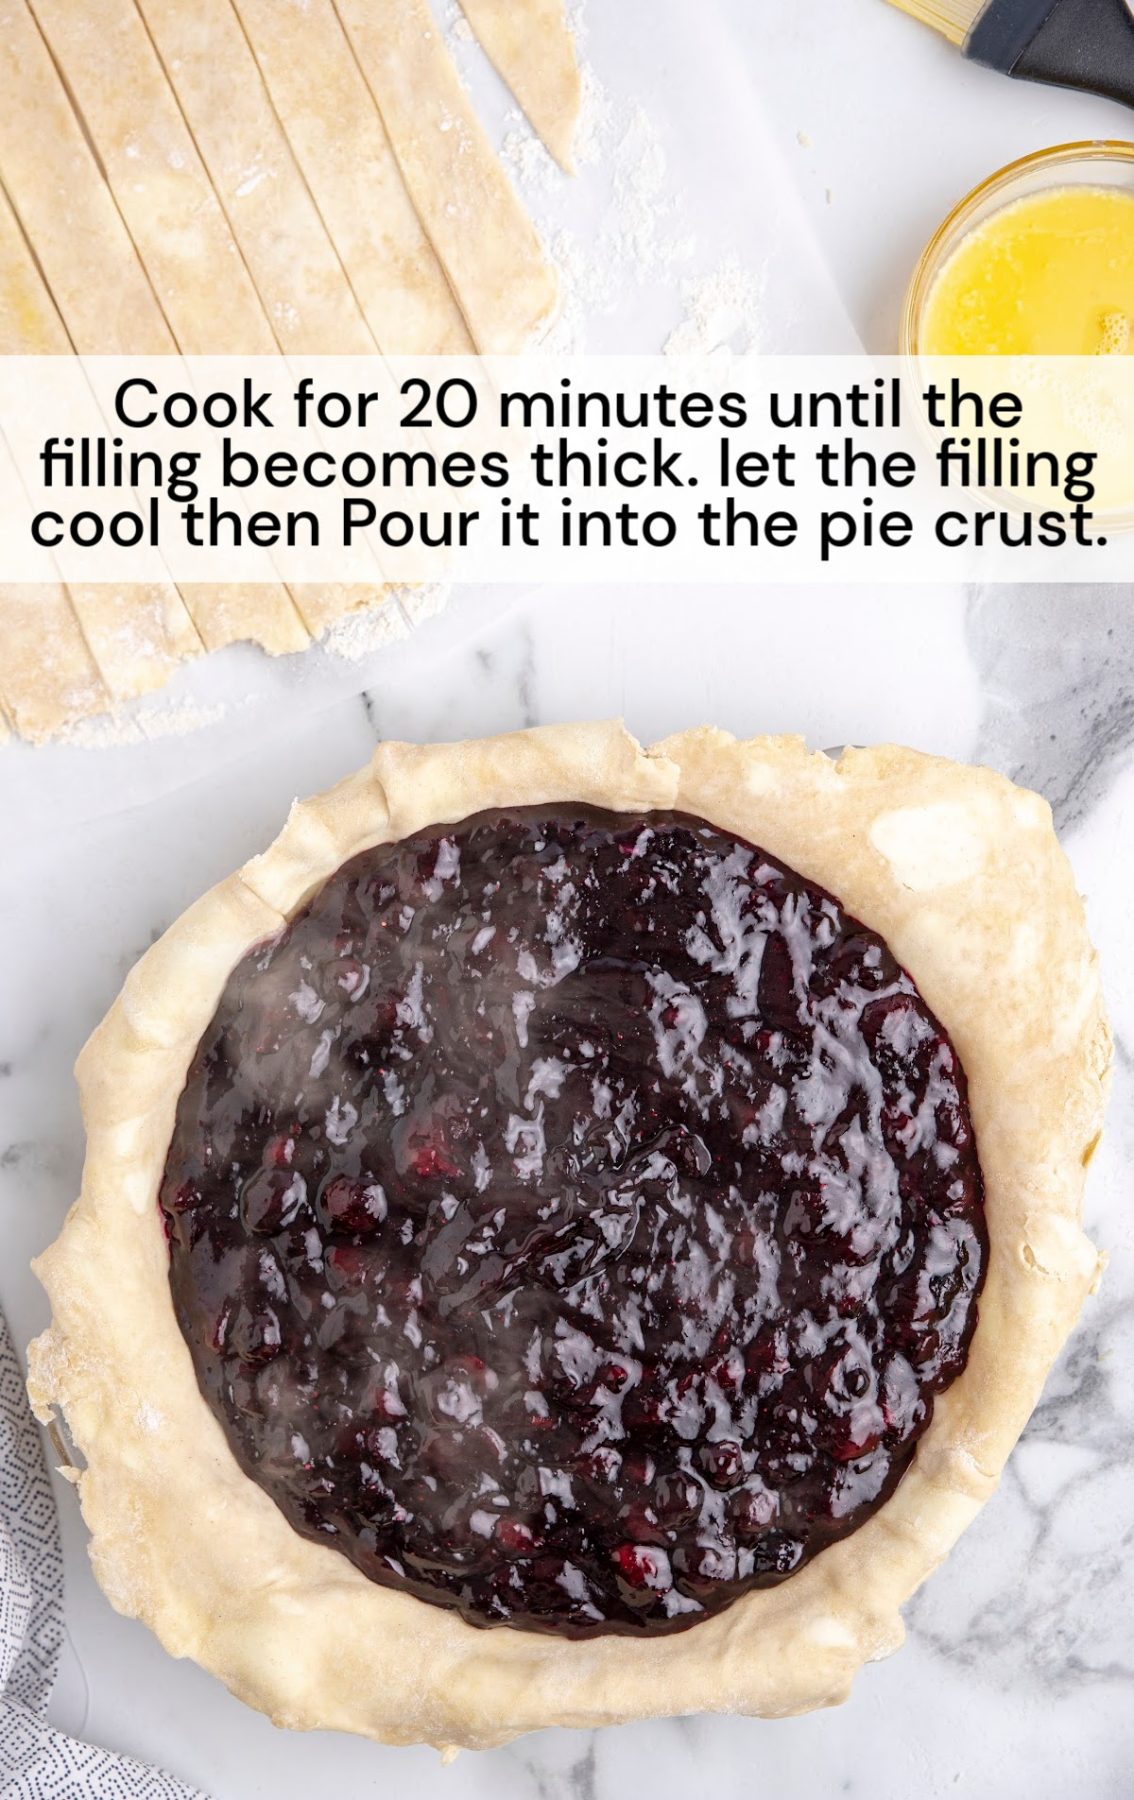
STEP SEVEN: You need to let the filling cool a bit before pouring it into the pie crust and doing the lattice. The hot filling will melt the buttery pie crust.
STEP EIGHT: Pour the pie filling into the pie crust.
PRO TIP: You need to let the filling cool a bit before pouring it into the pie crust and doing the lattice. The hot filling will melt the buttery pie crust.
Lattice Top
STEP NINE: Lightly flour the surface you will be using. Roll out the pie crust with a rolling pin to a 10 to 12-inch circle.
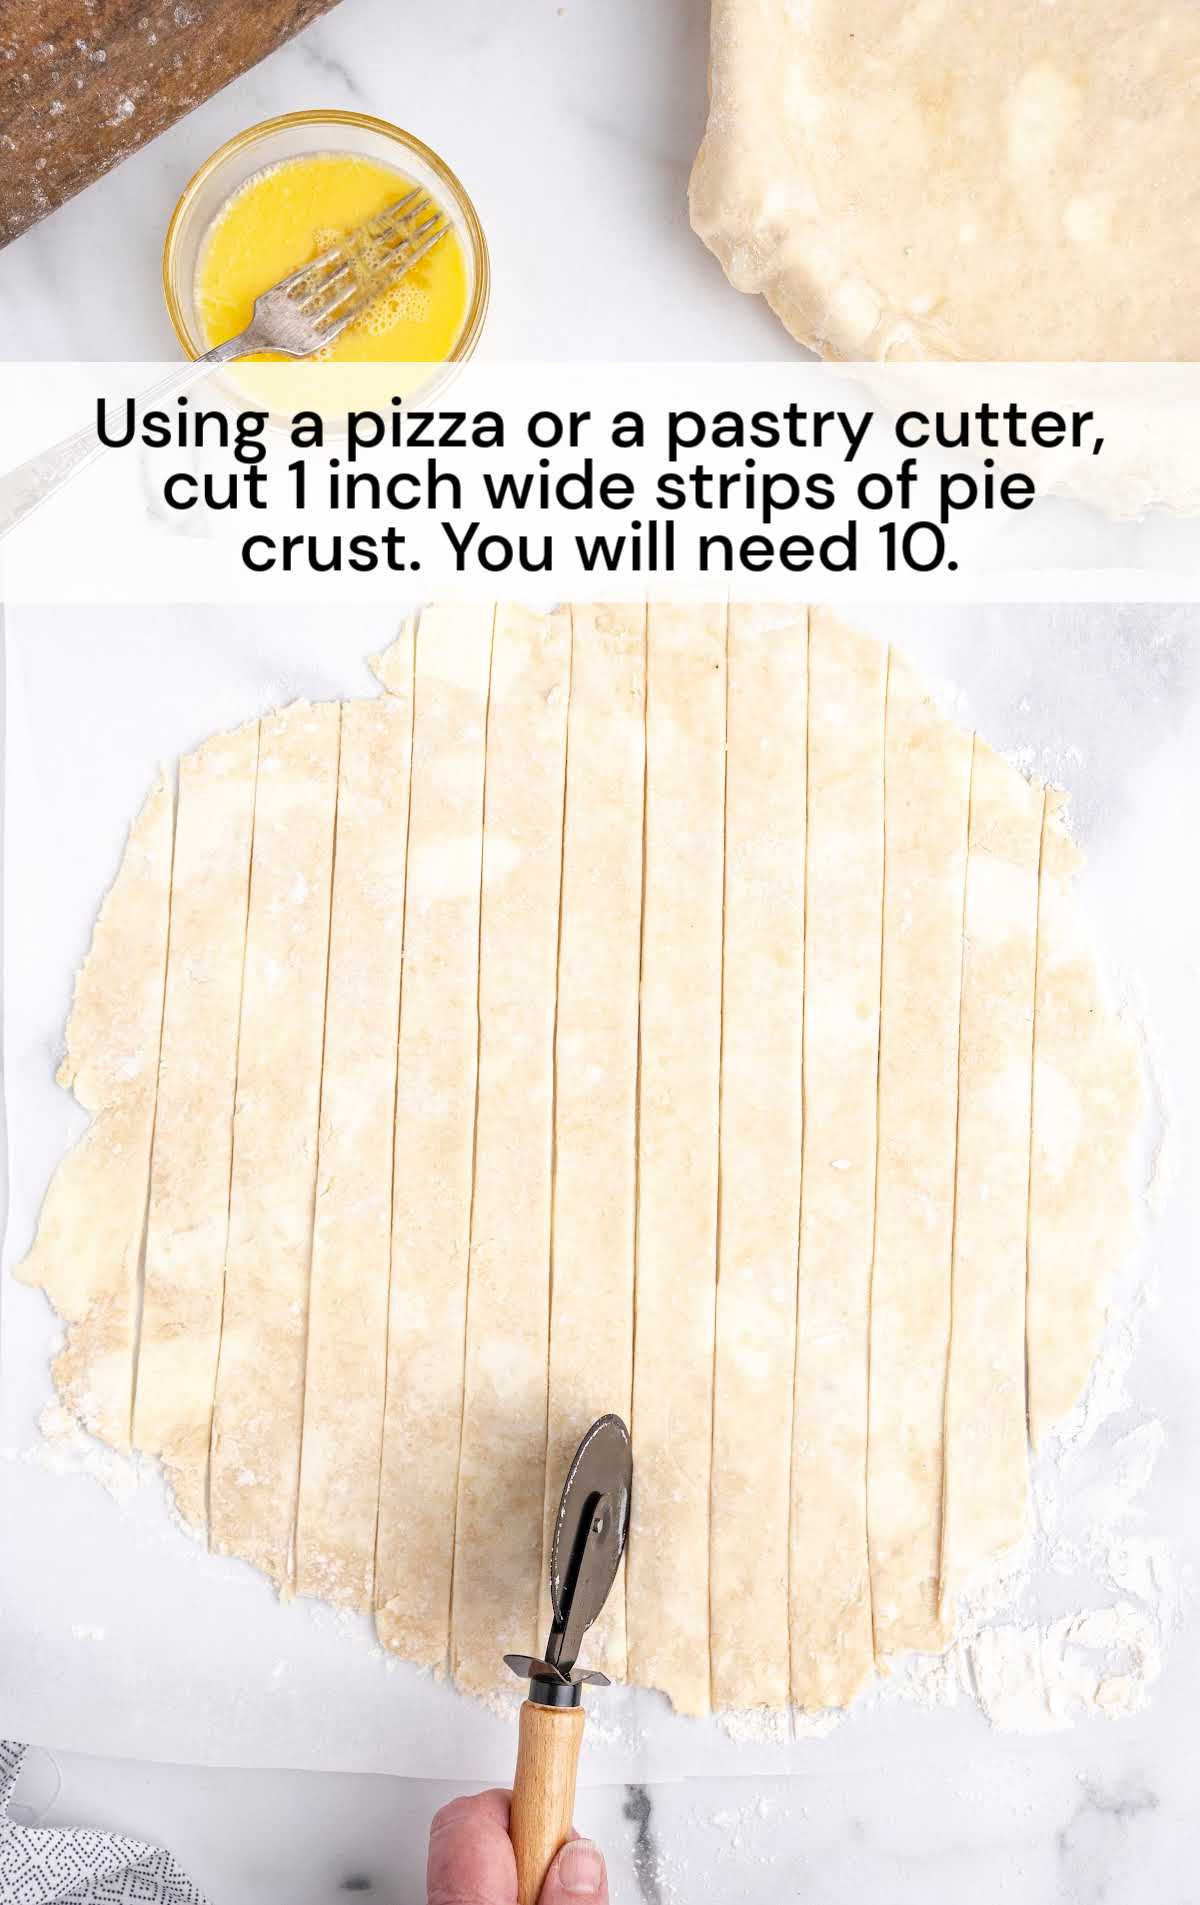
STEP TEN: Using a pizza or a pastry cutter, cut 1-inch wide strips. You will need 10 of the strips, 5 each for the vertical and horizontal strips.
PRO TIP: You can do 12 strips of dough for the top lattice for a smaller, tighter top.
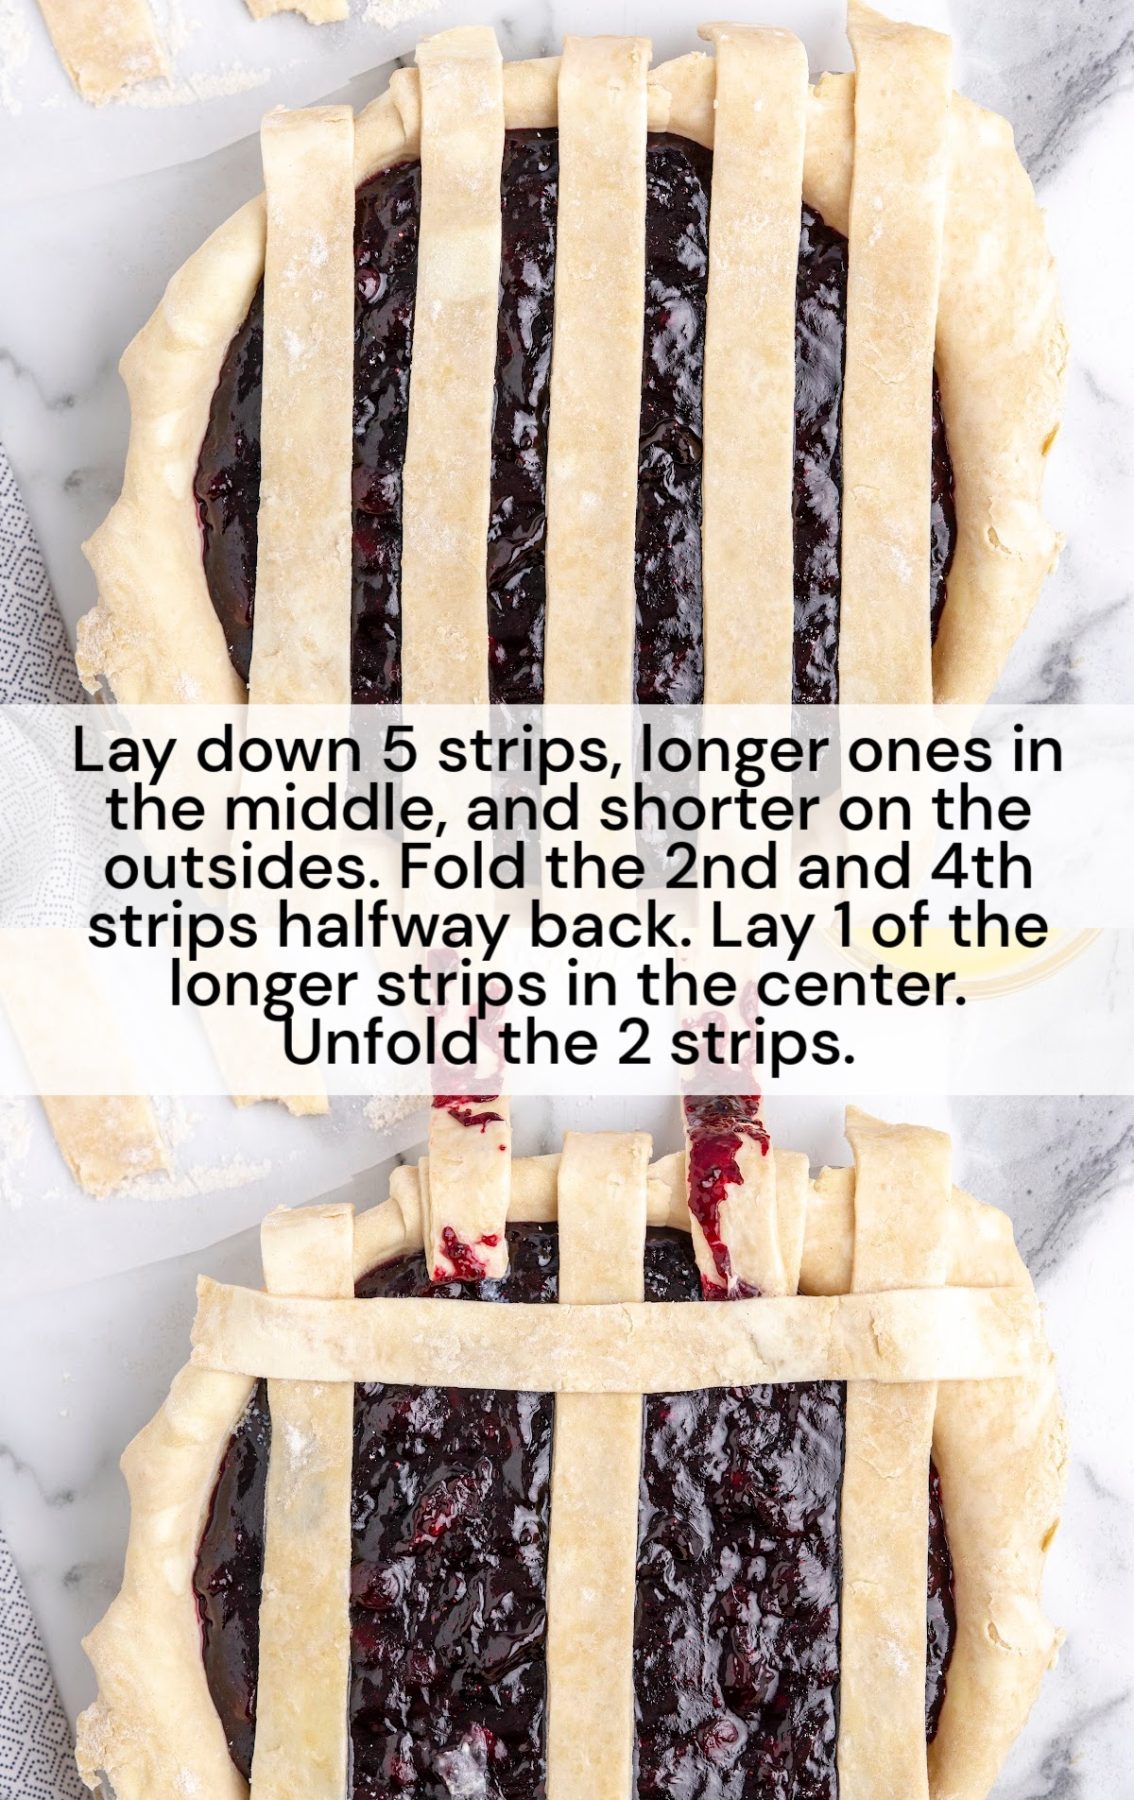
STEP ELEVEN: Starting at the center of the pie, lay down one of the longest strips and place the shorter strips closer to the edges.
STEP TWELVE: Fold the second and fourth strips halfway back. Lay 1 of the longer strips in the center. Unfold the 2 strips.
STEP THIRTEEN: Fold back the first, third, and fifth strips back in the same direction as the second and fourth strips. Lay another strip and unfold the strips like the previous strips.
STEP FOURTEEN: Fold the second and fourth strips for the final strip of dough on this side. Unfold the second and fourth strips. Turn the pie around and repeat the previous weave of pie strips.
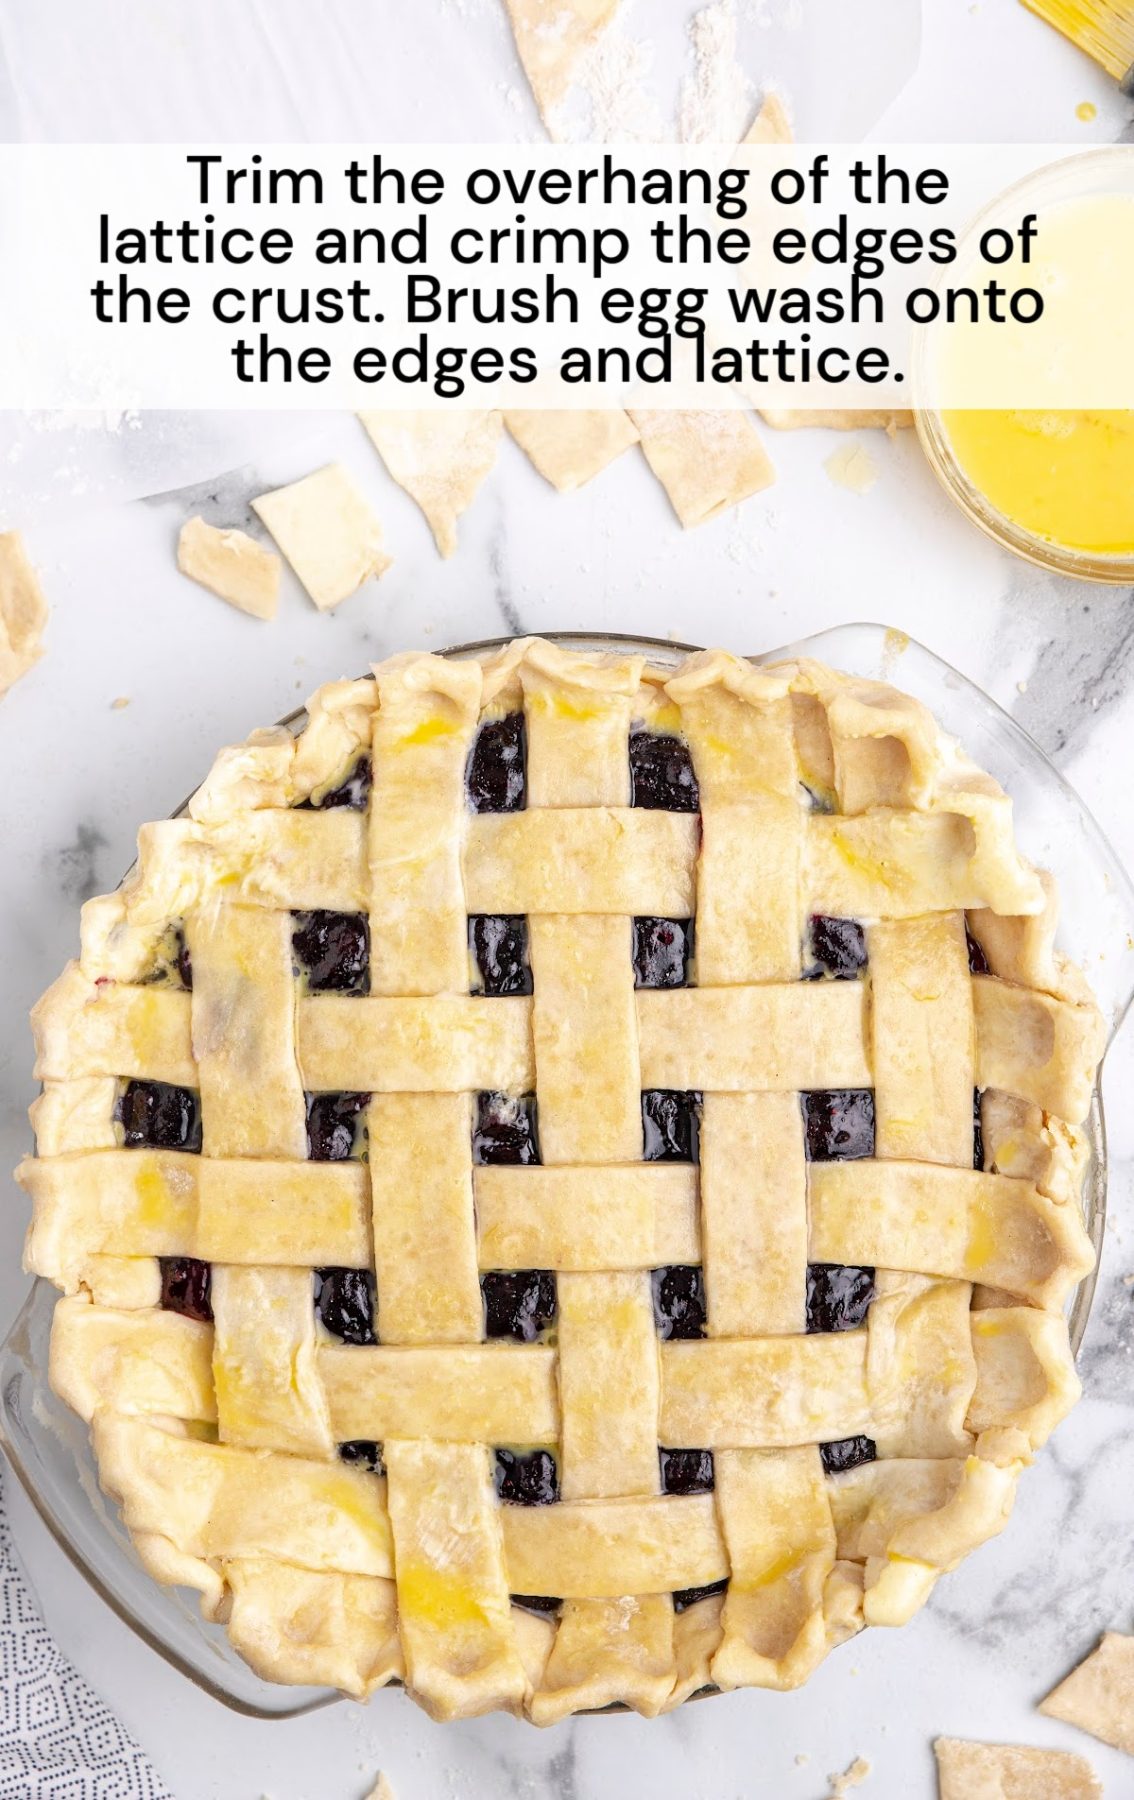
STEP FIFTEEN: Once the lattice is woven, trim the overhanging dough about a ½ inch all the way around.
STEP SIXTEEN: Roll the edges of the overhang, slightly pinching the dough together as you roll to help seal the lattice and bottom crust.

STEP SEVENTEEN: Using your index finger and thumb on one hand and the thumb or index finger of the other hand, begin to crimp the edges for a nice finishing touch.
STEP EIGHTEEN: In a small mixing bowl, whisk together the large egg and cold water until completely combined.
STEP NINETEEN: Brush the egg wash onto the edges and all over the lattice top with a pastry brush.
PRO TIP: You can also garnish the top of the pie with 1 teaspoon of granulated sugar.
STEP TWENTY: Place the pie on a cookie sheet lined with foil for easy cleanup in case the pie bubbles over while baking.
STEP TWENTY-ONE: Bake for 1 hour to 1 hour 15 minutes, or until the top and bottom crust are golden.
PRO TIP: Oven temperatures vary and may need to be recalibrated periodically to ensure they are accurate. Make sure to check your pie at the lower end of the recommended baking time.
How to Serve Blueberry Pie
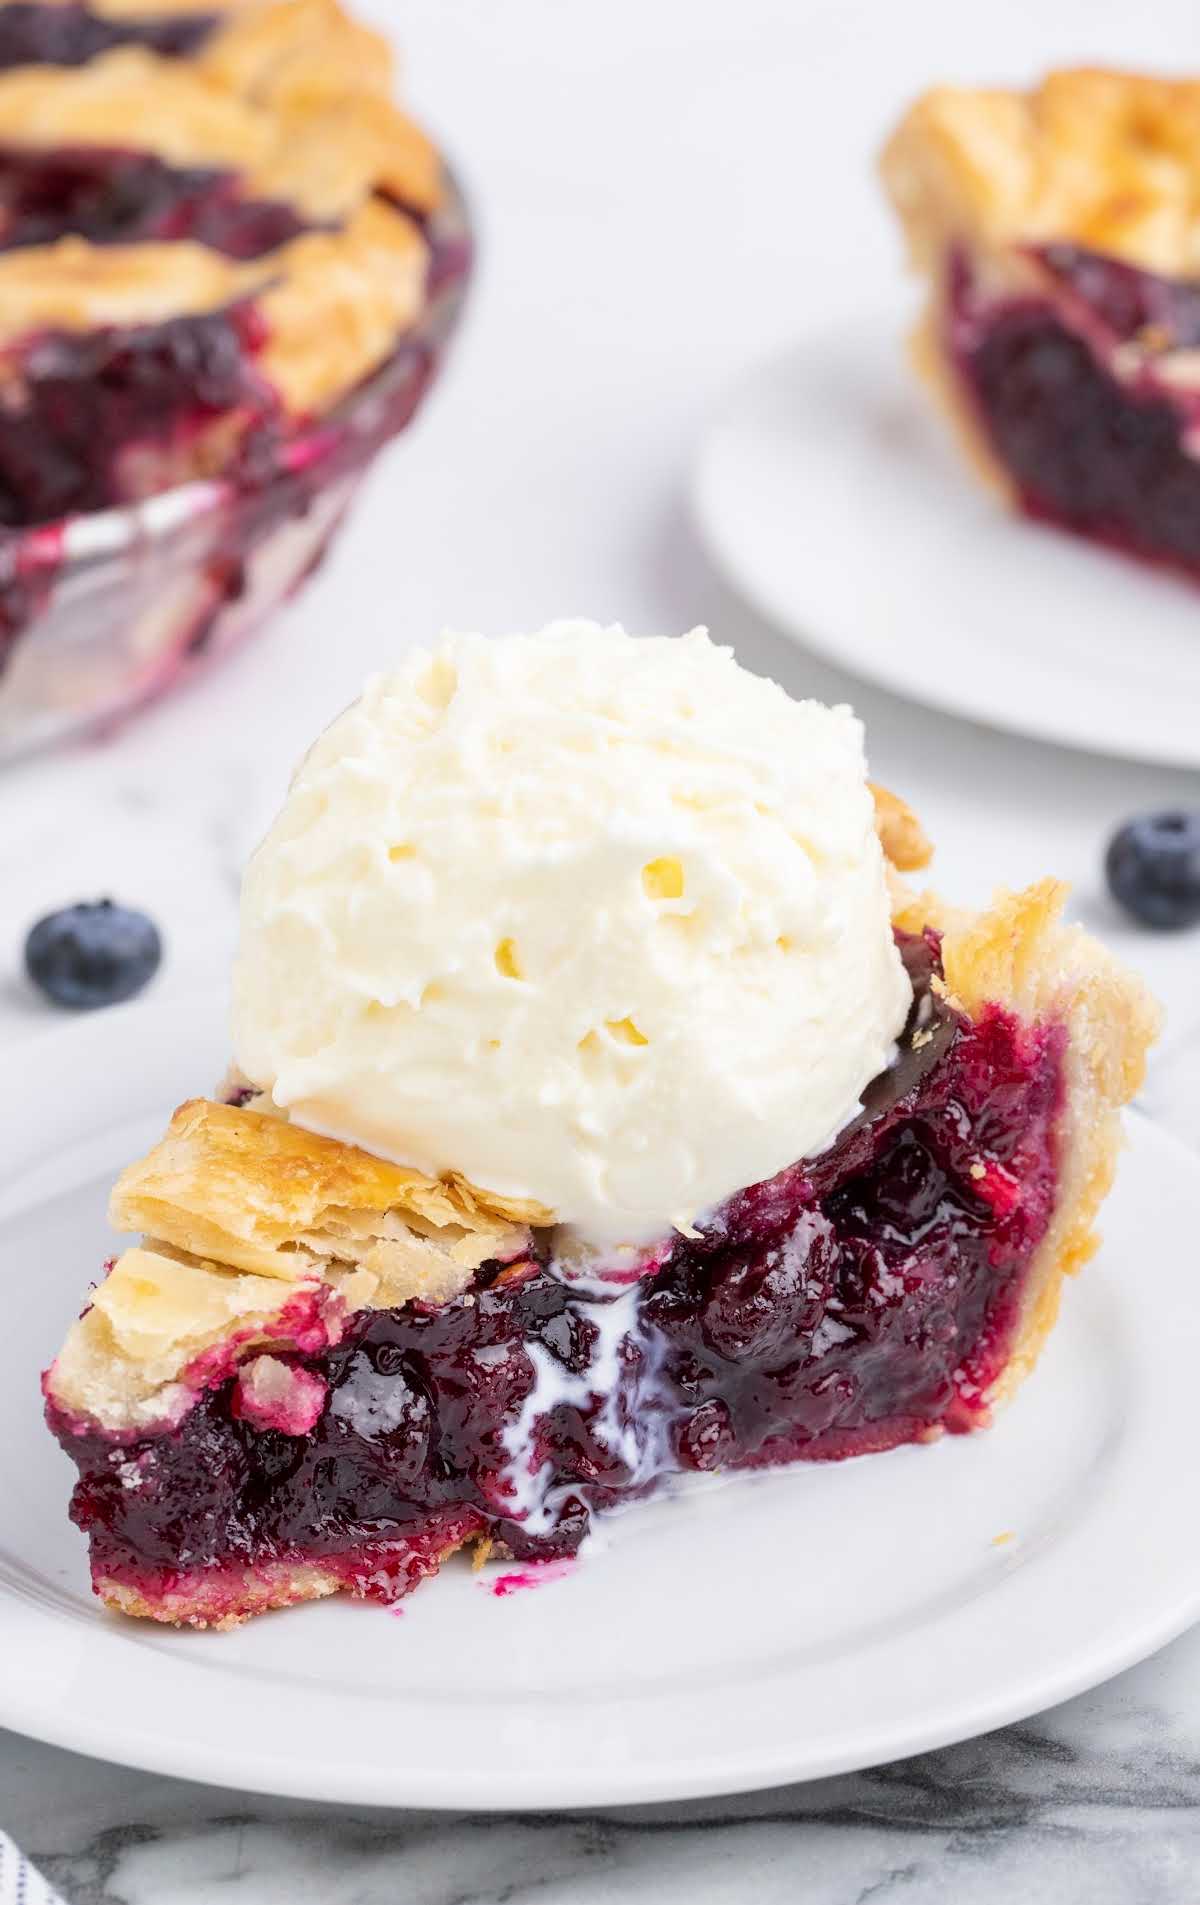
A warm slice of blueberry pie topped with a scoop of ice cream can’t be beat. Serve a slice of this easy homemade pie with a scoop of vanilla ice cream and a dollop of whipped cream on top. Pair your pie with an ice-cold vanilla latte or a glass of iced tea.
Storage
ON THE COUNTER: This classic blueberry pie recipe can be kept at room temperature, tightly covered, for up to 3 days.
IN THE FRIDGE: You can also store the pie in the refrigerator, tightly covered, for up to 5 days.
IN THE FREEZER: You can freeze the pie for up to 3 months covered in plastic wrap or a piece of aluminum foil. Allow the pie to come to room temperature before serving.
Blueberry pie is an old-fashioned dessert, full of sweet blueberry filling and a melt-in-your-mouth crust baked to bubbling perfection. Full of rich flavor, you can’t go wrong with a warm slice of blueberry pie. Get ready for the ultimate blueberry pie experience.
FREQUENTLY ASKED QUESTIONS
Can I substitute fresh blueberries?
You can substitute fresh berries for the frozen ones in this recipe.
Do I have to make my own pie crust for this recipe?
For this recipe, you can either choose store-bought pie crust or make your favorite homemade crust.
Can I freeze blueberry pie?
You can freeze this easy blueberry pie for up to 3 months.
MORE RECIPES YOU’LL LOVE
- Blueberry Cheesecake Cookies
- Blueberry Angel Food Cake
- Blueberry Cheesecake Tacos
- Blueberry Hand Pies
Blueberry Pie
Blueberry pie is an indulgent dessert full of sweet blueberry filling and a melt-in-your-mouth crust baked to bubbling perfection in the oven.
Ingredients
Pie Crust
- 2 premade pie crust either from the store or using our homemade pie crust recipe
- Frozen Blueberry Filling
- 5 cups frozen blueberries do not thaw the berries
- 1½ cups granulated sugar
- 6 tablespoons cornstarch
- 1 lemon zest
- 1 tablespoon lemon juice from the zested lemon
- 1 teaspoon vanilla extract
Egg Wash
- 1 large whole egg
- 1 tablespoon cold water
Instructions
- Preheat the oven to 350°F.
- Lightly spray a 9-inch deep dish pie plate with nonstick spray and set it aside.
- If you are using a premade pie crust, center the pie crust in the pie plate.
Frozen Blueberry Filling
- Add the frozen berries to a heavy bottom 4 to 5-quart saucepan.
- Stir in the cornstarch, sugar, lemon zest, lemon juice, and vanilla extract. Stir well to coat the frozen berries.
- Cook the berry mixture on medium to medium-high heat, stirring well until the berries start to “melt” and the sugar starts to dissolve. Cook for 20 minutes or until the filling becomes thick.
- You need to let the filling cool a bit before pouring it into the pie crust and doing the lattice. The hot filling will melt the buttery pie crust.
- Pour the pie filling into the pie crust.
Lattice Top
- Lightly flour the surface you will be using. Roll out the pie crust with a rolling pin to a 10 to 12-inch circle.
- Using a pizza or a pastry cutter, cut 1-inch wide strips. You will need 10 of the strips, 5 each for the vertical and horizontal strips.
- Starting at the center of the pie, lay down one of the longest strips and place the shorter strips closer to the edges.
- Fold the second and fourth strips halfway back. Lay 1 of the longer strips in the center. Unfold the 2 strips.
- Fold back the first, third, and fifth strips back in the same direction as the second and fourth strips. Lay another strip and unfold the strips like the previous strips.
- Fold the second and fourth strips for the final strip of dough on this side. Unfold the second and fourth strips. Turn the pie around and repeat the previous weave of pie strips.
- Once the lattice is woven, trim the overhanging dough about a ½ inch all the way around.
- Roll the edges of the overhang, slightly pinching the dough together as you roll to help seal the lattice and bottom crust.
- Using your index finger and thumb on one hand and the thumb or index finger of the other hand, begin to crimp the edges for a nice finishing touch.
- In a small mixing bowl, whisk together the large egg and cold water until completely combined.
- Brush the egg wash onto the edges and all over the lattice top with a pastry brush.
- Place the pie on a cookie sheet lined with foil for easy cleanup in case the pie bubbles over while baking.
- Bake for 1 hour to 1 hour 15 minutes, or until the top and bottom crust are golden.
Notes
You can make this pie using canned blueberry filling using the following ingredients and directions:
Canned Blueberry Pie Filling Ingredients
Canned Blueberry Pie Filling Ingredients
- 2 (21-ounce) cans of blueberry pie filling
- 1 teaspoon lemon juice
- ½ teaspoon vanilla extract
- Using a medium-sized mixing bowl, add the 2 cans of blueberry pie filling into a bowl.
- Stir in the lemon juice and the vanilla. Continue stirring until all ingredients are combined.
- Spoon the filling into the pie crust.
- Proceed with the lattice instructions above. Bake time is the same.
- You need to let the filling cool a bit before pouring it into the pie crust and doing the lattice. The hot filling will melt the buttery pie crust.
- You can do 12 strips of dough for the top lattice for a smaller, tighter top.
- You can also garnish the top of the pie with 1 teaspoon of granulated sugar.
- Oven temperatures vary and may need to be recalibrated periodically to ensure they are accurate. Make sure to check your pie at the lower end of the recommended baking time.


Leave a Comment