Published on
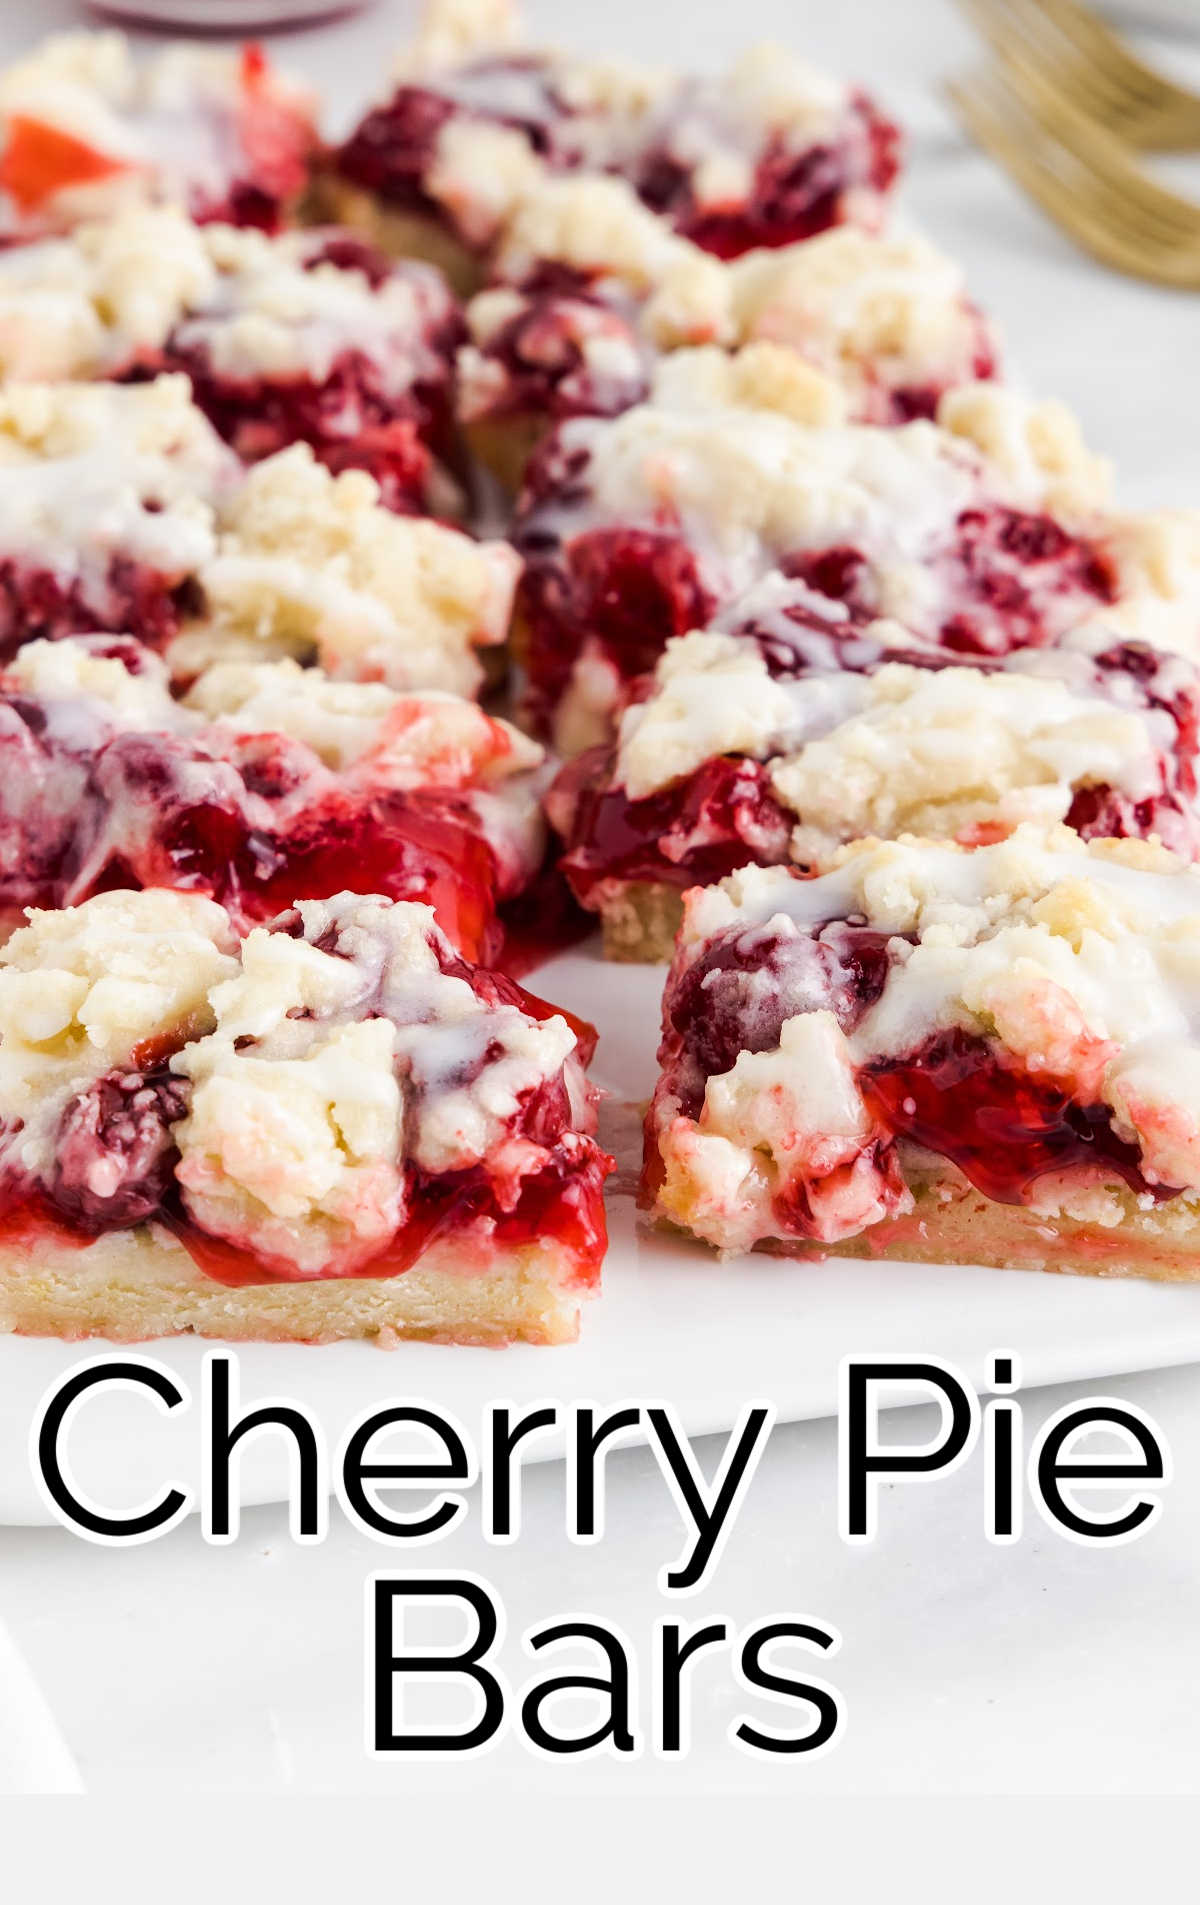
Cherry Pie Bars

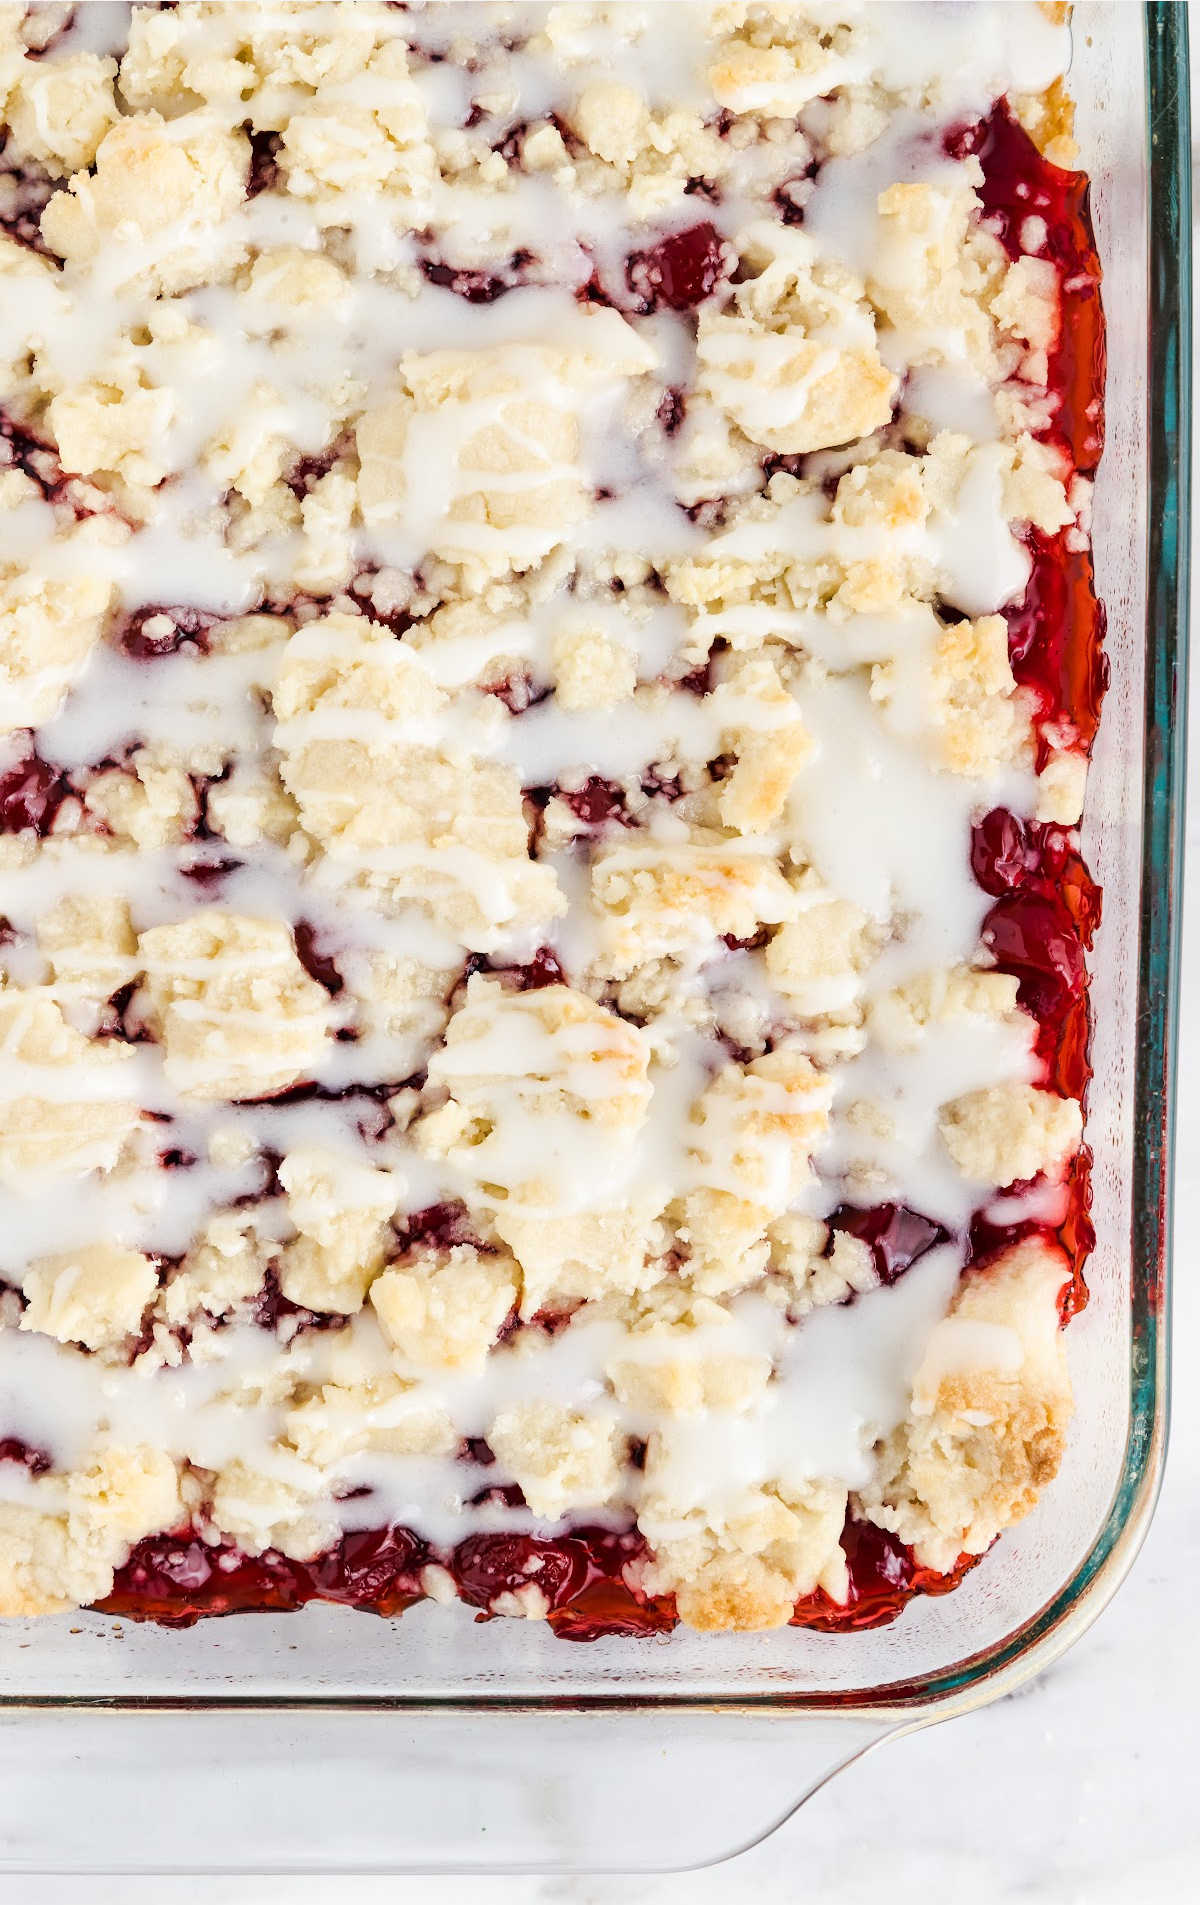
Cherry pie bars are easier to make than a classic cherry pie, and taste just as sweet with a vanilla cake crust, cherry pie filling, and crumble topping.
Jump to RecipeTable of Contents
Cherry pie bars are soft, chewy, and packed with juicy cherries. These heavenly dessert bars feature a sweet vanilla cake crust, tart cherry pie filling, and crumble topping. A dream come true, this homemade dessert is easy to make and slices up beautifully to serve friends and family.
If you love cherry desserts you’ll want to make cherry cupcakes, cherry danish, and cherry cheesecake cookies.
Cherry Pie Bars Ingredients
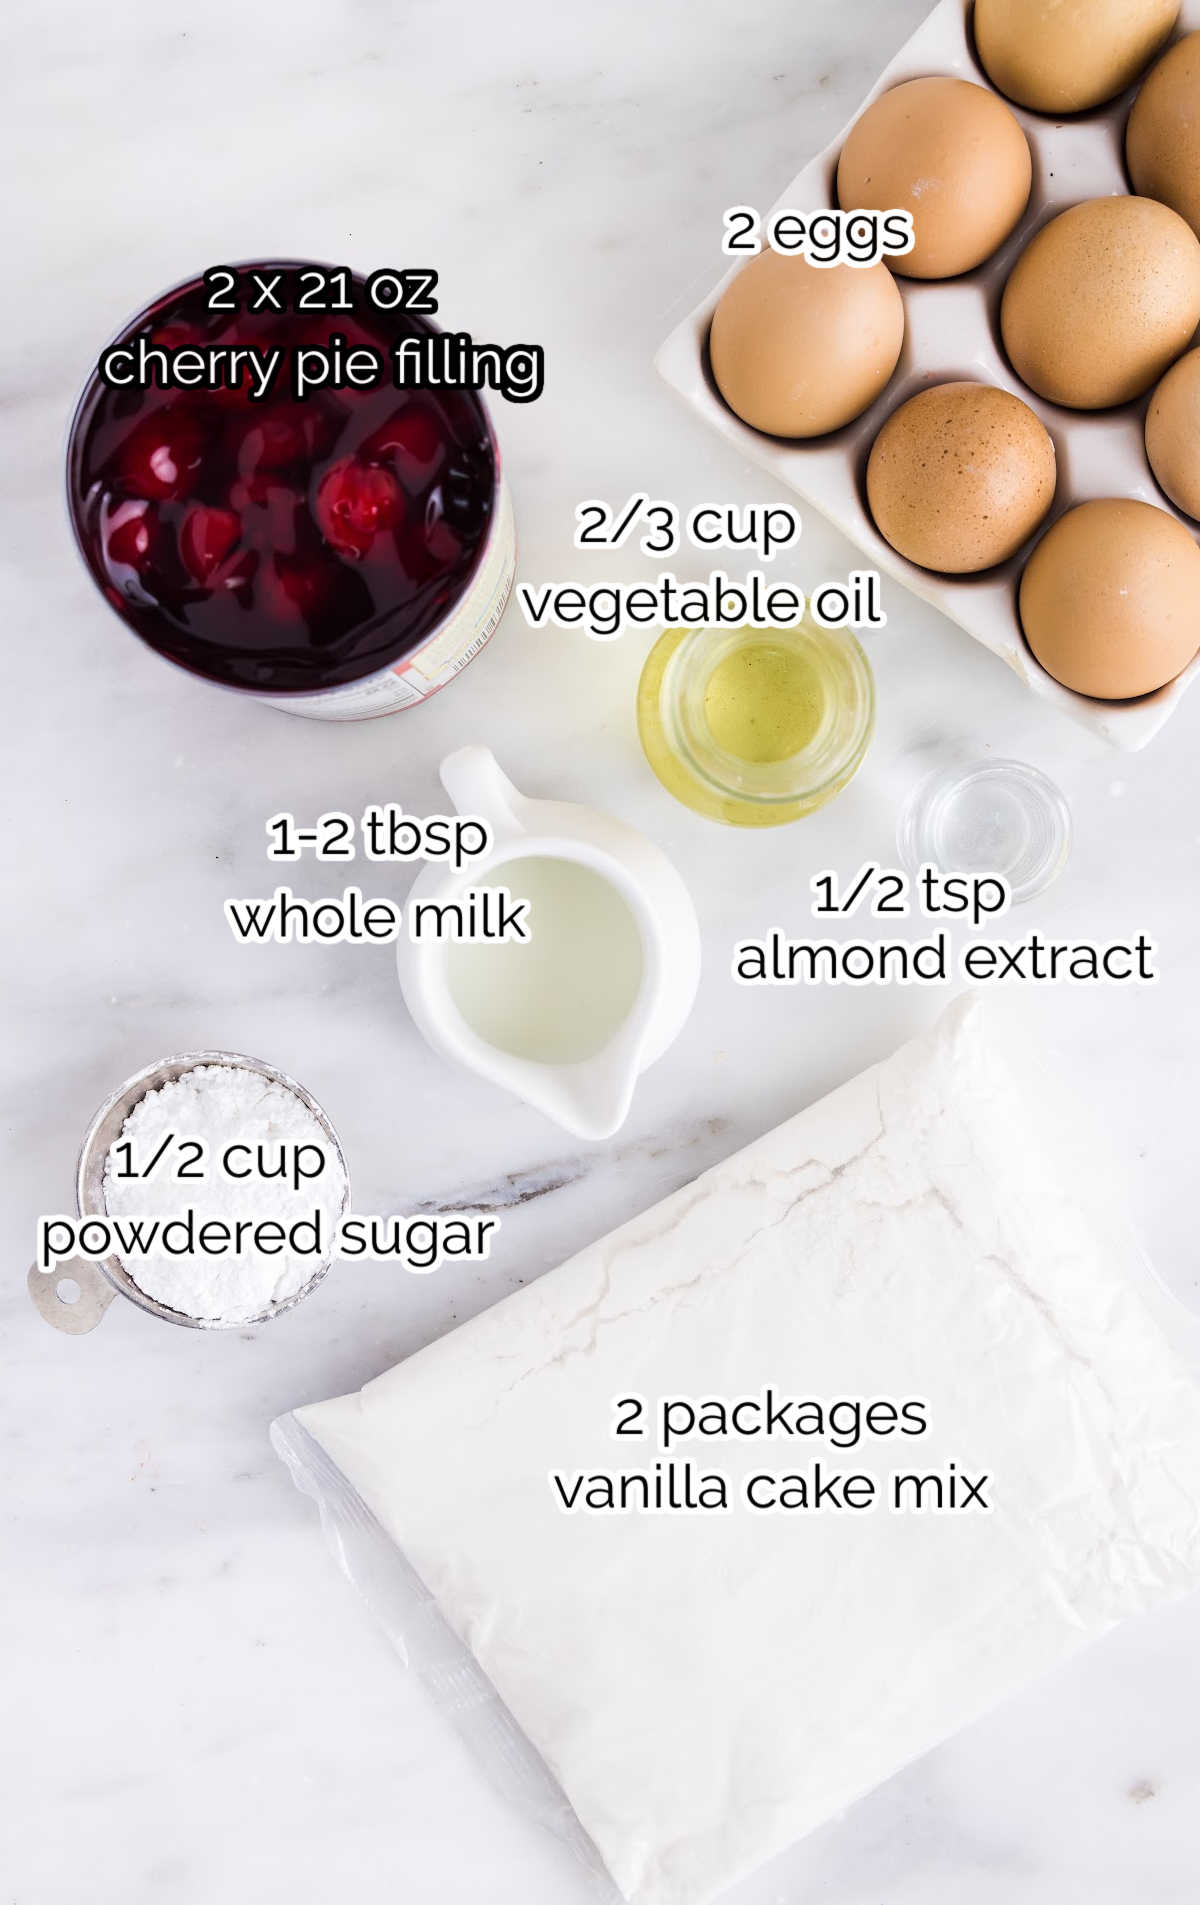
You will need:
- 2 packages vanilla cake mix
- 2 large egg
- ⅔ cup vegetable oil
- 1-2 (21-ounce) cans cherry pie filling
- ½ cup powdered sugar
- ½ teaspoon almond extract
- 1-2 tablespoons whole milk or cream
Substitutions and Additions
CAKE MIX: You can use a white or yellow cake mix instead of the vanilla cake mix for these cherry bars. They will all work just fine.
ALMOND EXTRACT: The almond extract in the glaze complements the cherry pie filling. You can either skip the almond extract or substitute ½ teaspoon vanilla extract if you don’t have almond on hand.
CHERRY PIE FILLING: While canned cherry pie filling is easy, if you have homemade cherry pie filling, it would also be a delicious option. You could also change the flavor of the fruit filling to another flavor if you prefer. Try peach or blueberry pie filling for two delicious choices.
How to Make This Cherry Pie Bars Recipe
PRO TIP: Keep in mind that you will get a different shape and depth of corner bars depending on the baking pan you are using. If you are using a baking pan with rounded corners (usually glass), your corner pieces will not come out quite so defined, while metal pans tend to have clean-cut corners that will give you better-formed corner bars.
STEP ONE: Preheat the oven to 350°F. Grease a 9×13 baking dish.
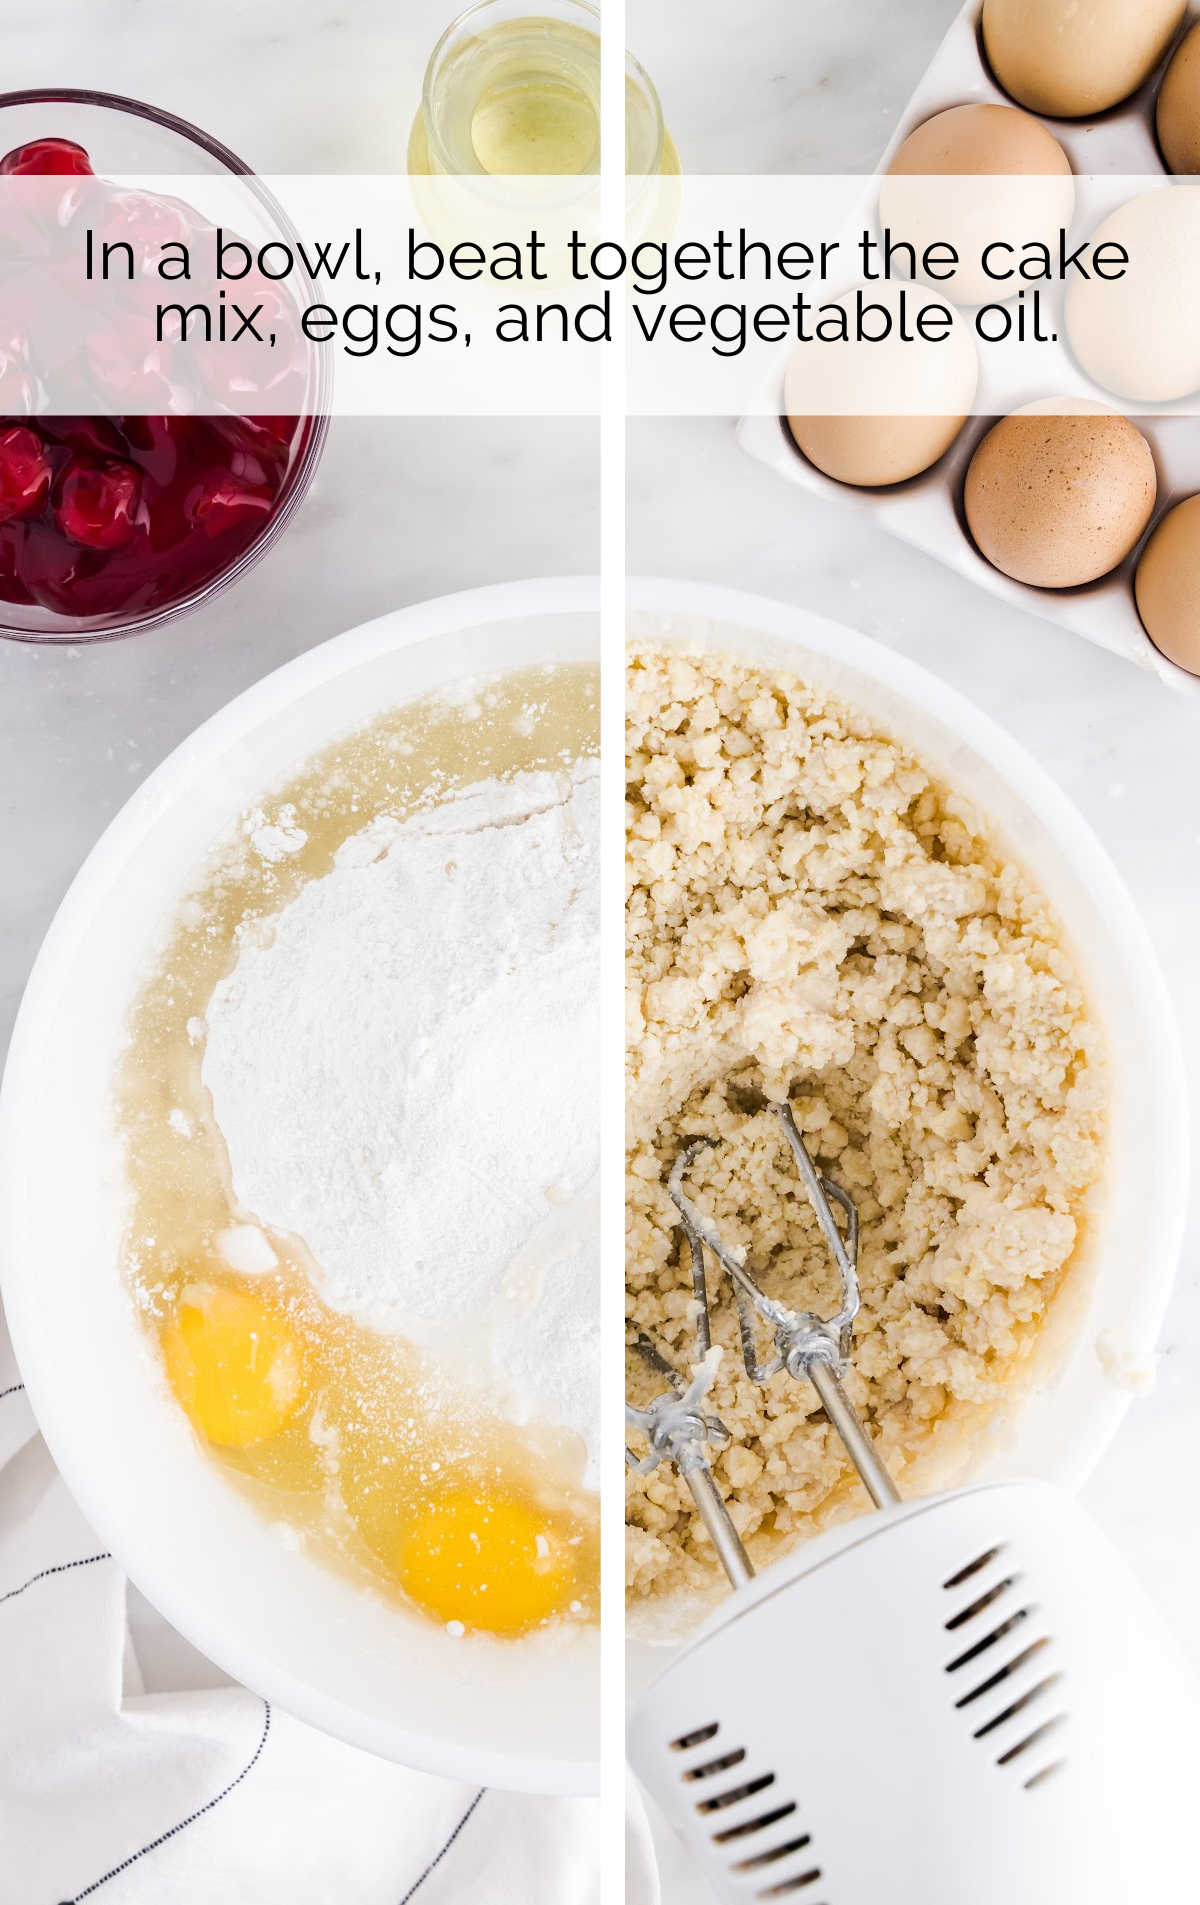
STEP TWO: In a medium mixing bowl, beat together the cake mix, eggs, and vegetable oil. Beat with a hand (or stand) mixer until combined. The mixture will be thick.
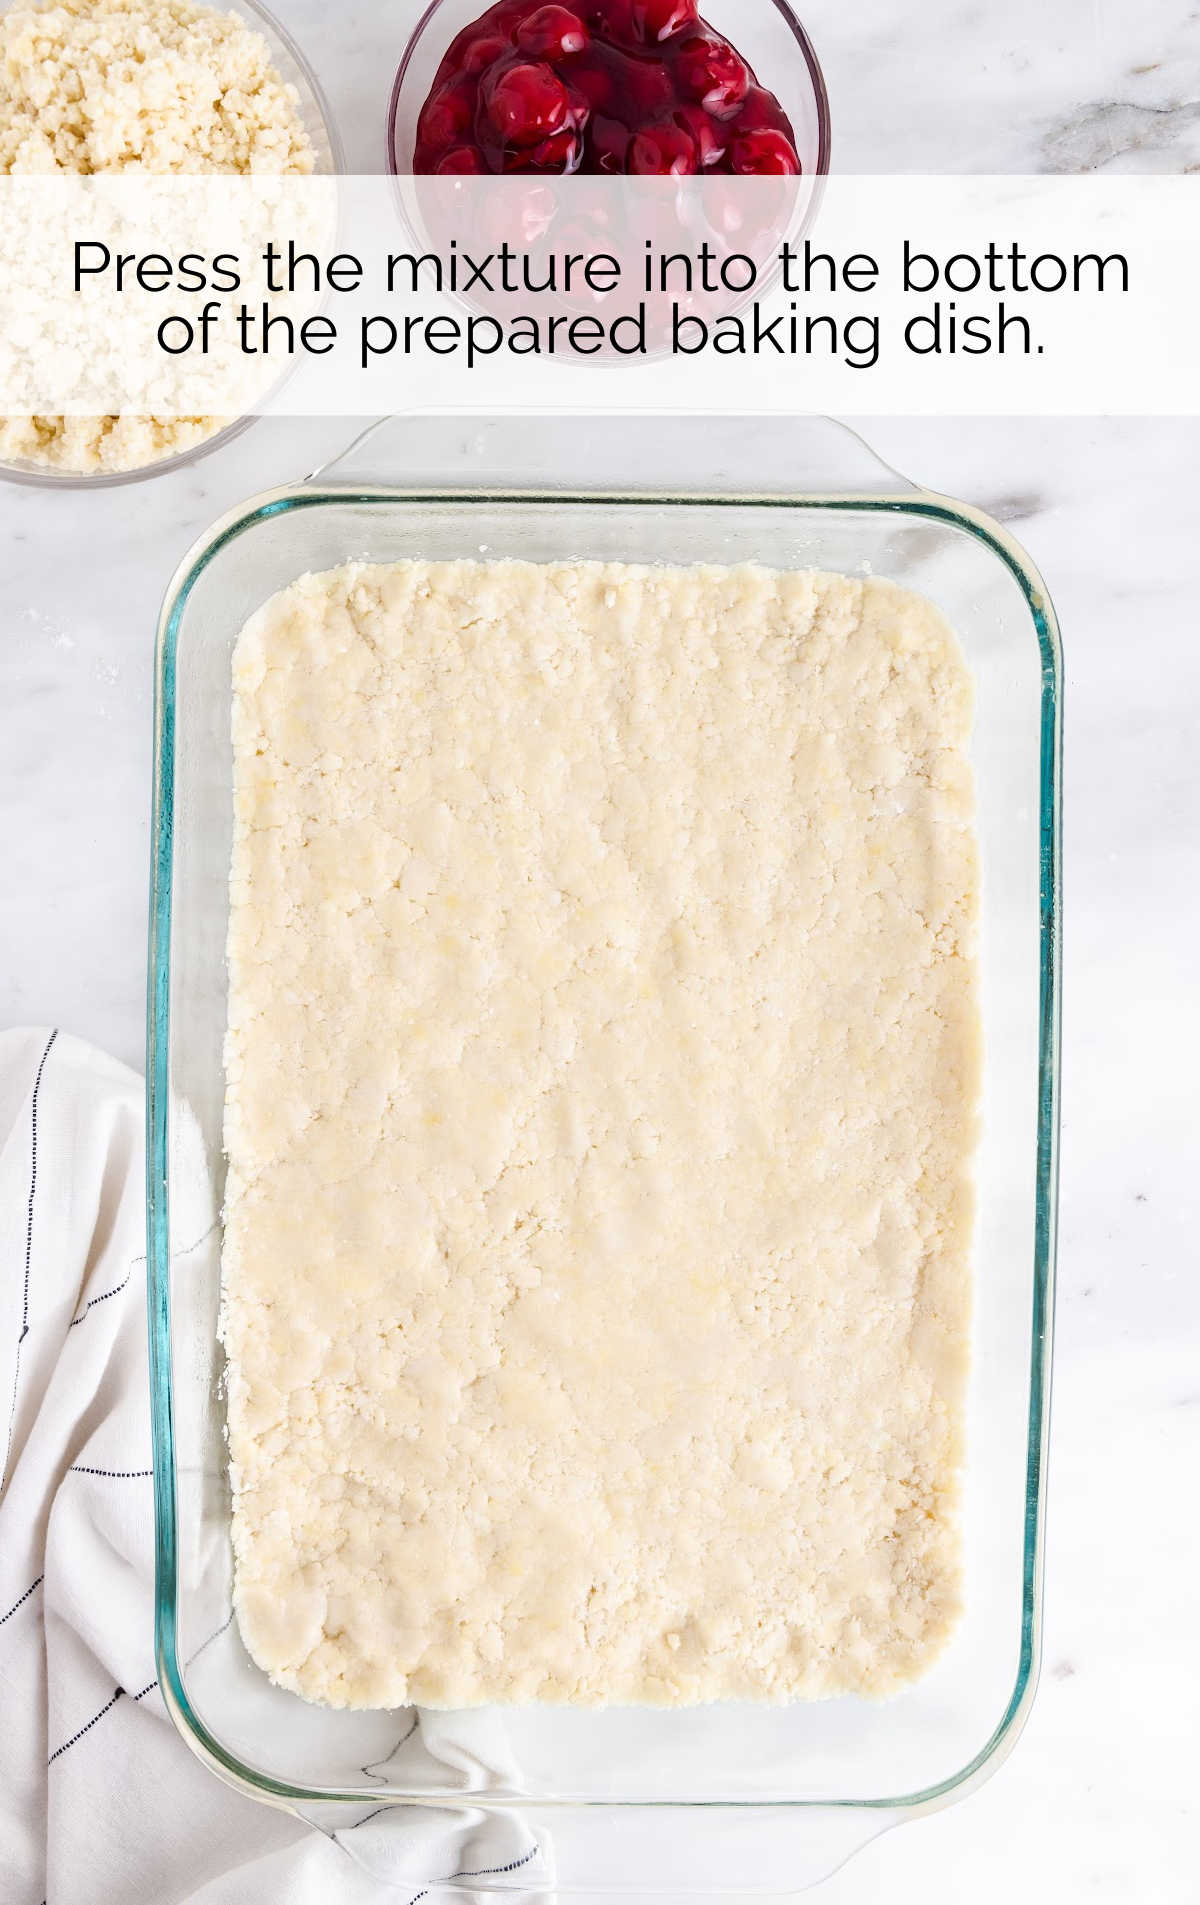
STEP THREE: Remove half of the mixture and set aside. Press the remaining dough into the bottom of the prepared baking dish.
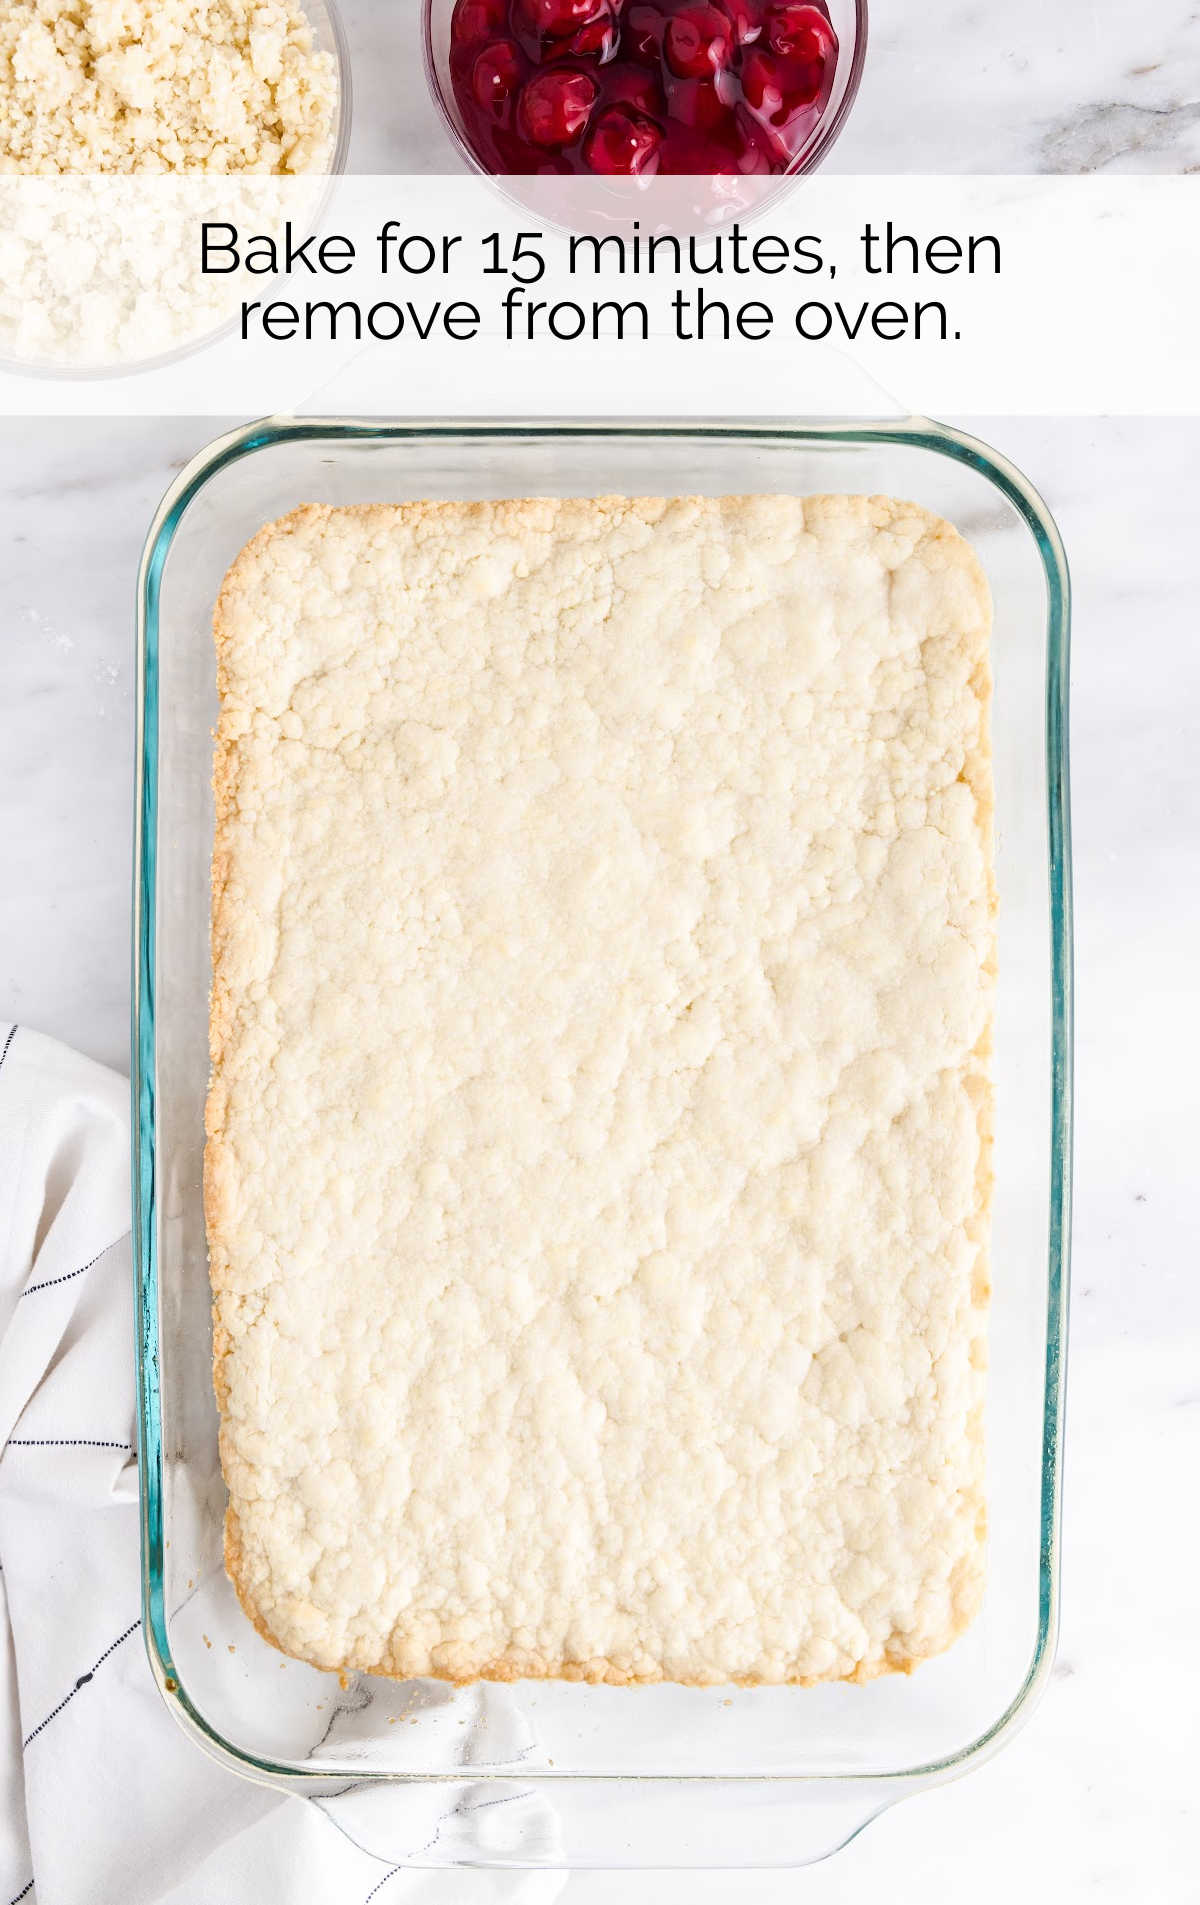
STEP FOUR: Bake for 15 minutes, then remove from the oven.
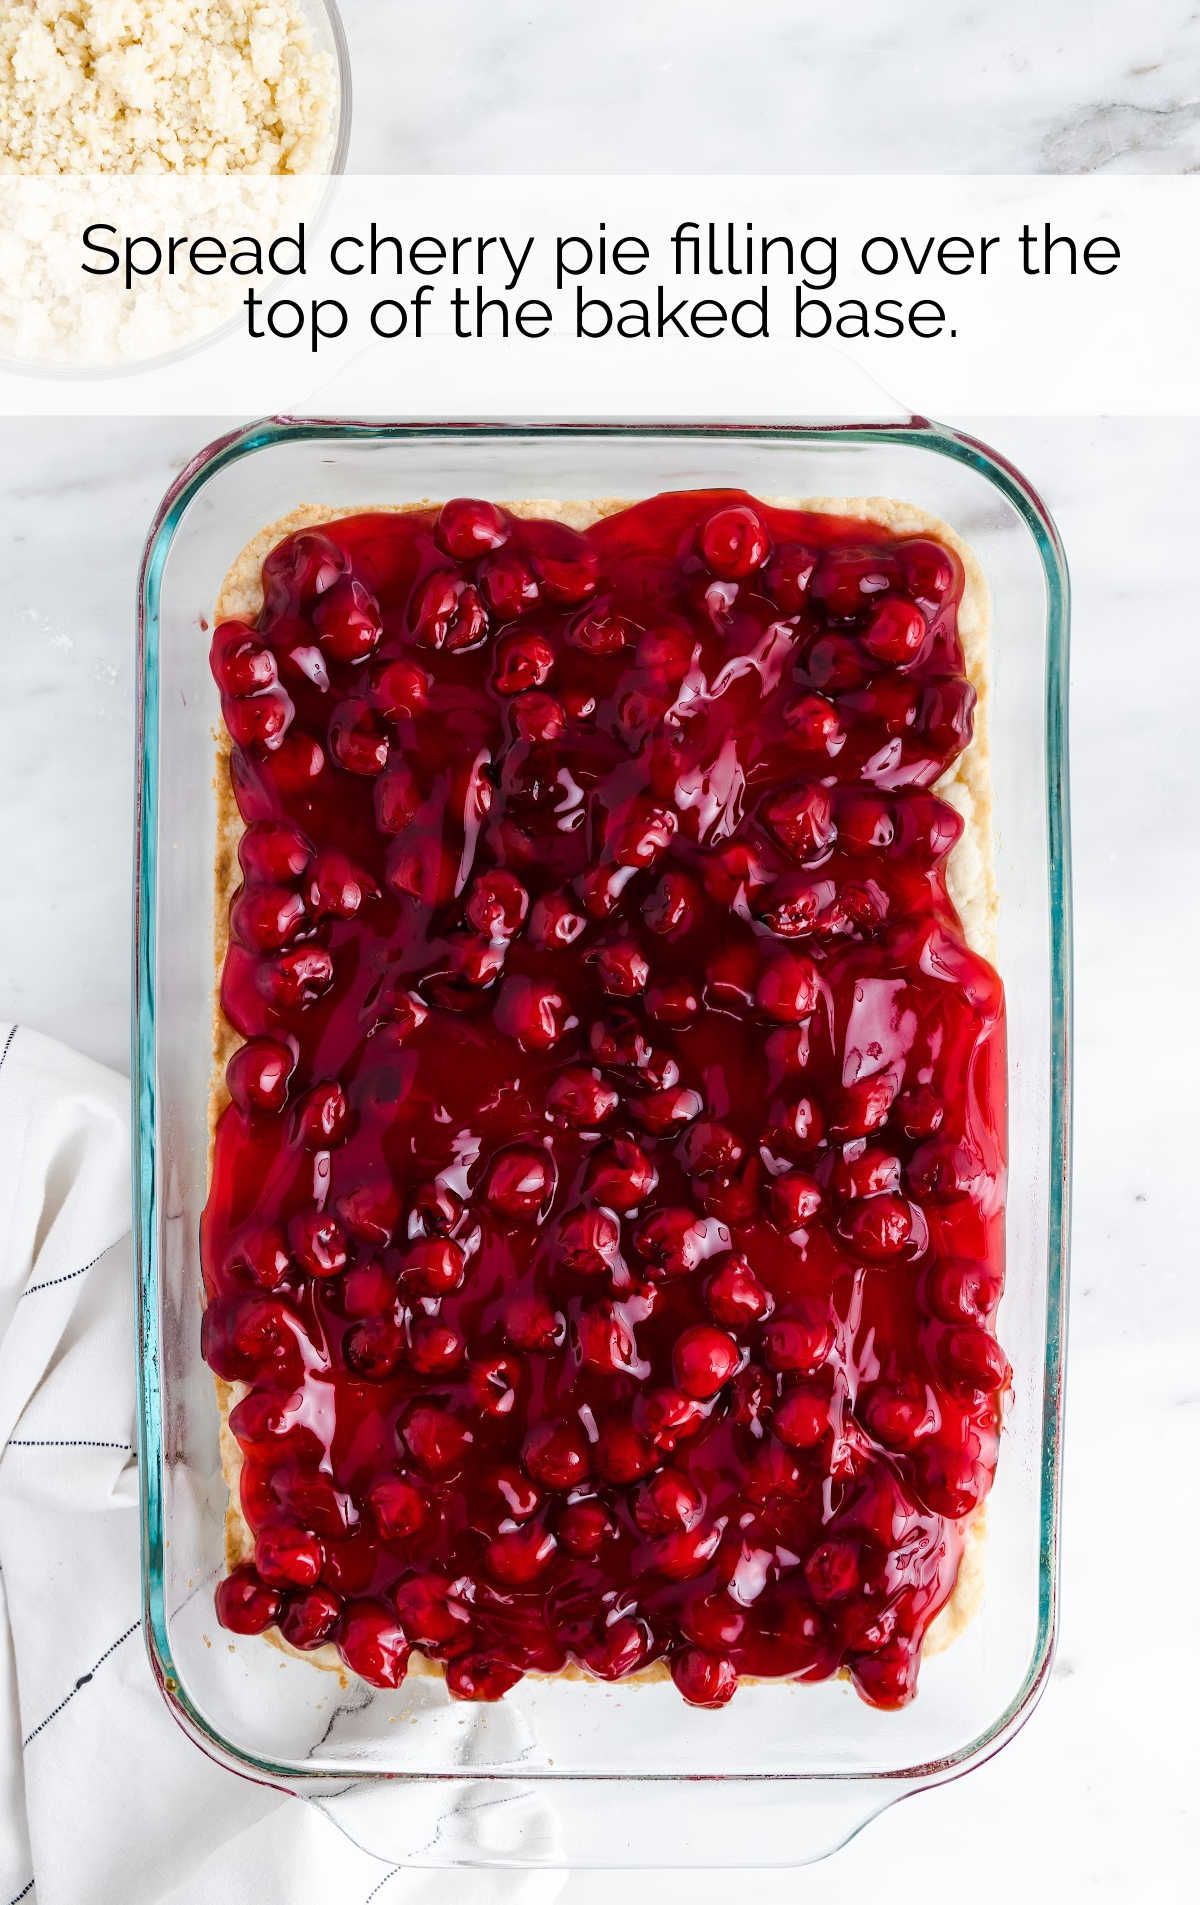
STEP FIVE: Spread cherry pie filling over the top of the baked base.
PRO TIP: One can of pie filling will cover the pie bars lightly. Use up to 2 cans of pie filling for extra cherry-filled pie bars.
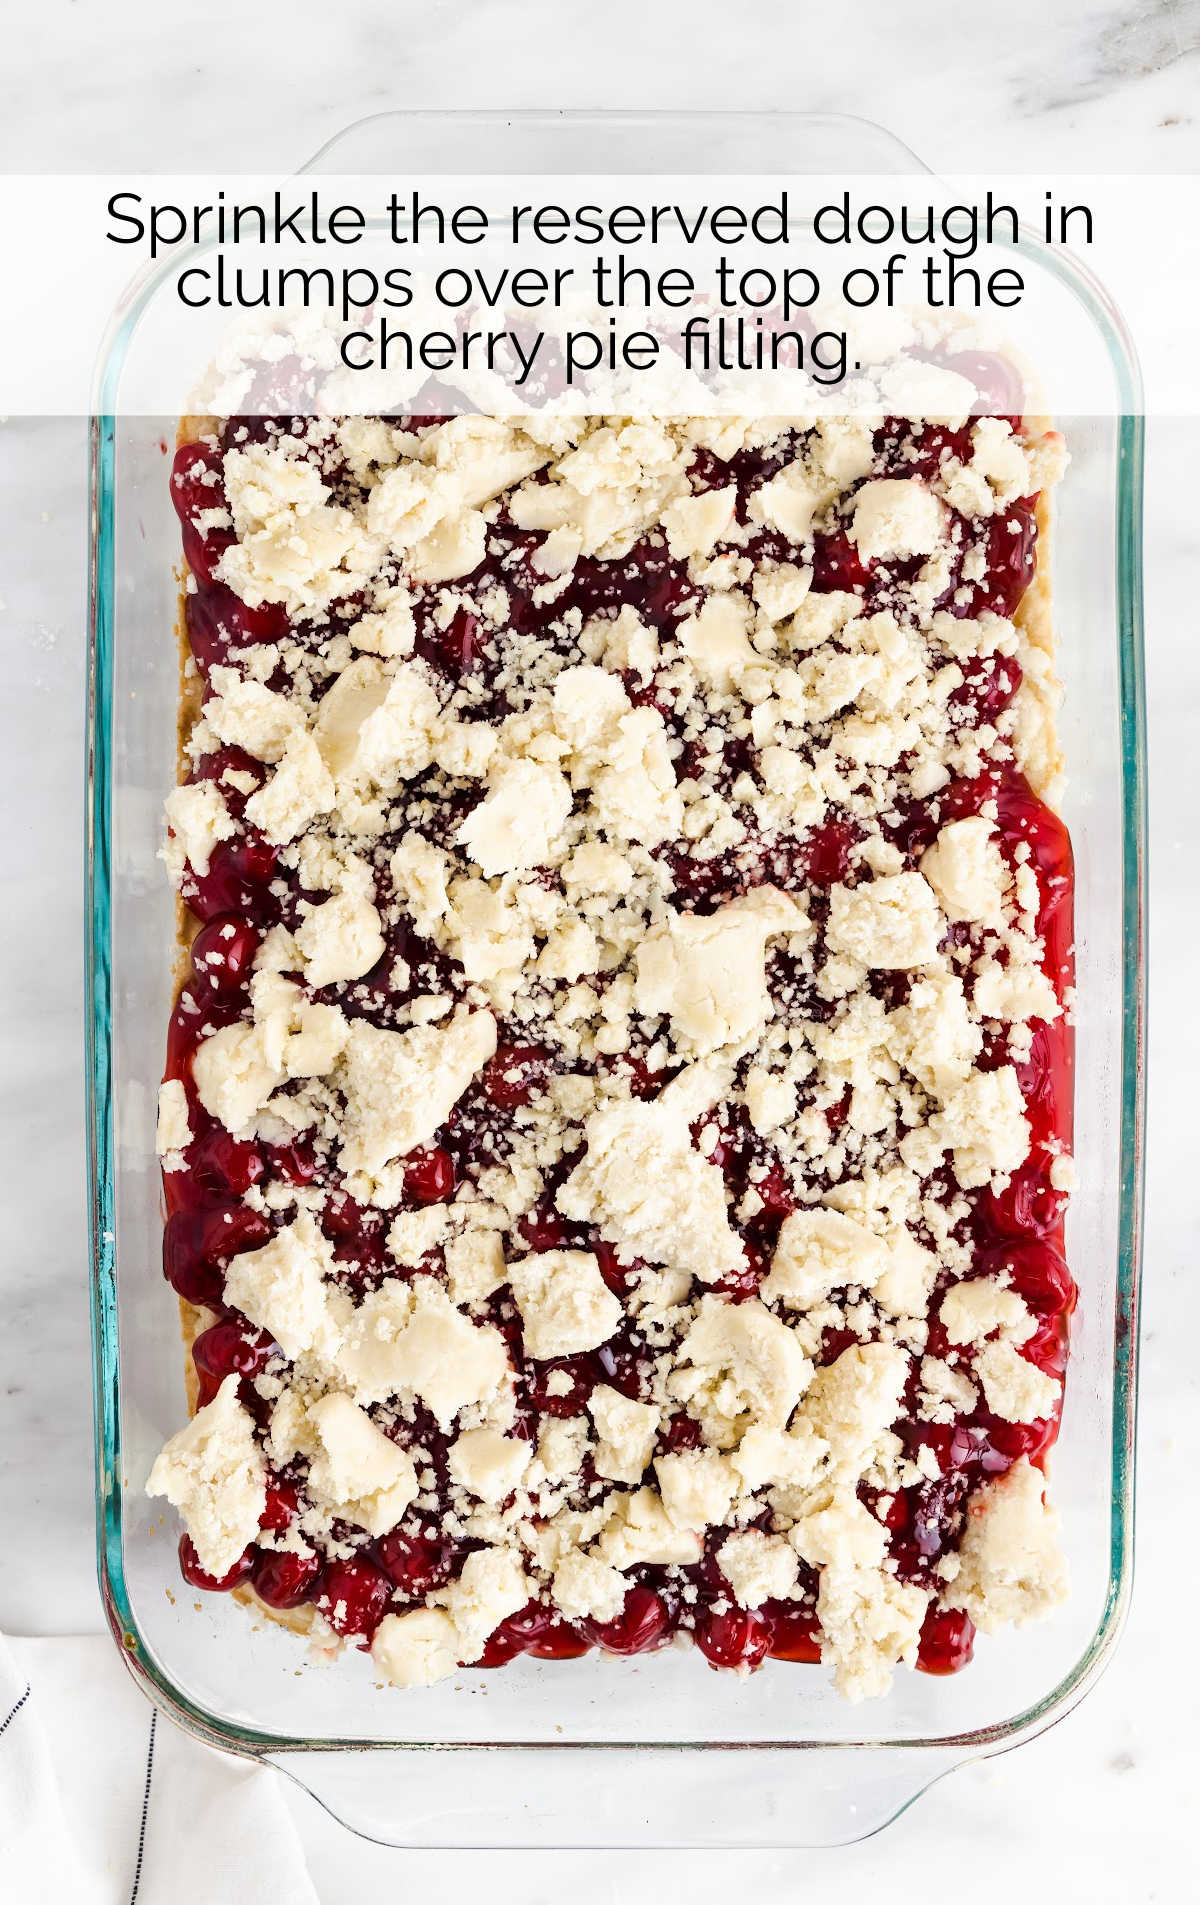
STEP SIX: Sprinkle the reserved dough in clumps over the top of the cherry pie filling.
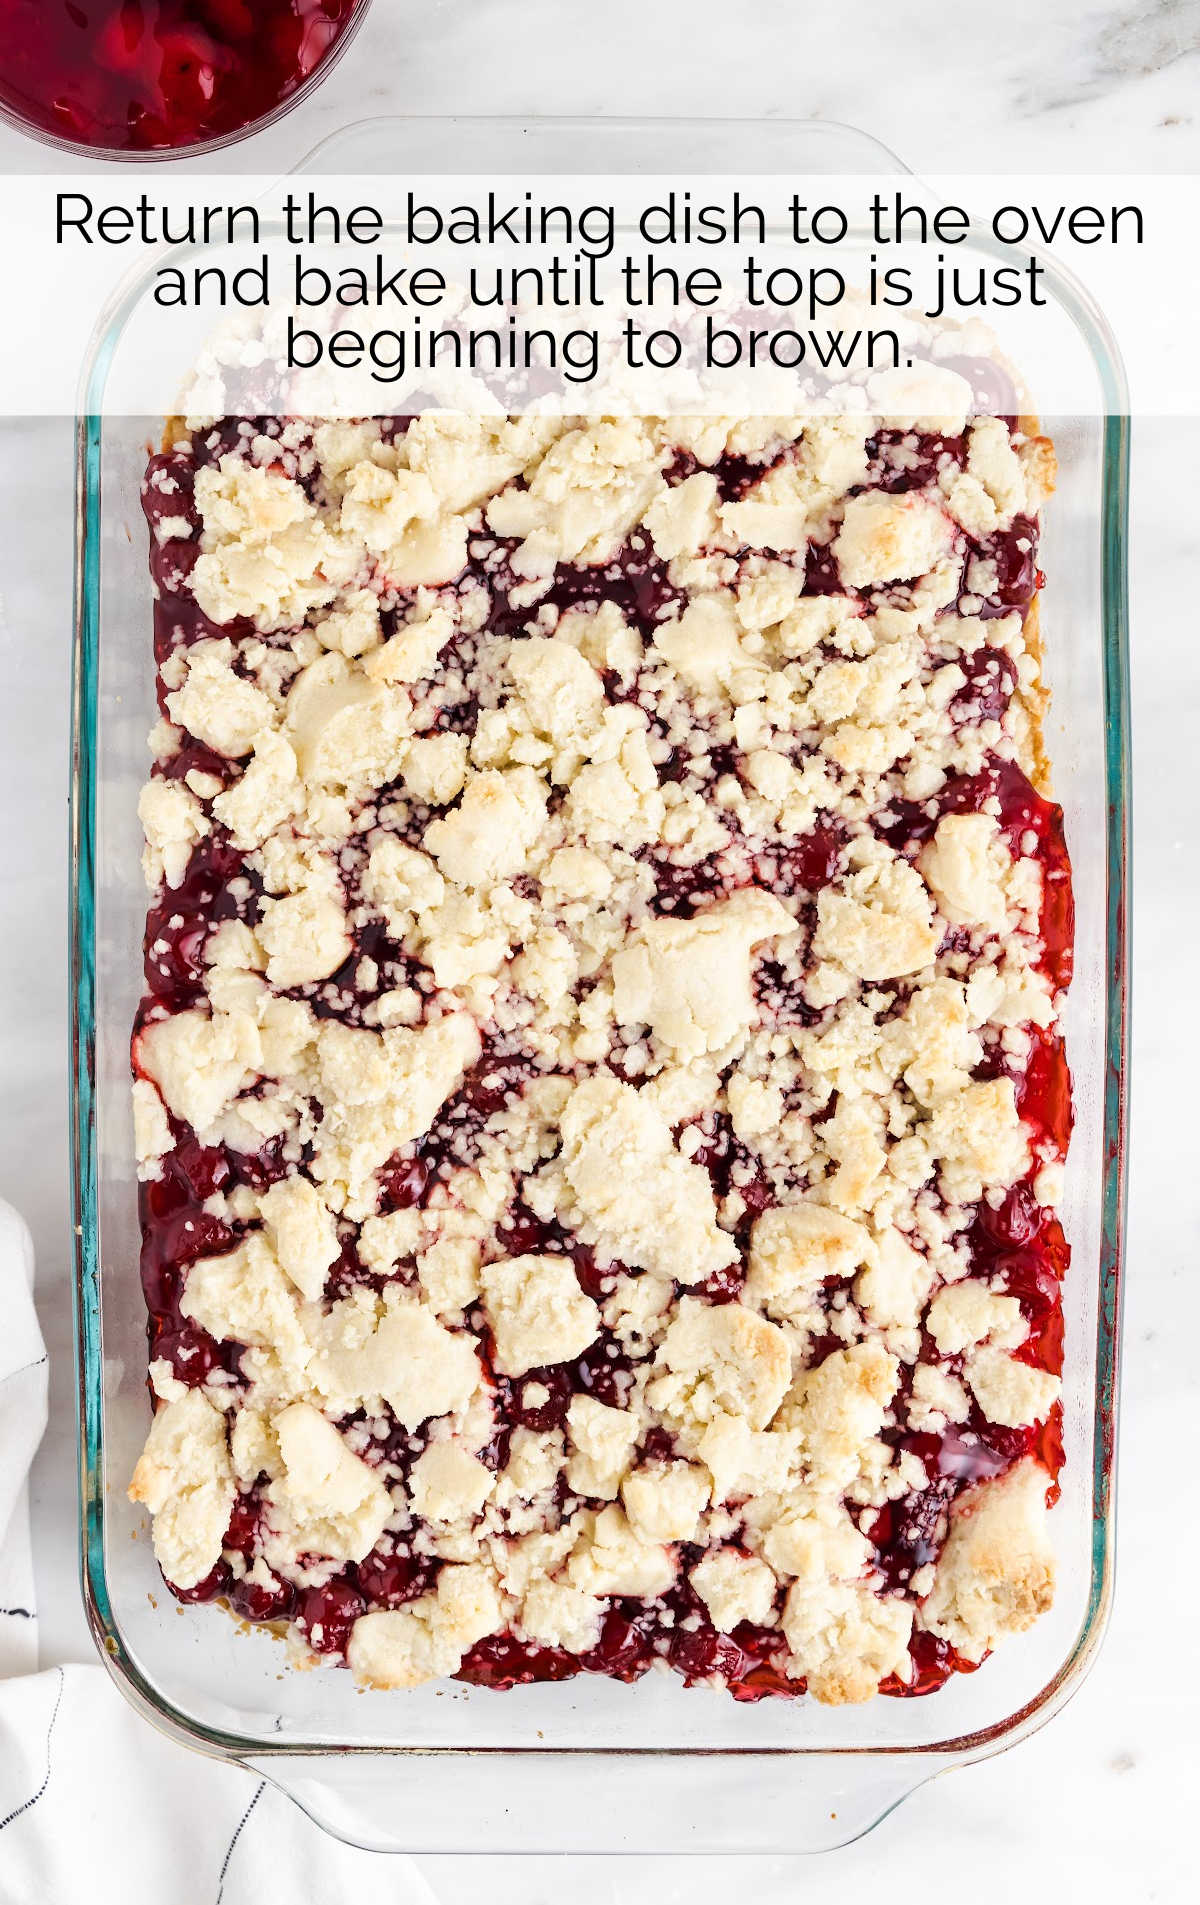
STEP SEVEN: Return the baking dish to the oven and bake for 15-20 minutes longer, until the top of the bars is just beginning to brown.
STEP EIGHT: Cool bars completely.
STEP NINE: Whisk together powdered sugar, almond extract, and enough milk to make a sugar glaze. Drizzle over the top of the cooled cherry pie bars.

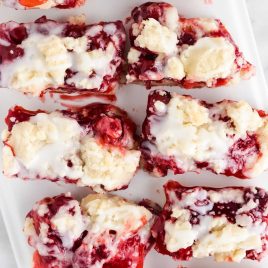
STEP TEN: Cut into bars and serve.
How to Serve
These delightful cherry pie bars are a treat served for dessert or a sweet afternoon snack. For a more indulgent dessert, you can top these pie bars with a scoop of vanilla ice cream or whipped cream. Serve the rich dessert bars with a cup of coffee or some iced tea.
Storage
ON THE COUNTER: Store leftovers in an airtight container on the countertop at room temperature for 2 to 3 days.
IN THE FREEZER: These bars can also be stored in the freezer for up to 1 month in an airtight container.
These sweet cherry pie bars are easier to make than a classic cherry pie, and taste just as delicious. Made by using cake mix to create the crust and crumble topping, with a tart cherry pie filling, these dessert bars are an incredibly easy way to serve pie to a group. Cherry pie bars are an irresistible treat that is always a crowd-pleaser.
Frequently Asked Questions
Can I use a different flavor pie filling?
This wonderful recipe would be perfect for customization. Just replace the cherry pie filling with any other flavor of your choosing, and you will have created an entirely new dessert.
Can I use a different cake mix for this recipe?
Just like the variety of pie filling choices, you can also opt for a different flavor of cake mix for your soft crust in this recipe.
Can I freeze these bars?
These delicious bars can be stored in the freezer for up to a month in an airtight container.
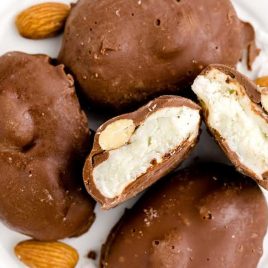
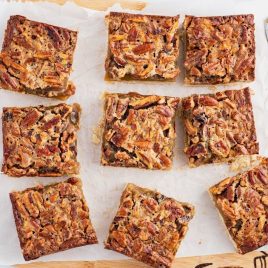
More Recipes You’ll Love

Cherry Pie Bars
Cherry pie bars are easier to make than a classic cherry pie, and taste just as sweet with a vanilla cake crust, cherry pie filling, and crumble topping.
Ingredients
- 2 vanilla cake mix
- 2 large egg
- ⅔ cup vegetable oil
- 21 to 42 ounces cherry pie filling
- ½ cup powdered sugar
- ½ teaspoon almond extract
- 1 to 2 tablespoons whole milk or cream
Instructions
- Preheat the oven to 350°F. Grease a 9×13 baking dish.
- In a medium mixing bowl, beat together the cake mix, eggs, and vegetable oil. Beat with a hand (or stand) mixer until combined. The mixture will be thick.
- Remove half of the mixture and set aside. Press the remaining dough into the bottom of the prepared baking dish.
- Bake for 15 minutes, then remove from the oven.
- Spread cherry pie filling over the top of the baked base. One can of pie filling will cover the pie bars lightly. Use up to 2 cans of pie filling for extra cherry-filled pie bars.
- Sprinkle the reserved dough in clumps over the top of the cherry pie filling.
- Return the baking dish to the oven and bake for 15 to 20 minutes longer, until the top of the bars is just beginning to brown.
- Cool bars completely.
- Whisk together powdered sugar, almond extract, and enough milk to make a sugar glaze. Drizzle over the top of the cooled cherry pie bars.
- Cut into bars and serve.
Notes
- Keep in mind that you will get a different shape and depth of corner bars depending on the baking pan you are using. If you are using a baking pan with rounded corners (usually glass), your corner pieces will not come out quite so defined, while metal pans tend to have clean-cut corners that will give you better-formed corner bars.
- One can of pie filling will cover the pie bars lightly. Use up to 2 cans of pie filling for extra cherry-filled pie bars.
Comments
Julie says
Obsessed with these, so delicious!
Beth Ann Johnston says
Love these bars and so does my family. Thank you for printing it.