Last updated on
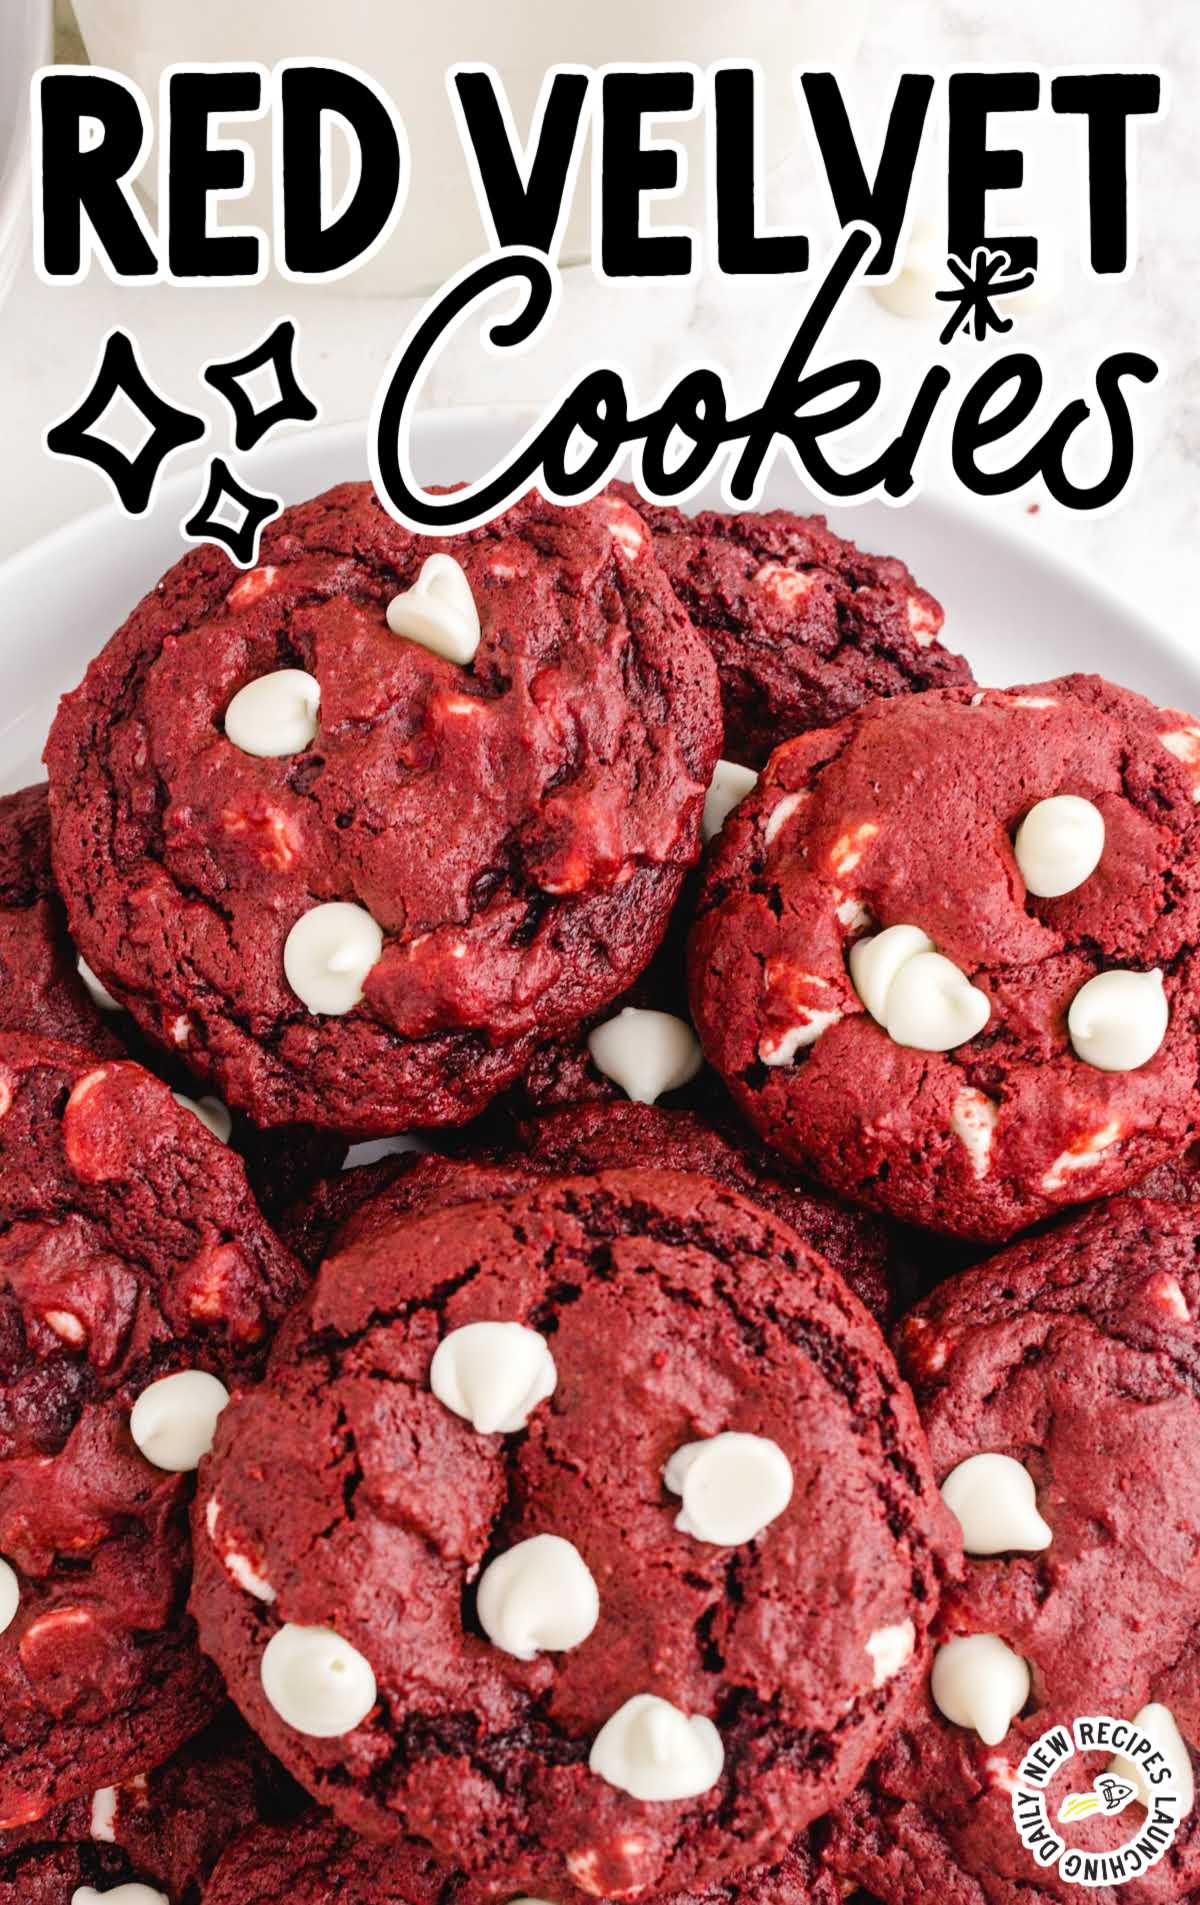
Red Velvet Cookies

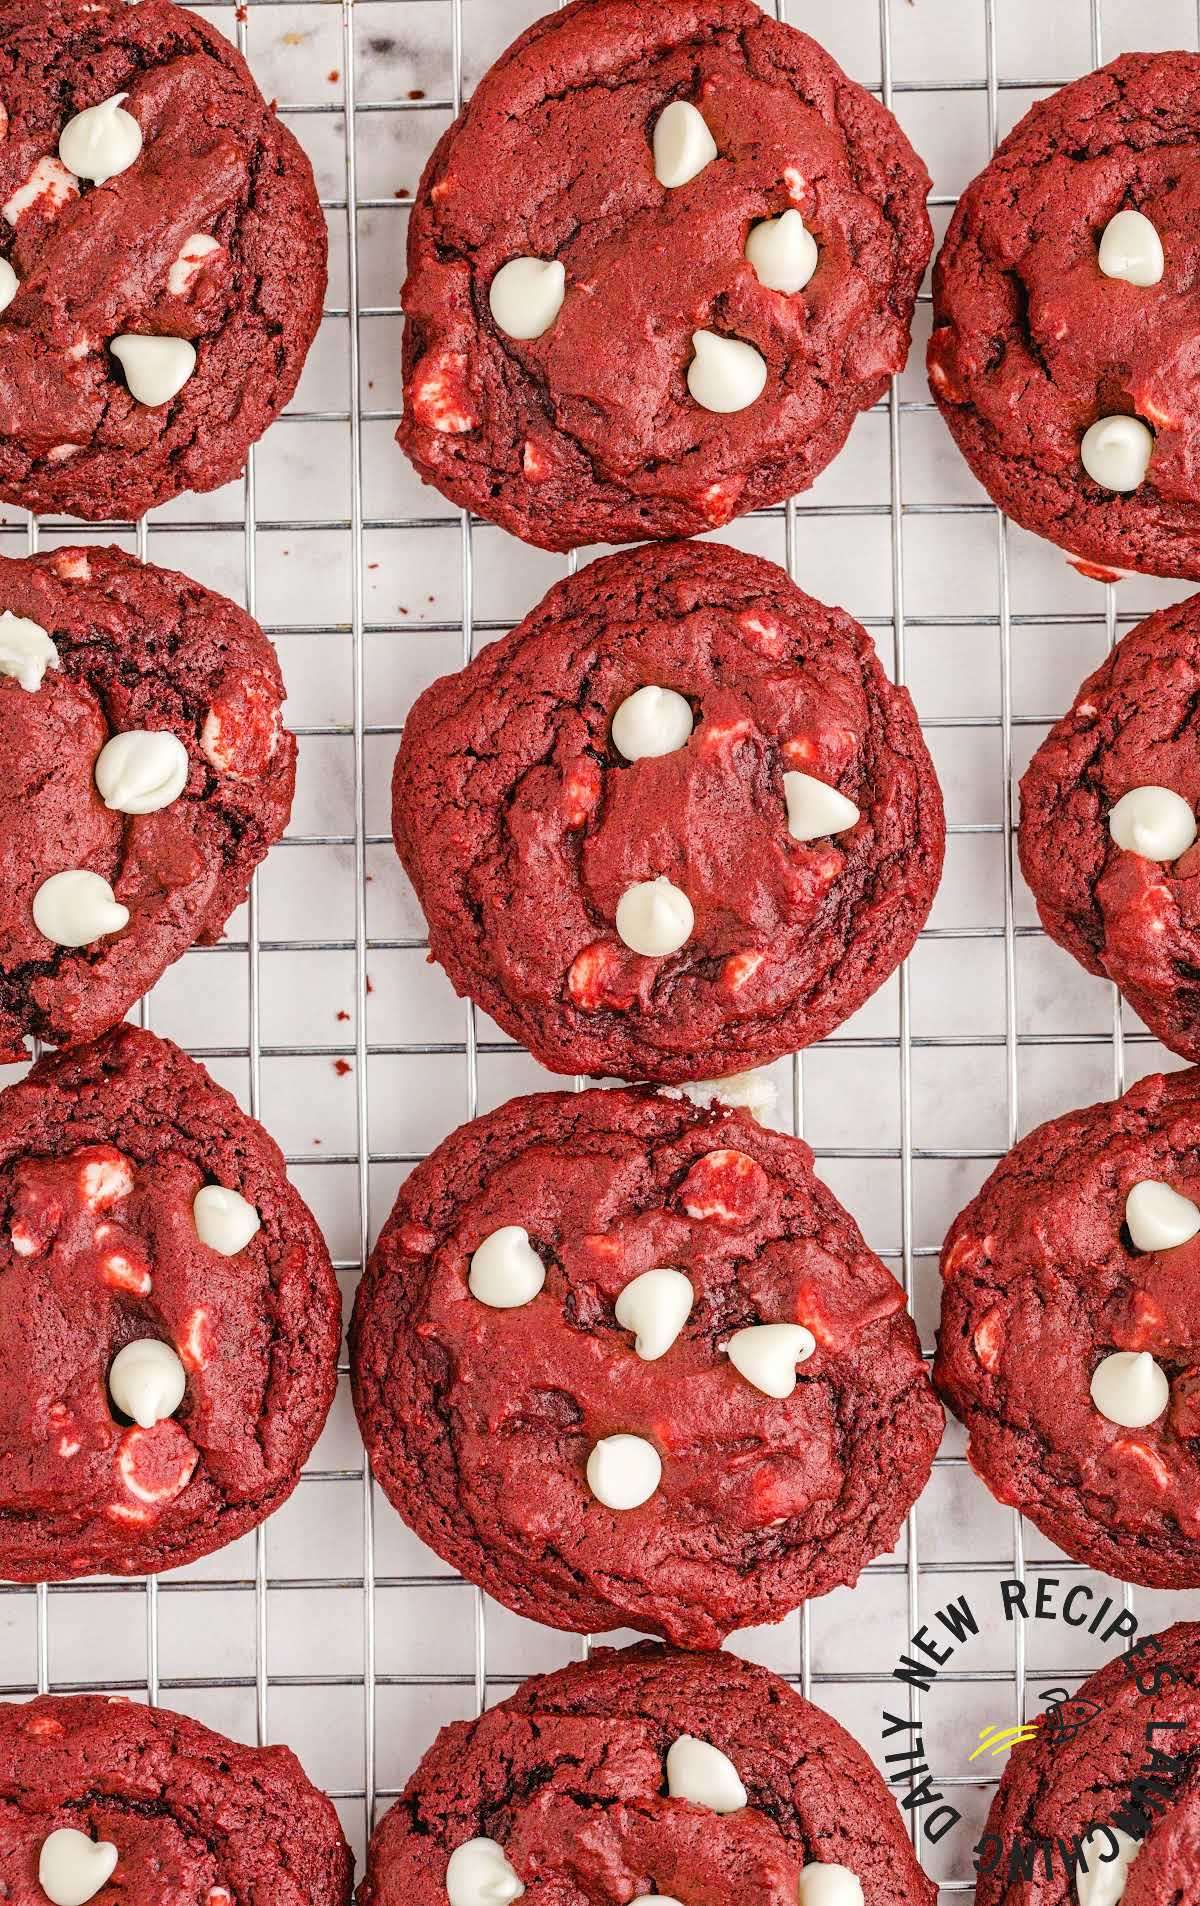
Pretty red and white bakery-style cookies. Vibrant and sweet, red velvet cookies are moist, chewy, and easy to make for the holidays or Valentine’s Day.
Jump to RecipeTable of Contents
Red velvet cake meets a deliciously moist and chewy cookie. Dotted with white chocolate chips, gorgeous red and white red velvet cookies are perfectly sweet for the holidays or Valentine’s Day. These vibrant cookies taste even better than they look.
Red Velvet Cookies Ingredients

You’ll need
- 1 ½ cups all-purpose flour
- ½ cup unsweetened cocoa powder
- ¼ teaspoon salt
- ½ teaspoons baking soda
- 1 ½ teaspoons baking powder
- ½ teaspoon cream of tartar
- ½ cup salted butter, softened
- 1 cup granulated sugar
- 1 teaspoon vanilla extract
- 2 eggs
- Red gel food coloring or 1 tablespoon red liquid food coloring
- 2 cups white chocolate chips
Substitutions and Additions
Cream of Tartar: If you don’t have this, you can add ¾ teaspoon of extra baking powder instead.
Granulated Sugar: Light brown sugar would also work for this recipe without too much difference in taste.
Red Food Coloring: If you’d rather avoid artificial colors, you could opt to color your cookies with a quarter cup of beet juice.
White Chocolate Chips: You could use regular chocolate chips if you prefer, but we think the white ones look pretty and just like cream cheese frosting that you’d find on a red velvet cake.
How to Make This Red Velvet Cookies Recipe
FIRST STEP: Preheat the oven to 350°F. Line two baking sheets with parchment paper or grease lightly and set aside.
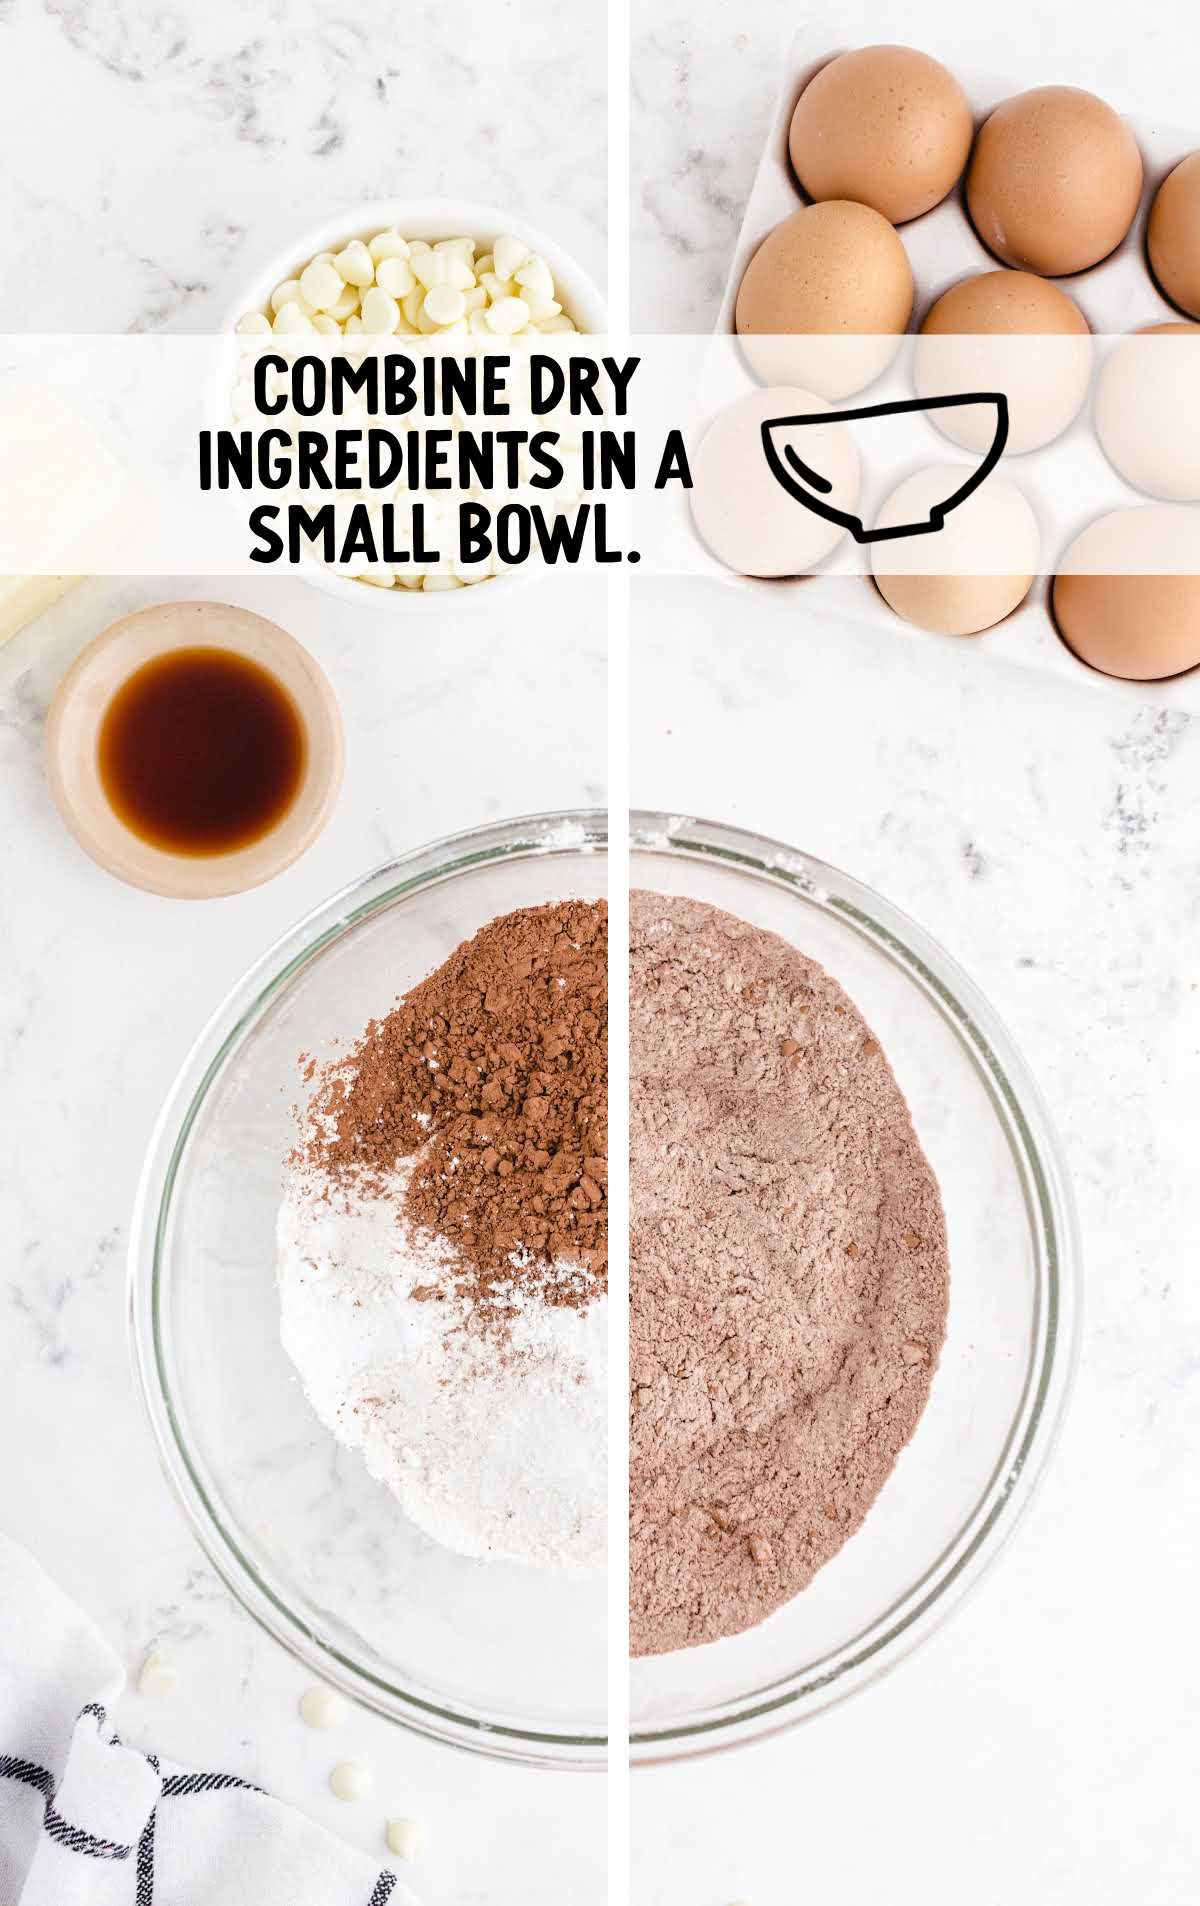
SECOND STEP: In a small bowl, combine dry ingredients: flour, cocoa powder, salt, baking soda, baking powder, and cream of tartar.
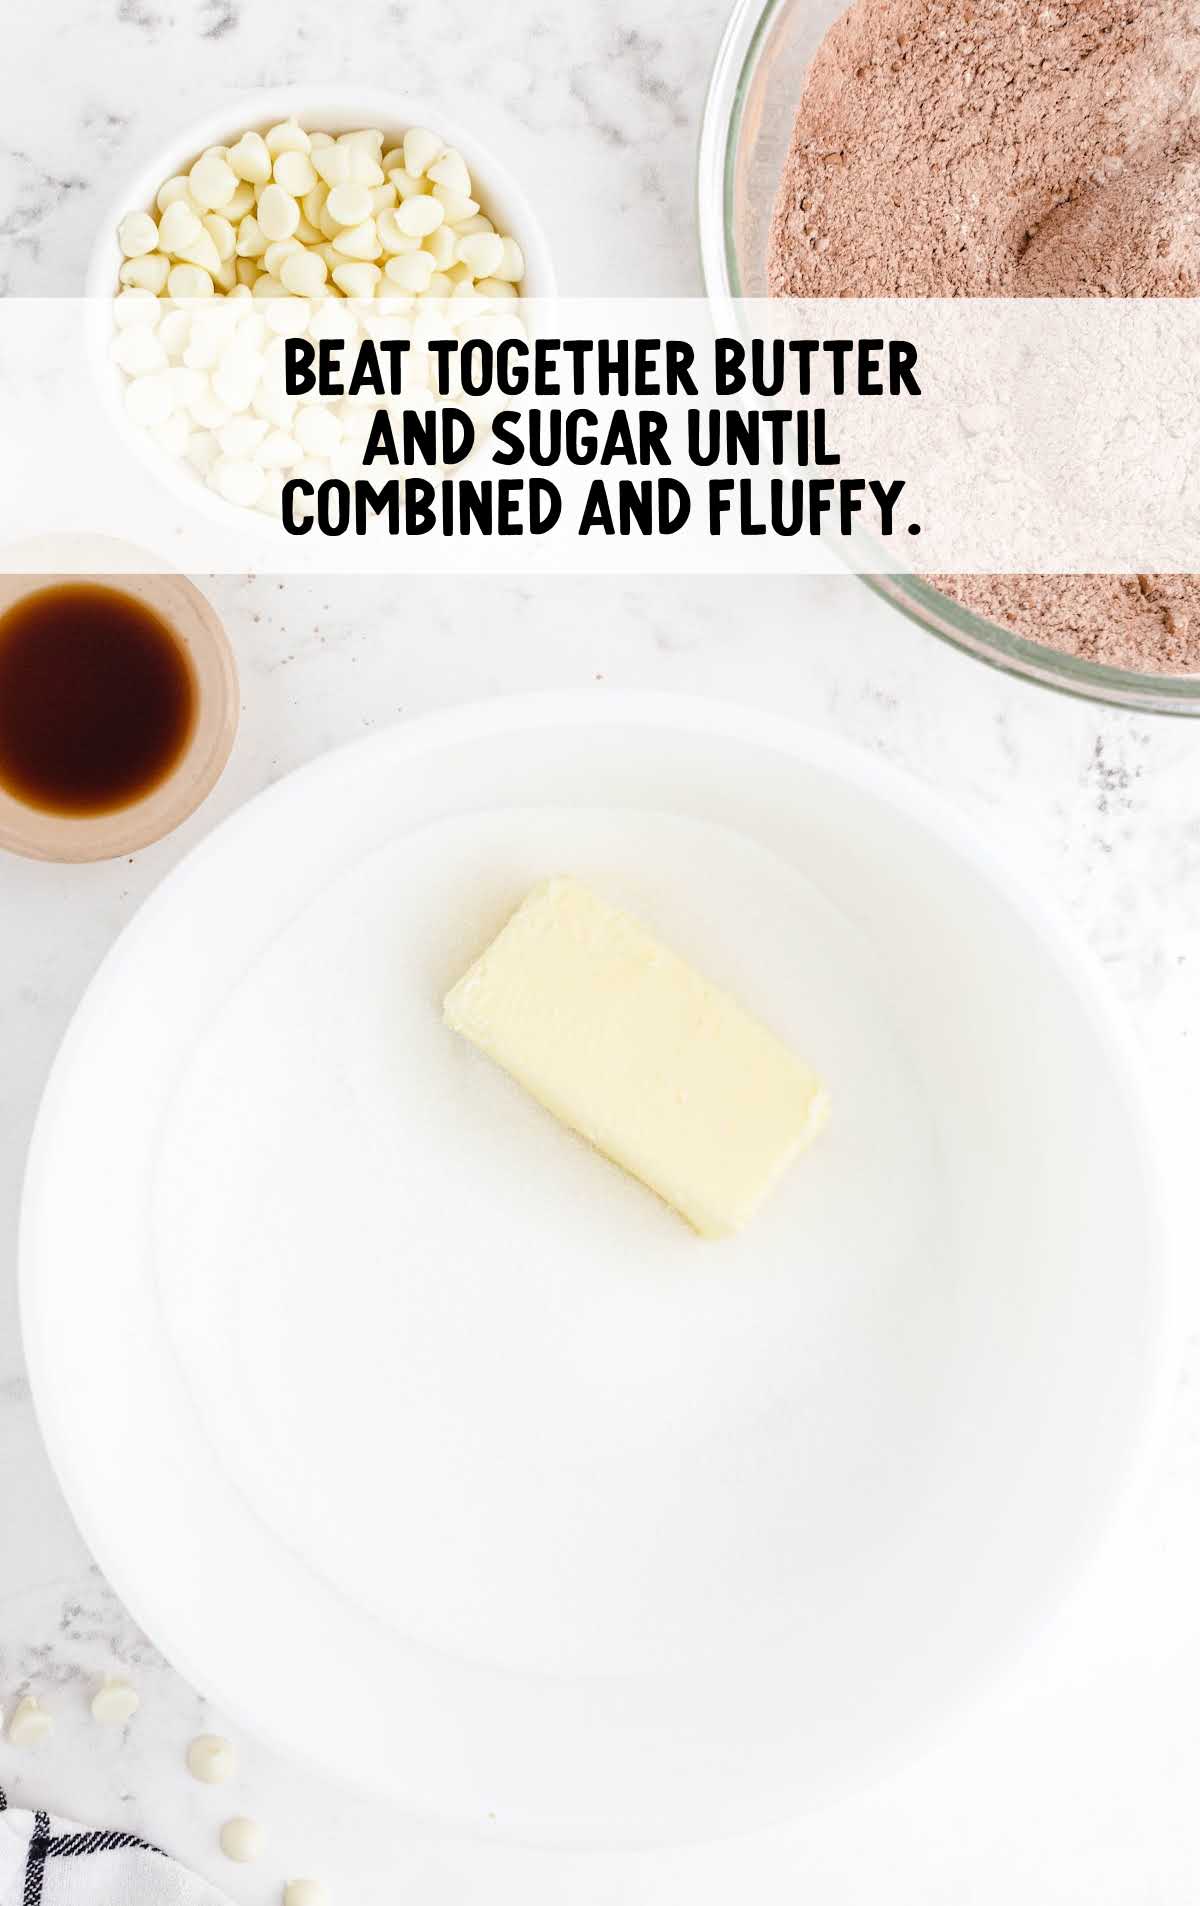
THIRD STEP: In a large mixing bowl, beat together butter and granulated sugar until combined and fluffy.
PRO TIP: Make sure your ingredients are room temperature to keep your batter an even consistency.
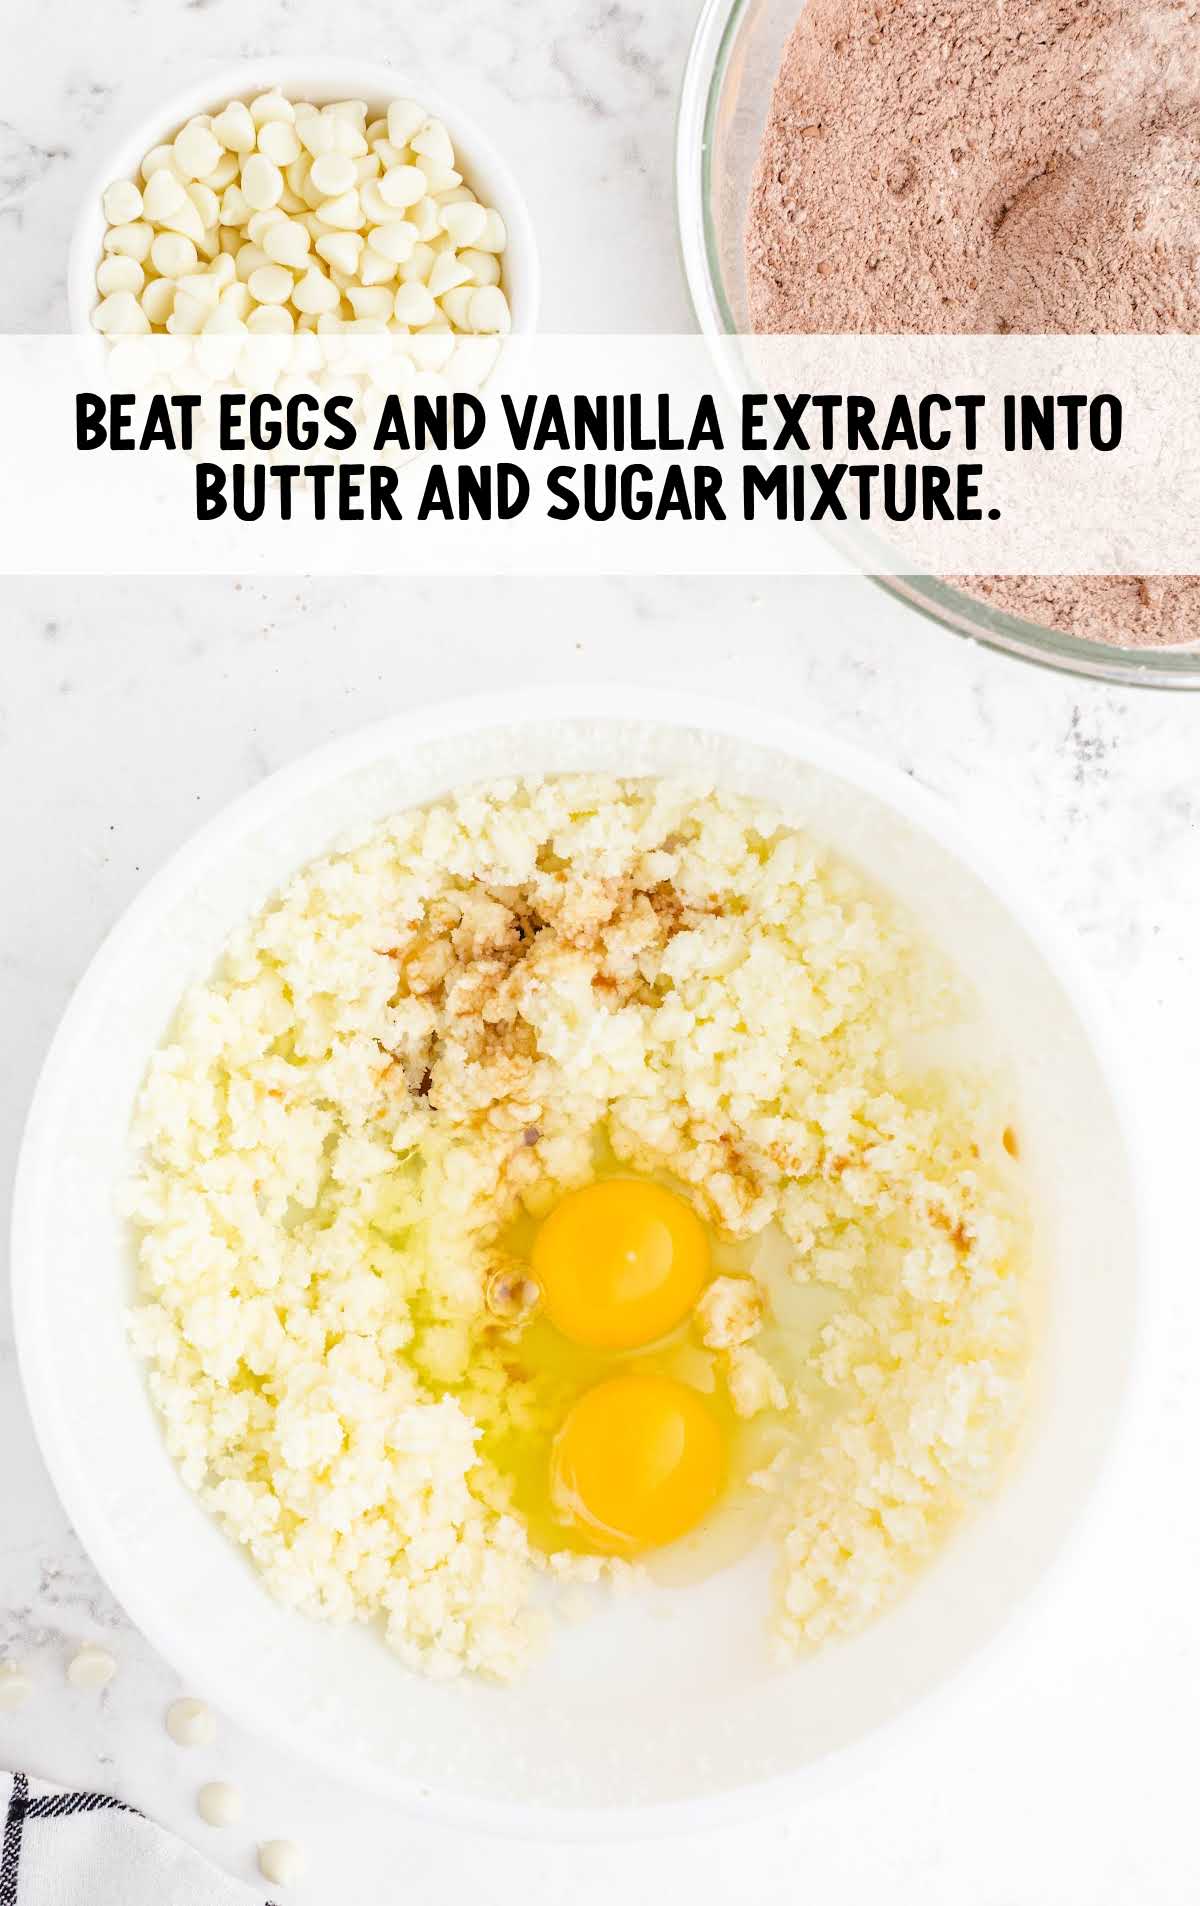
FOURTH STEP: Beat eggs and vanilla extract into butter/sugar mixture until batter is fluffy.
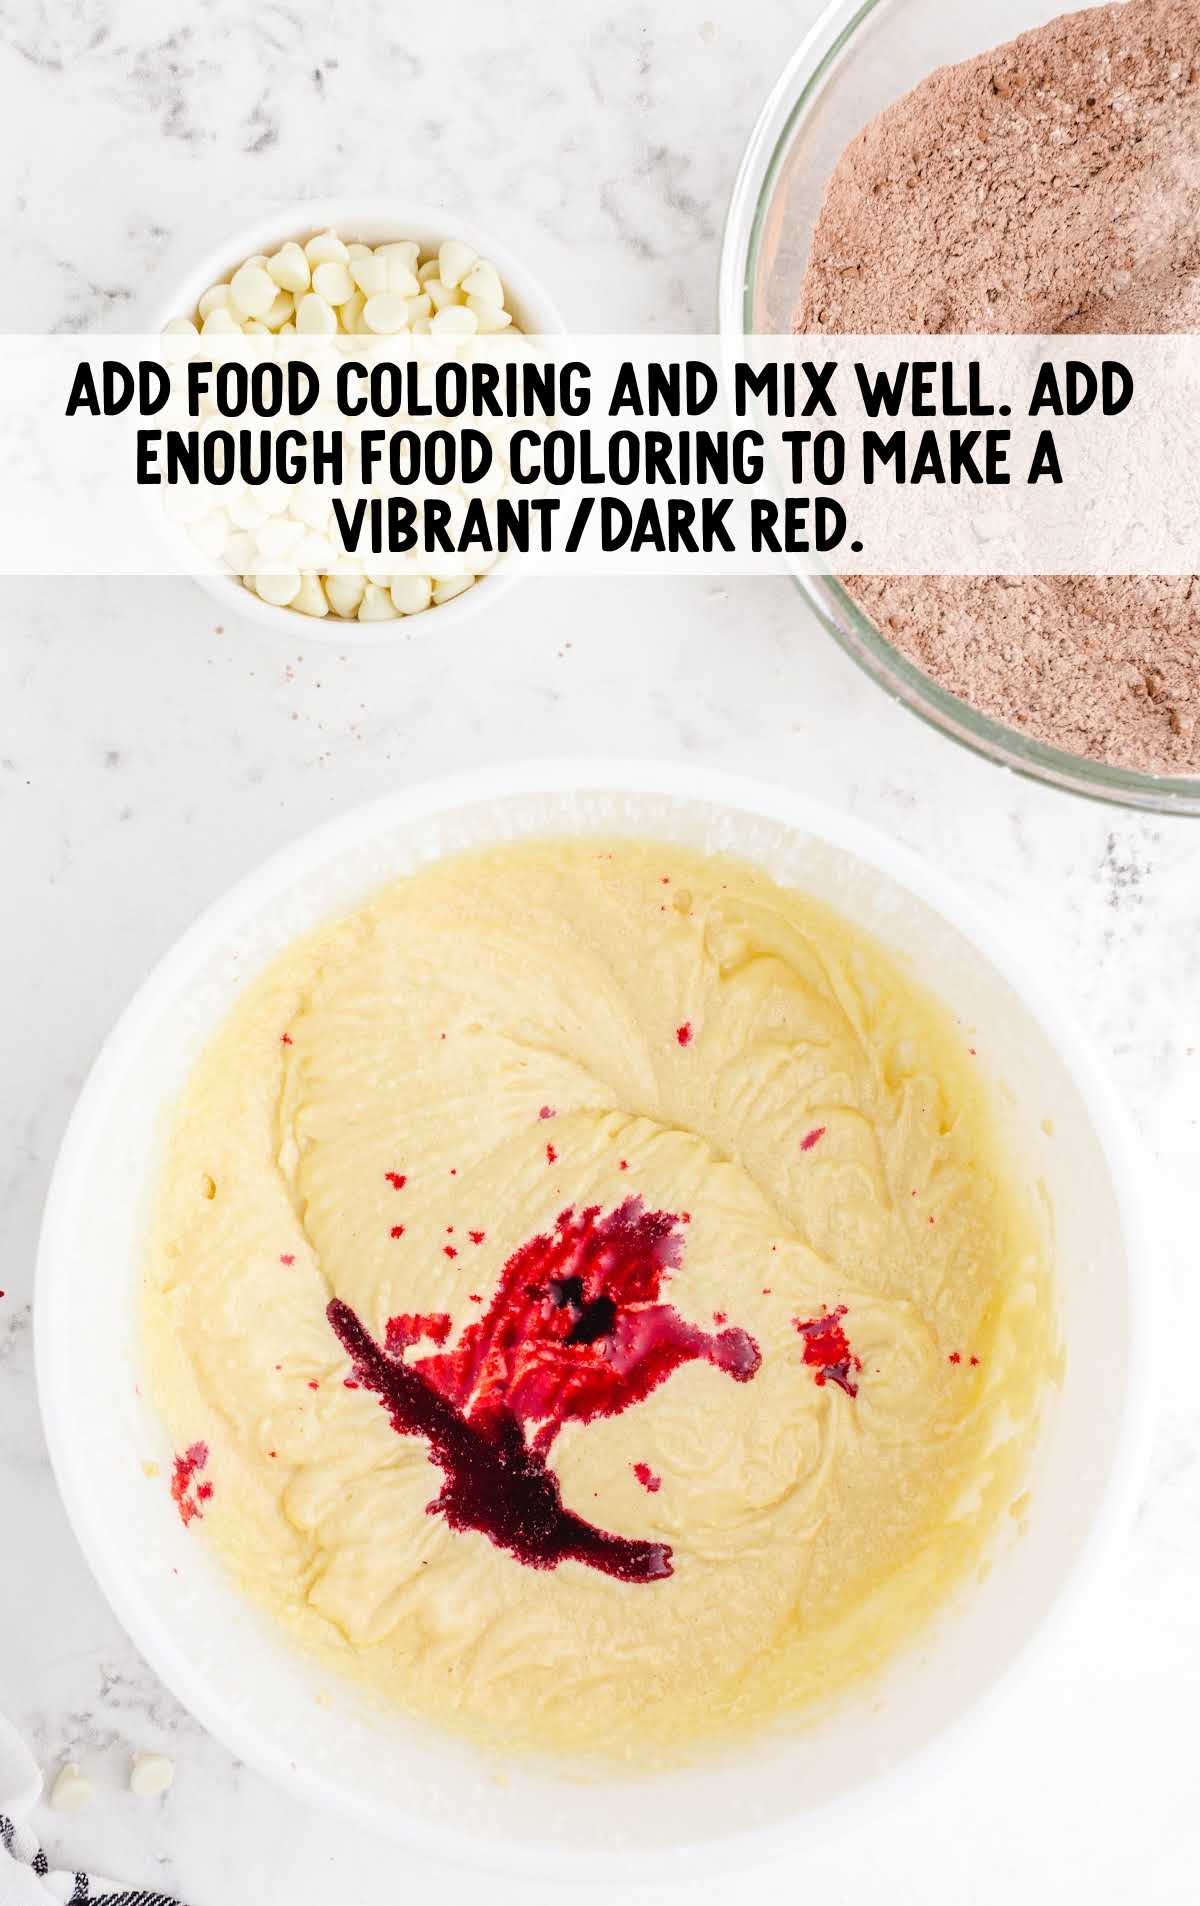
FIFTH STEP: Add food coloring and mix well, scraping down the sides of the bowl thoroughly to ensure the color is evenly distributed throughout the batter. Add enough food coloring to make a vibrant/dark red.
PRO TIP: Add more liquid food coloring, a little at a time, until the batter is a vibrant dark red.
SIXTH STEP: Mix the dry ingredients (flour mixture) into the butter/sugar mixture.

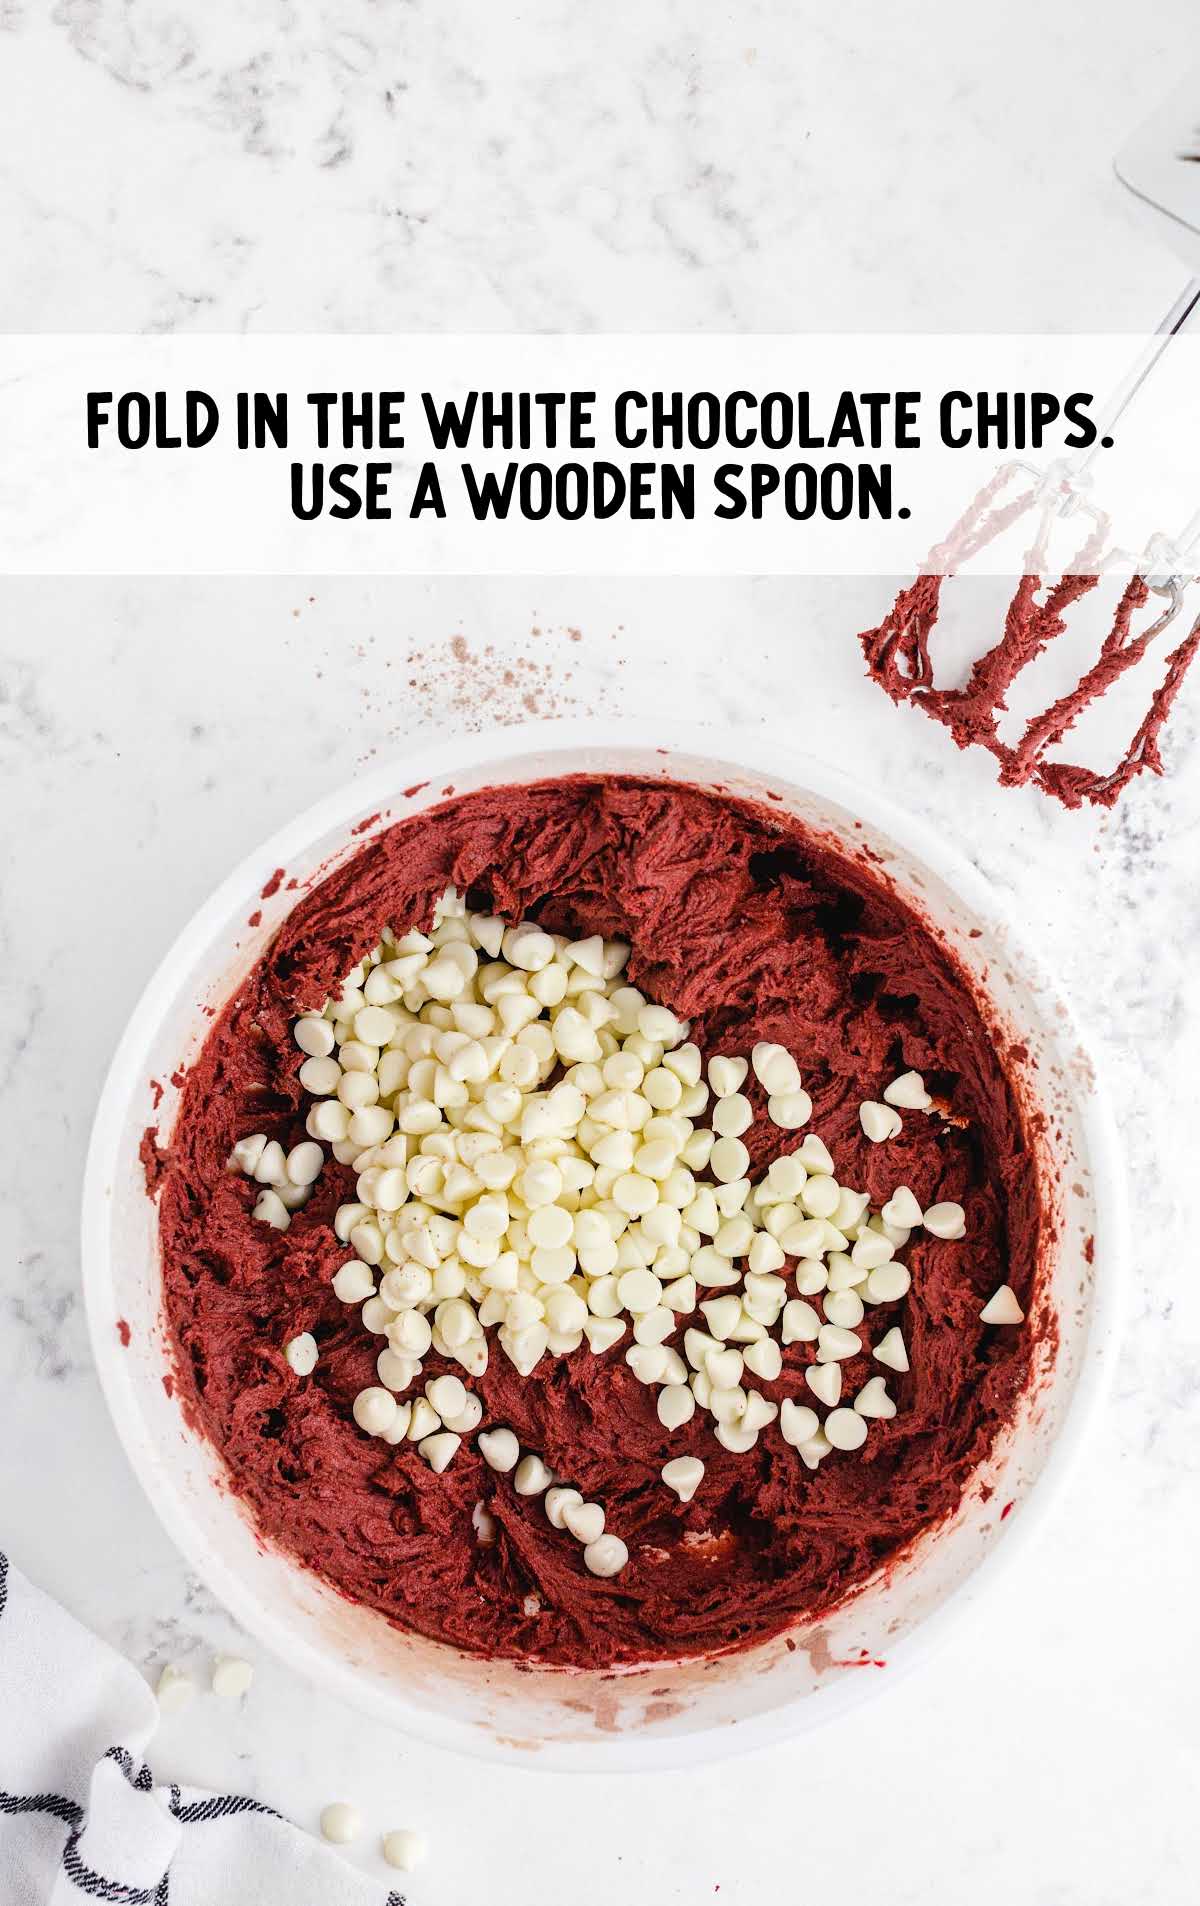
SEVENTH STEP: Fold in 1 cup of white chocolate chips.
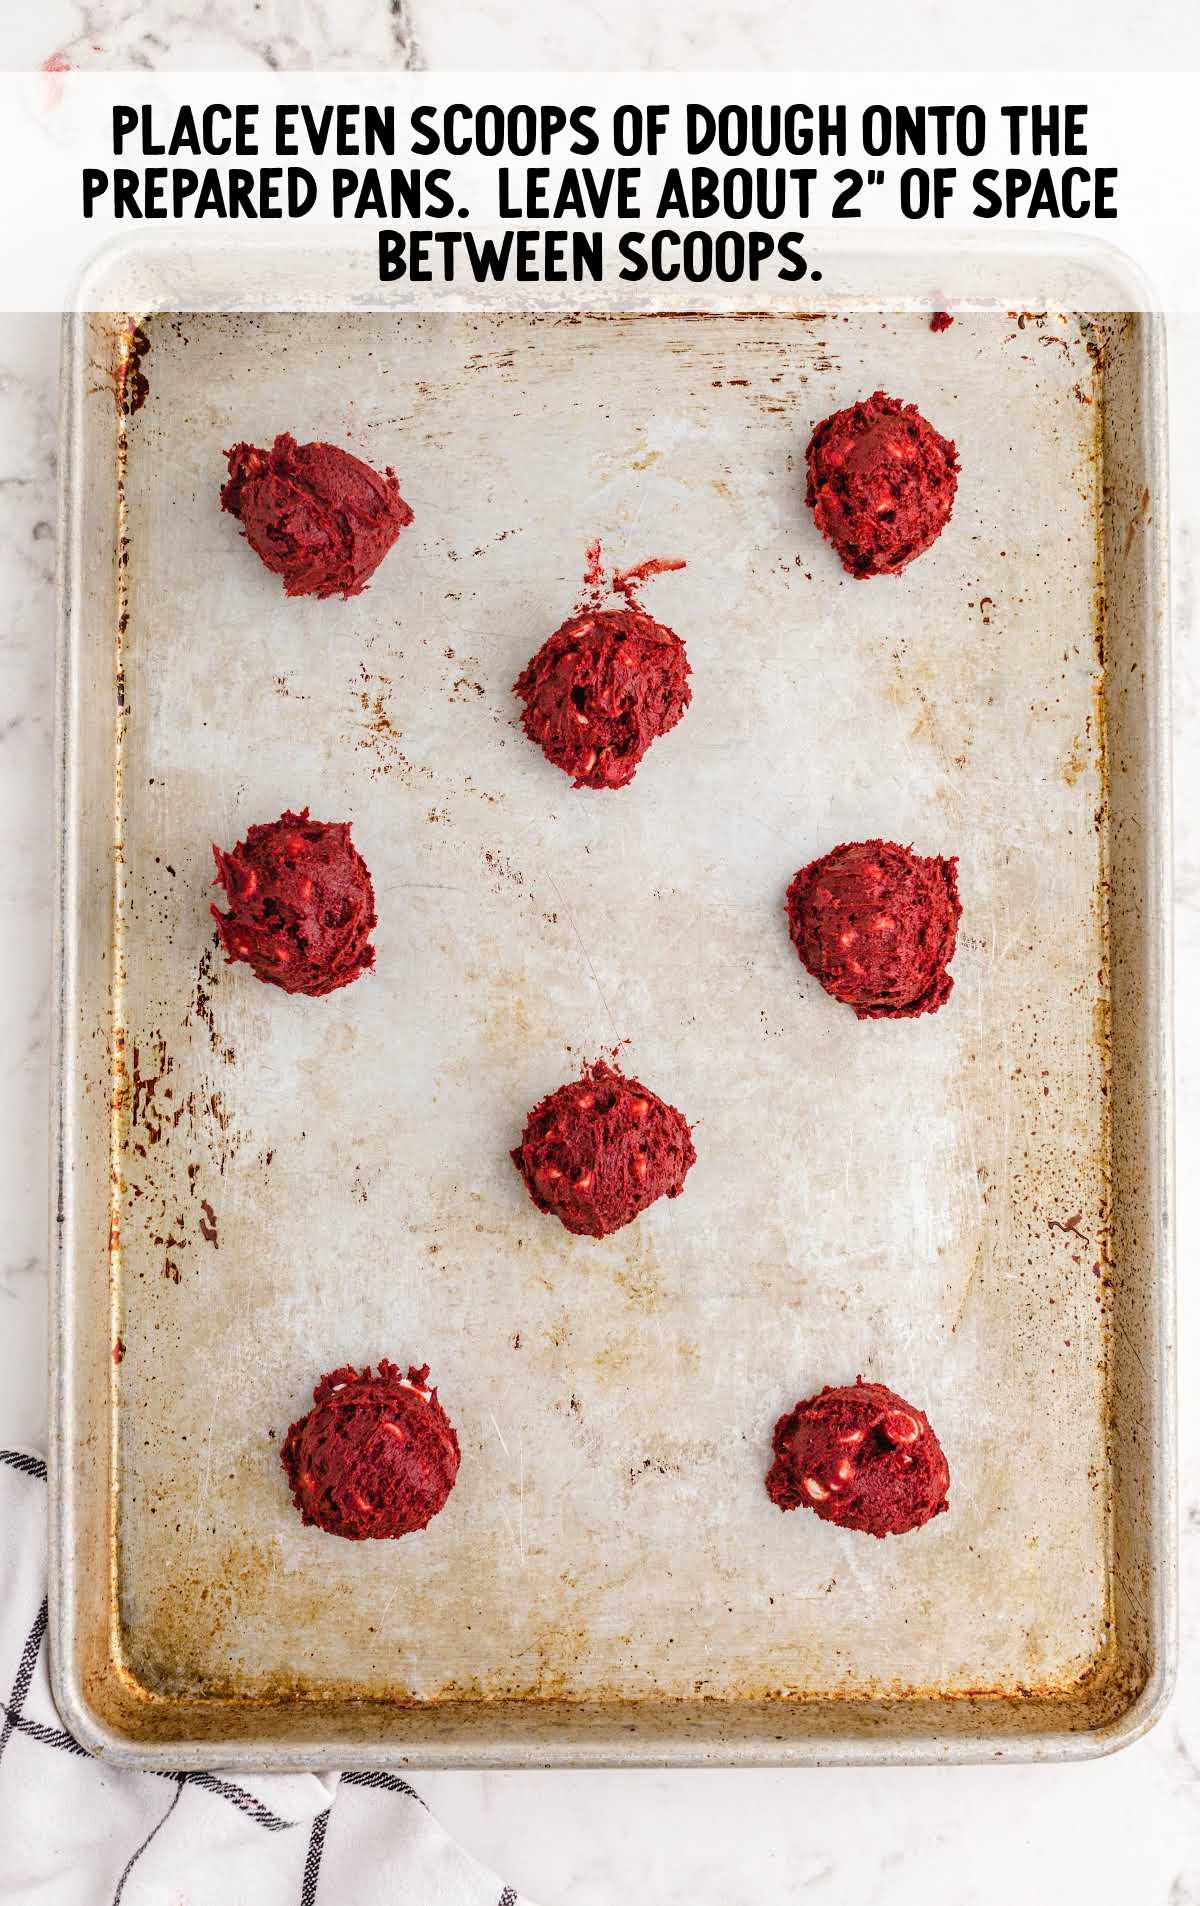
EIGHTH STEP: Use a cookie scoop and place even scoops of dough onto the prepared pans. Leave about 2 inches of space between scoops.
PRO TIP: Leave about 2 inches of space between scoops as the cookies will spread.
NINTH STEP: Bake for 8 to 9 minutes.
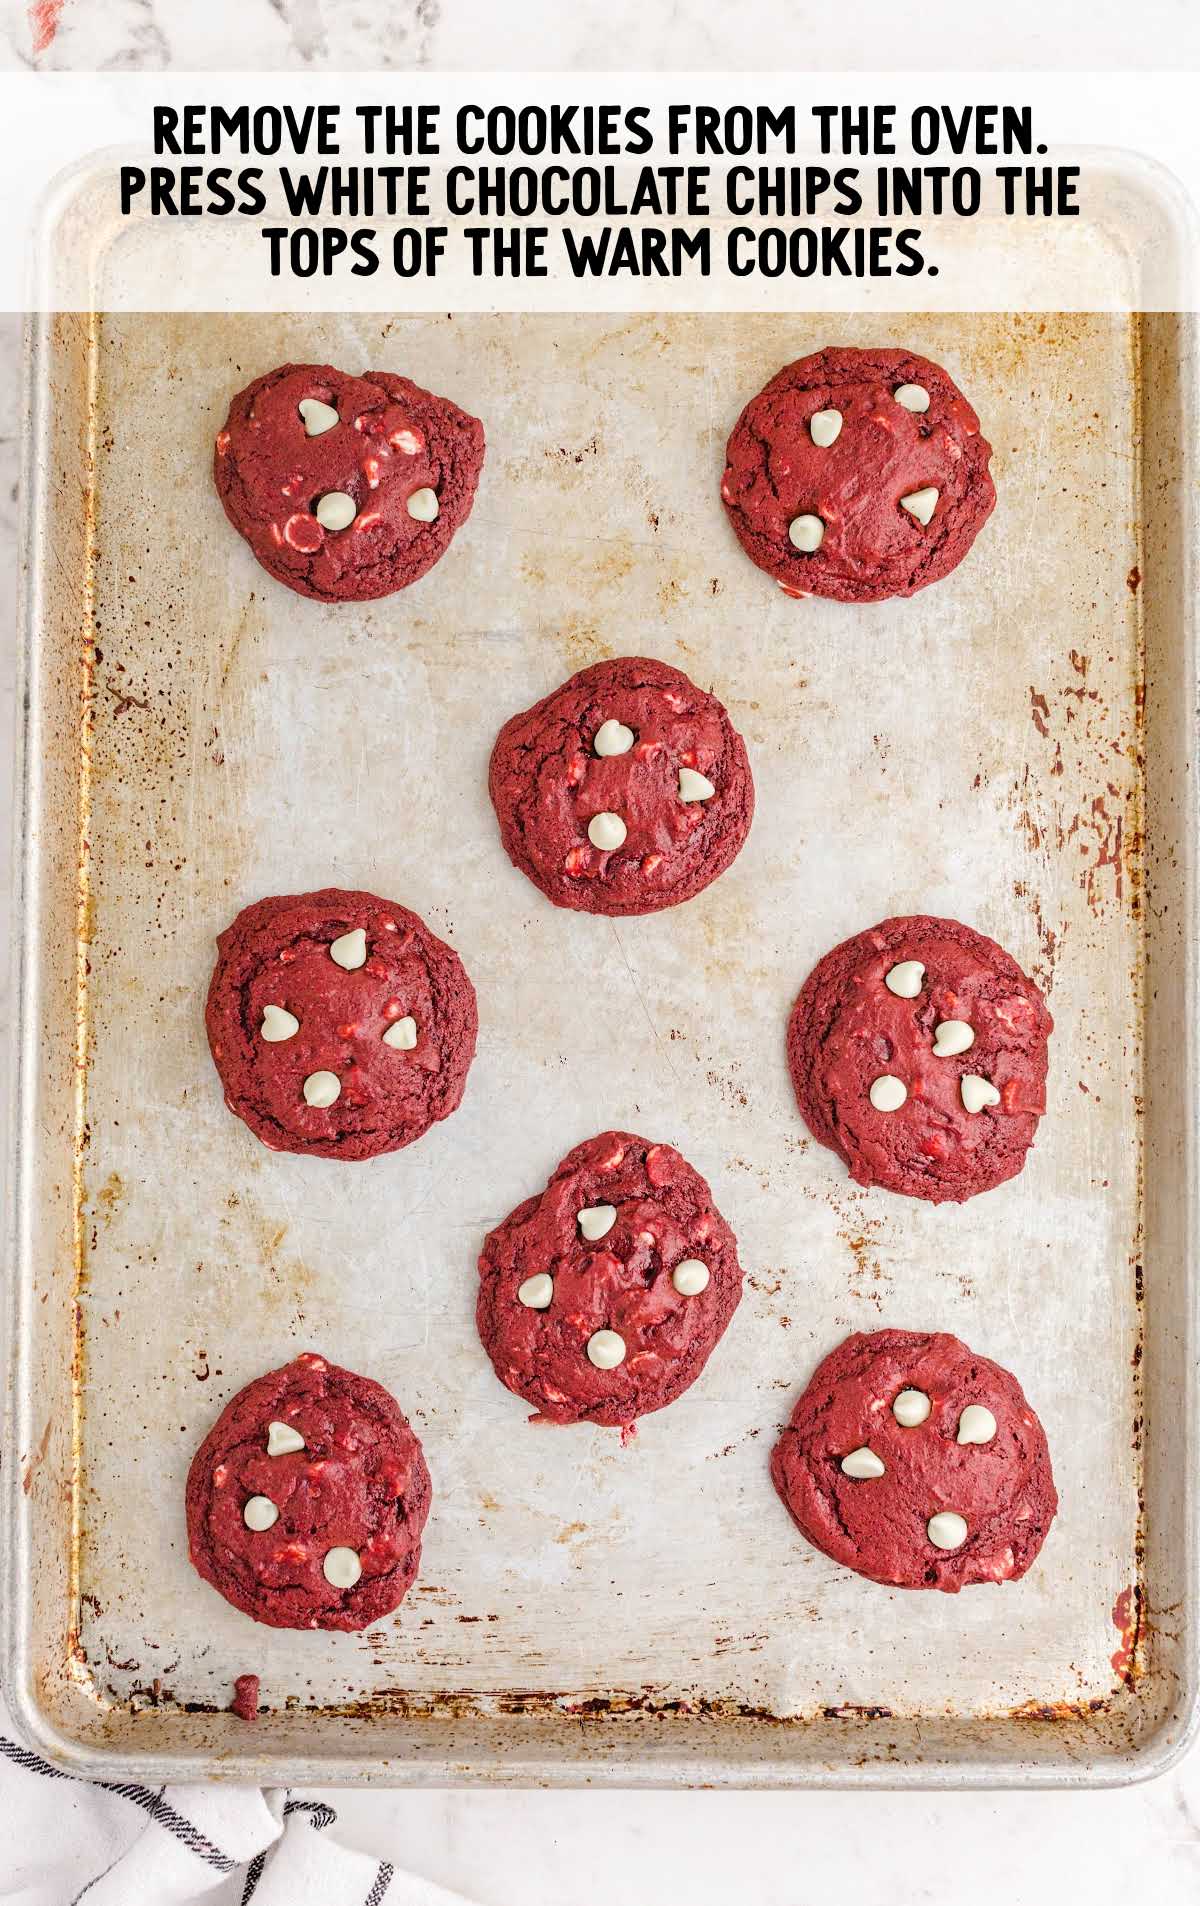
TENTH STEP: Remove the cookies from the oven. Immediately press a few of the remaining white chocolate chips into the tops of the warm cookies. You will probably have leftover white chocolate chips.
ELEVENTH STEP: Allow them to cool on the pan for 2 to 3 minutes before transferring to a cooling rack to cool the rest of the way.
TWELFTH STEP: Serve once cooled.
How to Serve
The vivid red color, paired with the white chocolate chips, makes these soft-baked cookies a tempting choice for a special Valentine’s Day dessert or as part of a cookie tray at the holidays. Serve them with a glass of cold milk or stay warm with a mug of coffee or hot chocolate.
Storage
AT ROOM TEMPERATURE: Red velvet cake cookies can be stored in an airtight container on the counter for up to three days.
IN THE FREEZER: You can freeze red velvet chocolate chip cookies for up to three months in an airtight container. Leave to thaw on the countertop until they reach room temperature.
Inspired by the classic layered red velvet cake, red velvet cookies are moist, chewy, and much easier to make. The chocolate flavor of the cookies combines with the white chocolate chips to make a delightfully sweet bakery-style cookie. Whip up a batch of these bright cheery cookies to share with friends and family.
Frequently Asked Questions
How do I store red velvet cookies?
Red velvet cookies can be stored in an airtight container for 2 to 3 days. They can also be frozen for up to three months.
Can I freeze the red velvet cookie dough and bake it later?
You can freeze the unbaked dough for up to three months. Bake from frozen and add 1 to 2 minutes onto the baking time.
What is red velvet made of?
Nowadays, the red color in red velvet desserts is mainly created using red food coloring but when the recipe was first introduced, the red was created through a reaction between vinegar, buttermilk, and cocoa in the original recipe.
More Recipes You’ll Love

Red Velvet Cookies
Pretty red and white bakery-style cookies. Vibrant and sweet, red velvet cookies are moist, chewy, and easy to make for the holidays or Valentine’s Day.
Ingredients
- 1½ cups all-purpose flour
- ½ cup unsweetened cocoa powder
- ¼ teaspoon salt
- ½ teaspoons baking soda
- 1½ teaspoons baking powder
- ½ teaspoon cream of tartar
- ½ cup salted butter, softened
- 1 cup granulated sugar
- 1 teaspoon vanilla extract
- 2 eggs
- Red gel food coloring or 1 tablespoon red liquid food coloring
- 2 cups white chocolate chips
Instructions
- Preheat the oven to 350°F. Line two baking sheets with parchment paper or grease lightly and set aside.
- In a small bowl, combine dry ingredients: flour, cocoa powder, salt, baking soda, baking powder, and cream of tartar.
- In a large mixing bowl, beat together butter and granulated sugar until combined and fluffy.
- Beat eggs and vanilla extract into butter/sugar mixture until batter is fluffy.
- Add food coloring and mix well, scraping down the sides of the bowl thoroughly to ensure the color is evenly distributed throughout the batter. Add enough food coloring to make a vibrant/dark red.
- Mix the dry ingredients (flour mixture) into the butter/sugar mixture.
- Fold in 1 cup of white chocolate chips.
- Use a cookie scoop and place even scoops of dough onto the prepared pans. Leave about 2 inch of space between scoops.
- Bake for 8 to 9 minutes.
- Remove the cookies from the oven. Immediately press a few of the remaining white chocolate chips into the tops of the warm cookies. You will probably have leftover white chocolate chips.
- Allow them to cool on the pan for 2 to 3 minutes before transferring to a cooling rack to cool the rest of the way.
Video
Notes
- Make sure your ingredients are room temperature to keep your batter an even consistency.
- Add more liquid food coloring, a little at a time, until the batter is a vibrant dark red.
- Leave about 2 inches of space between scoops as the cookies will spread.


Comments
Sue says
So yummy!