Published on
Homemade Glazed Donuts

Table of Contents
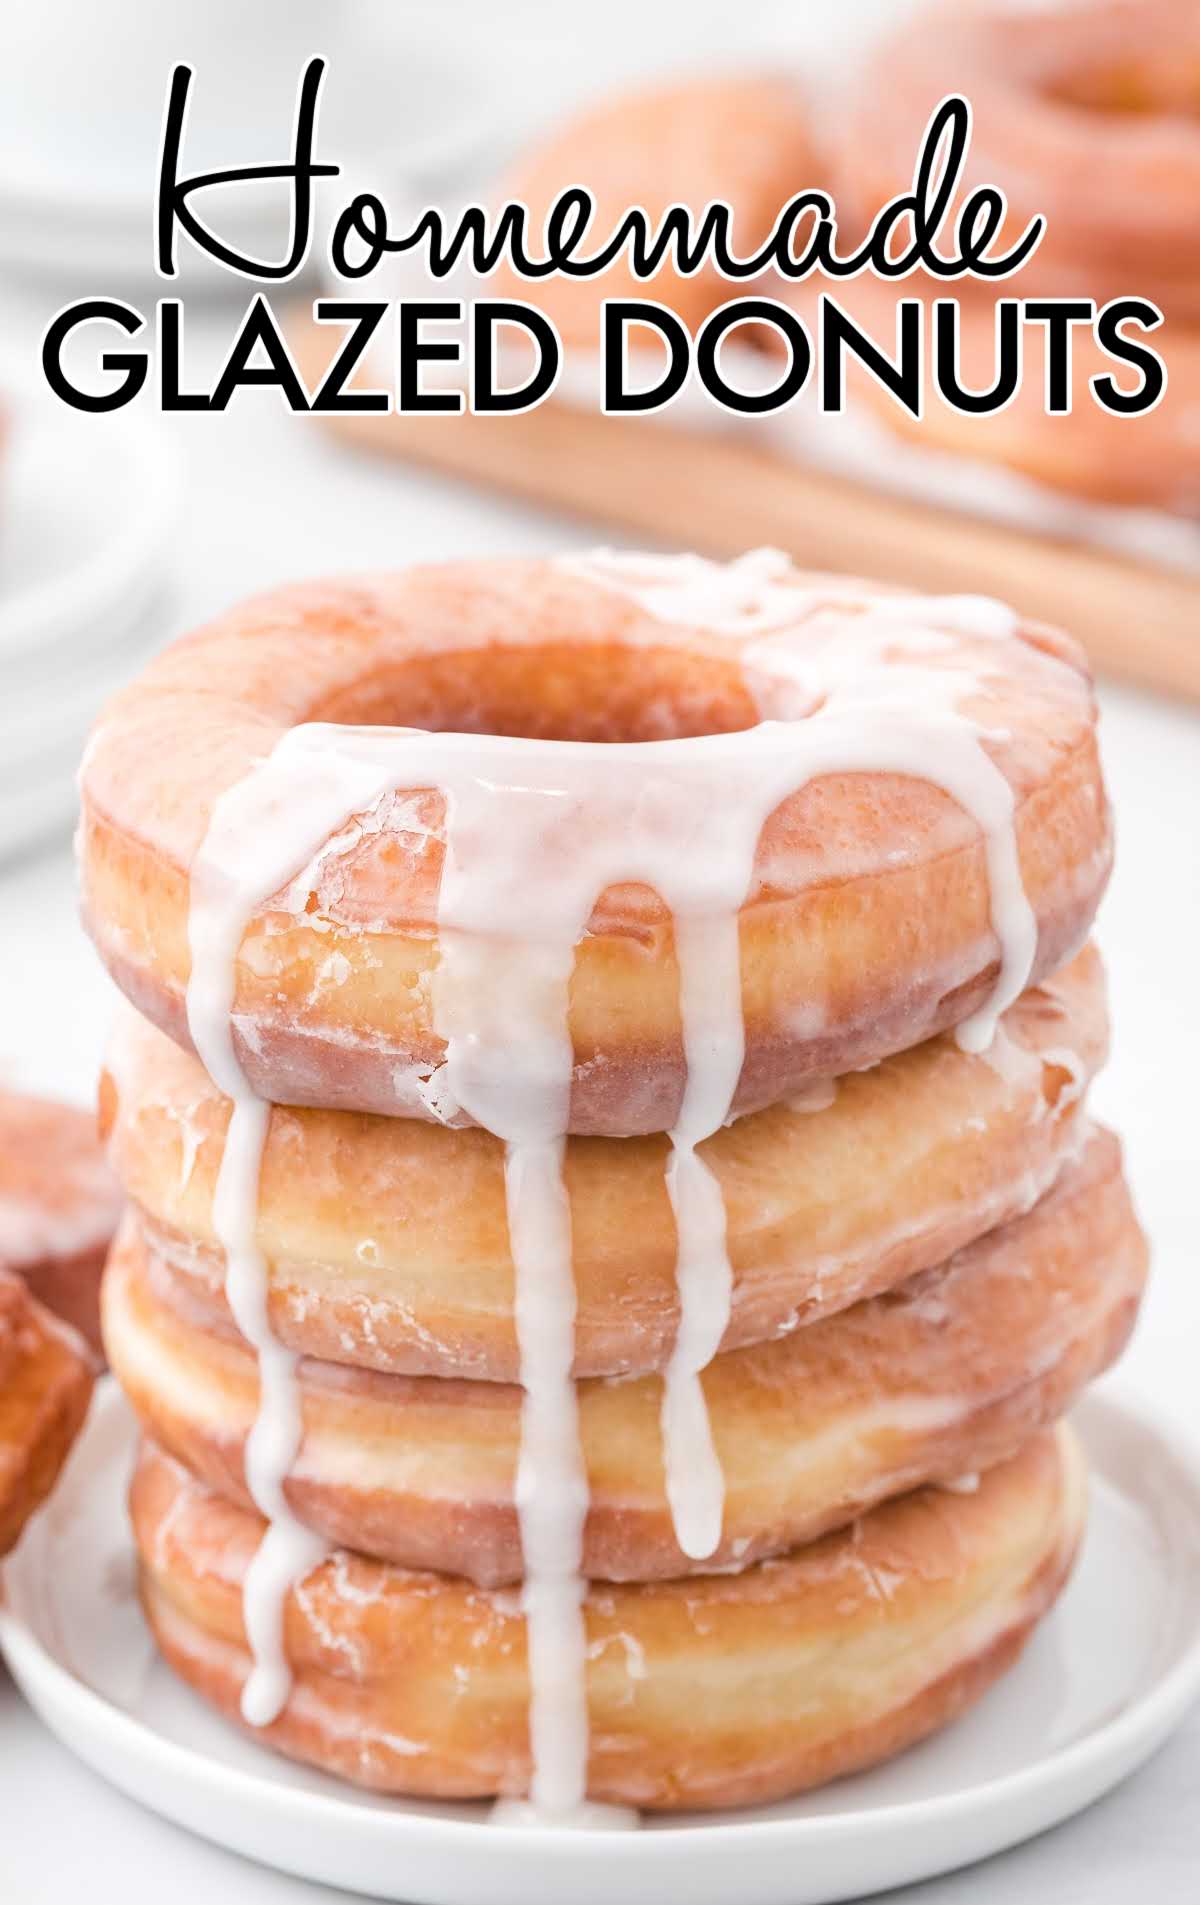
Homemade glazed donuts are delightfully soft, sweet, and airy, plus they are incredibly tasty! Skip the coffee shop because these easy-to-make donuts will have you hooked from the first bite.
Can’t get enough donut recipes? Add a little bit of variety to your donut menu with these Air Fryer Donuts, Cinnamon Roll Donuts, and Baked Sour Cream Donuts.
Homemade Glazed Donuts Ingredients
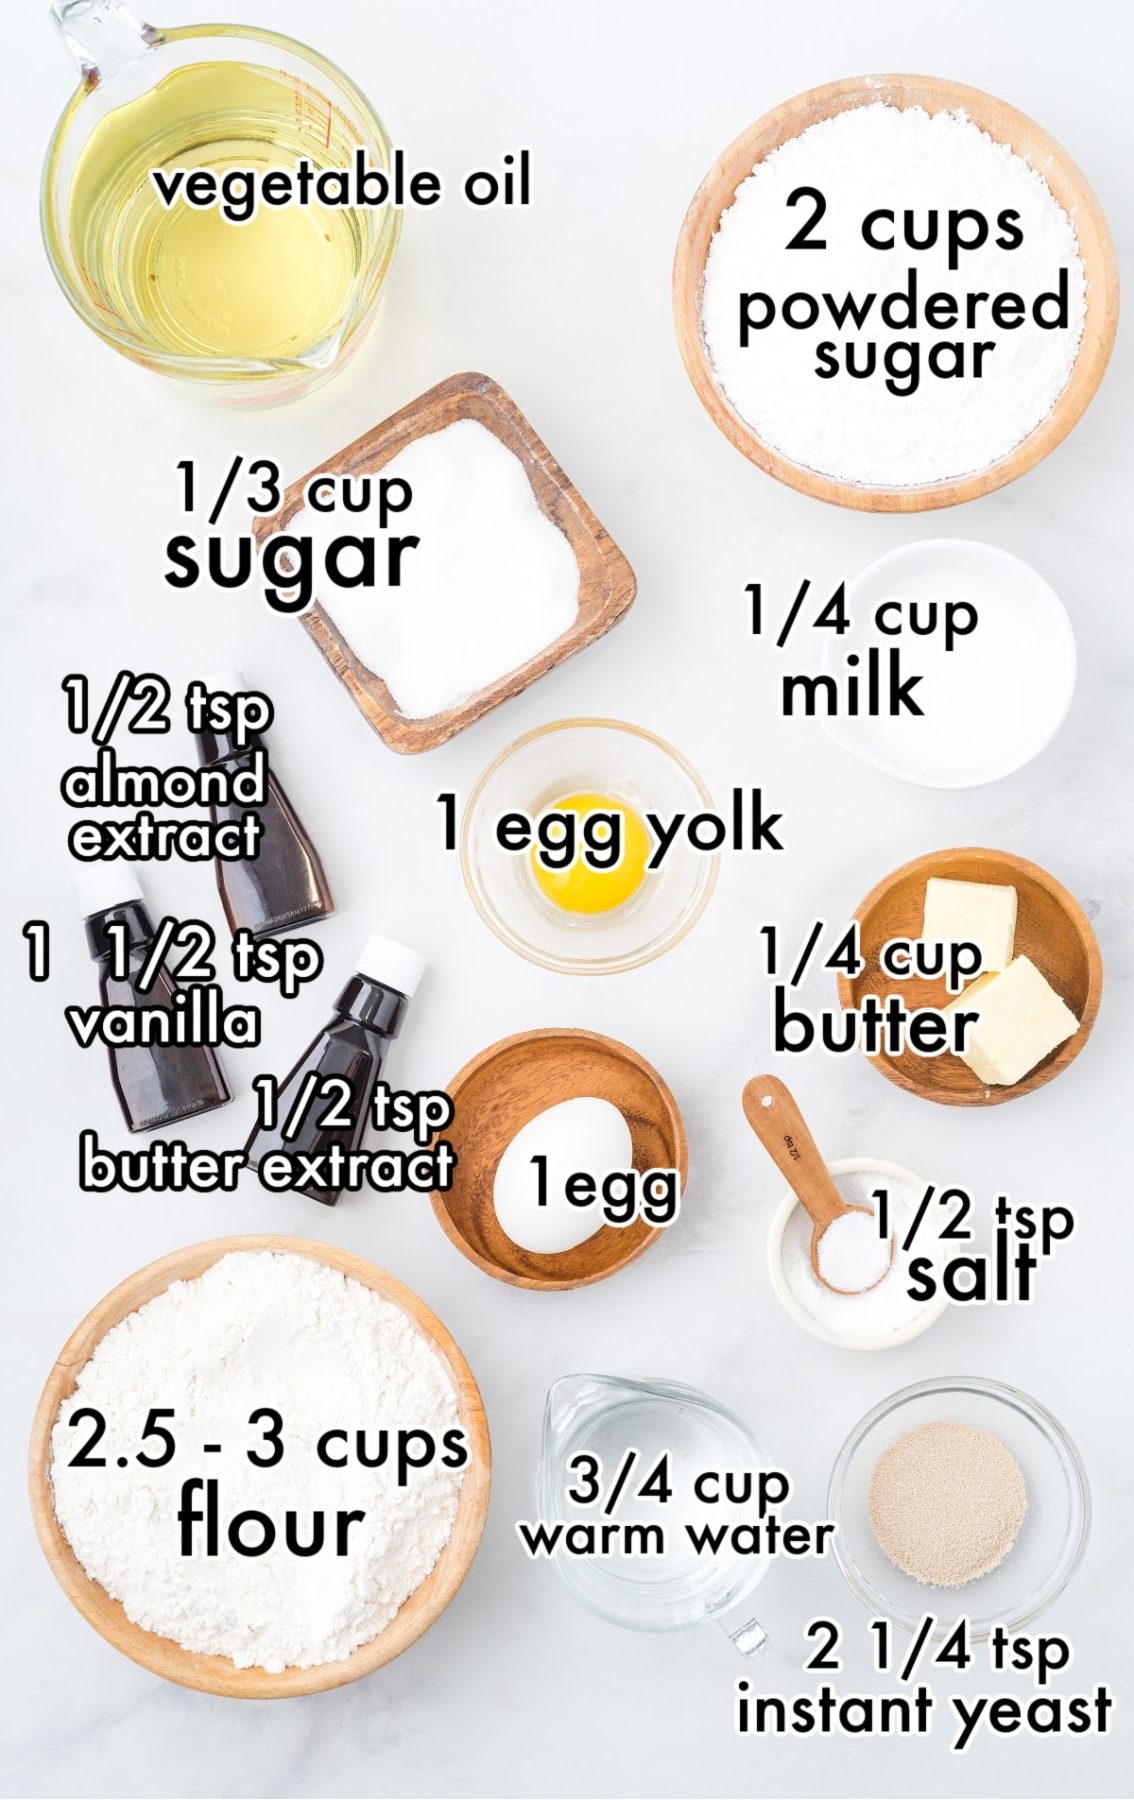
You will need:
- 2¼ teaspoons instant yeast, not active dry yeast
- ¾ cup warm water
- ⅓ cup sugar
- ½ teaspoon salt
- ¼ cup unsalted butter, softened
- 1 egg
- 1 egg yolk
- ½ teaspoon vanilla extract
- ½ teaspoon almond extract
- 2½ to 3 cups all-purpose flour
- Vegetable oil, for frying
PRO TIP: Make sure you are using instant yeast rather than active dry yeast for this recipe.
Glaze
- 2 cups powdered sugar
- ¼ cup milk
- 1 teaspoon vanilla extract
- ½ teaspoon butter extract, optional
PRO TIP: The butter extract in the glaze is optional. It just gives it a butter flavor and is a nice addition if you have it on hand.
Substitutions and Additions
Toppings: To make these simple homemade donuts even fancier, while the glaze is still warm, you could add sprinkles, toasted coconut, finely chopped pecans or walnuts, toffee pieces, or a little bit of cinnamon sugar.
Glaze: How about a different twist on the simple glaze? Add a tablespoon of maple syrup to the glaze for a sweet surprise.
How to Make Homemade Glazed Donuts
STEP ONE: In the bowl of a stand mixer, add yeast and warm water. Let stand for 10 minutes. Add sugar, salt, unsalted butter, egg, egg yolk, vanilla extract, and almond extract. Attach the dough hook and mix on low speed to combine.
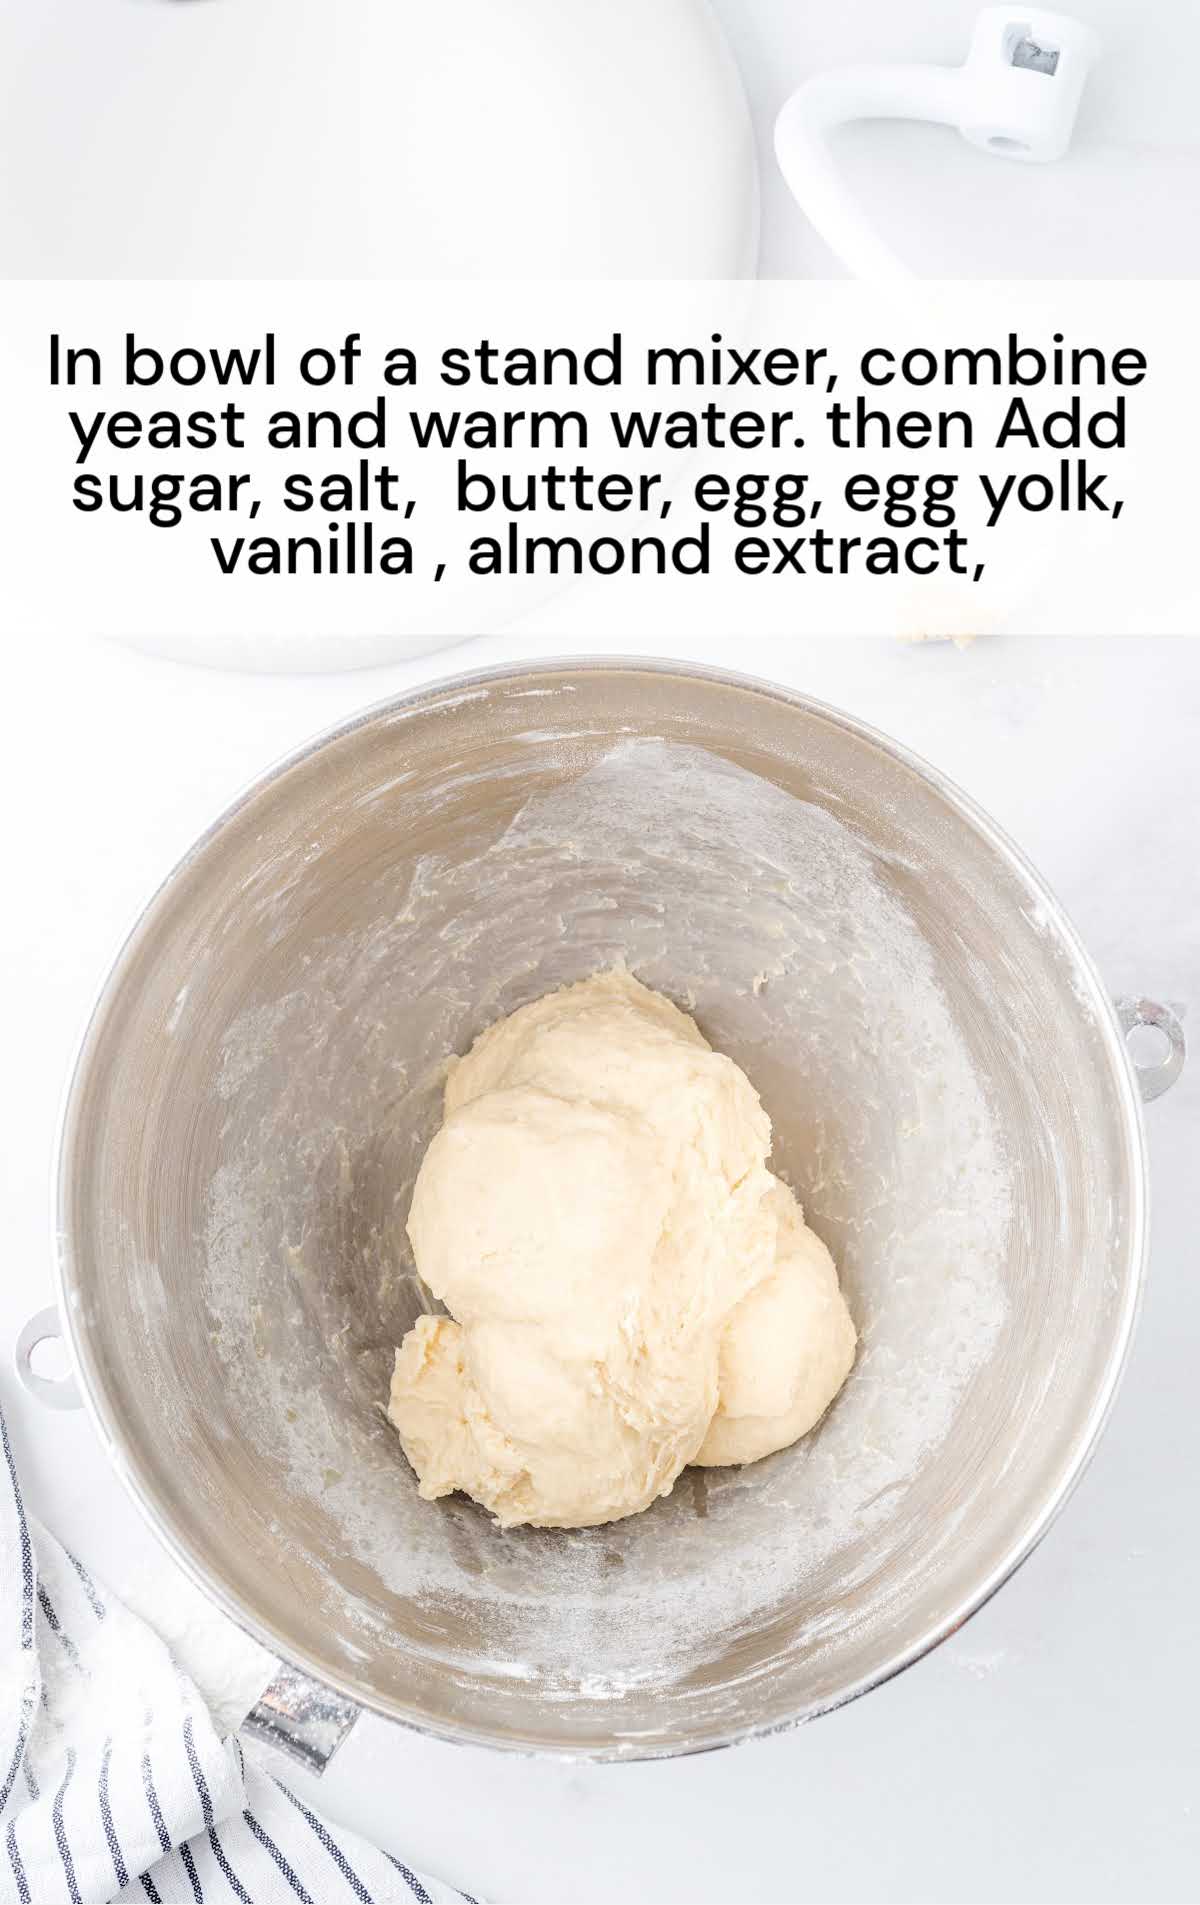
STEP TWO: Add 2½ cups flour, half a cup at a time while the stand mixer is on low speed. Knead on low until the dough starts to form. If the dough is still very sticky add more flour, 1 tablespoon at a time, until the dough pulls away from the sides of the bowl. The dough should be somewhat tacky, but not sticky.
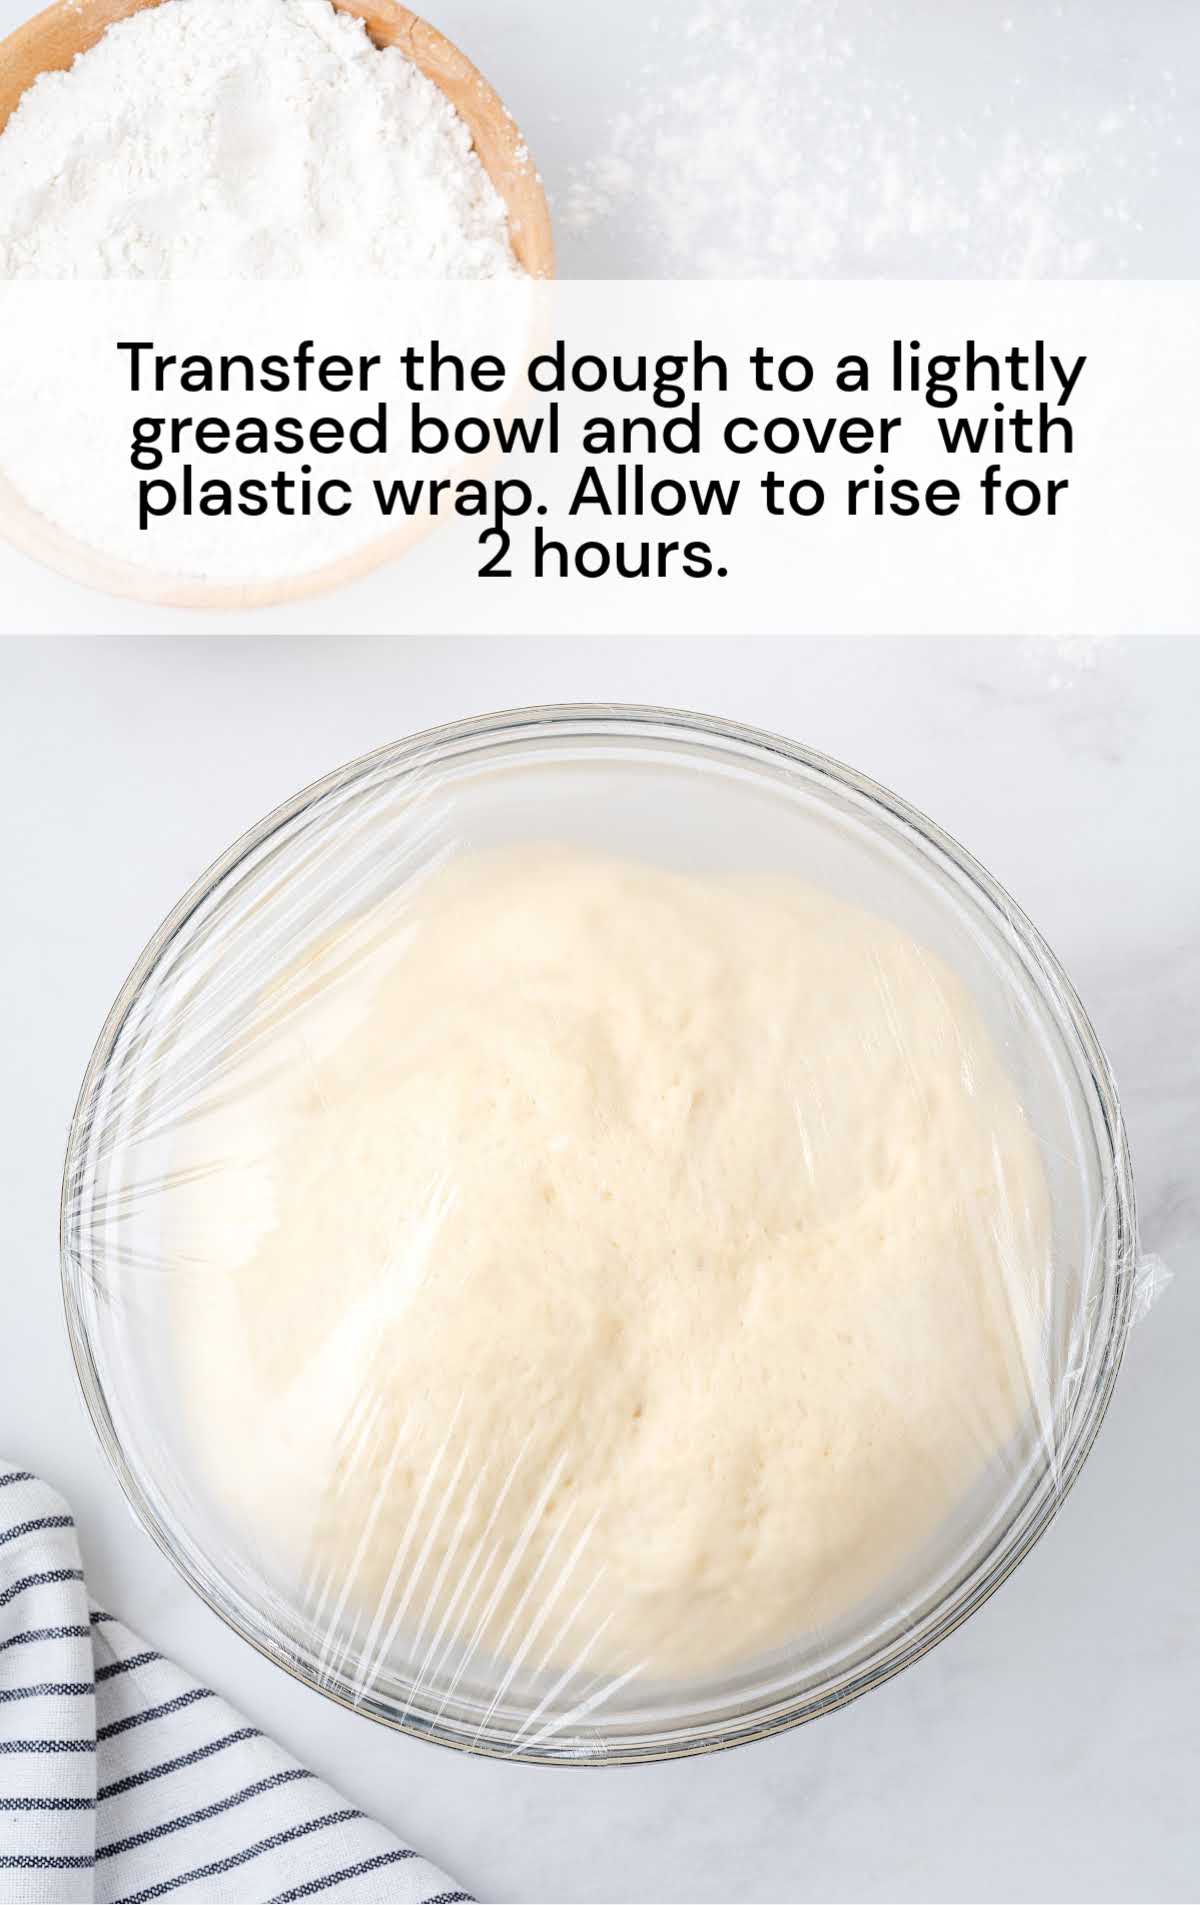
STEP THREE: Transfer the dough to a lightly greased bowl and cover it tightly with plastic wrap. Make sure to place the bowl in a draft free, warm spot in your kitchen. Allow to rise for 2 hours.
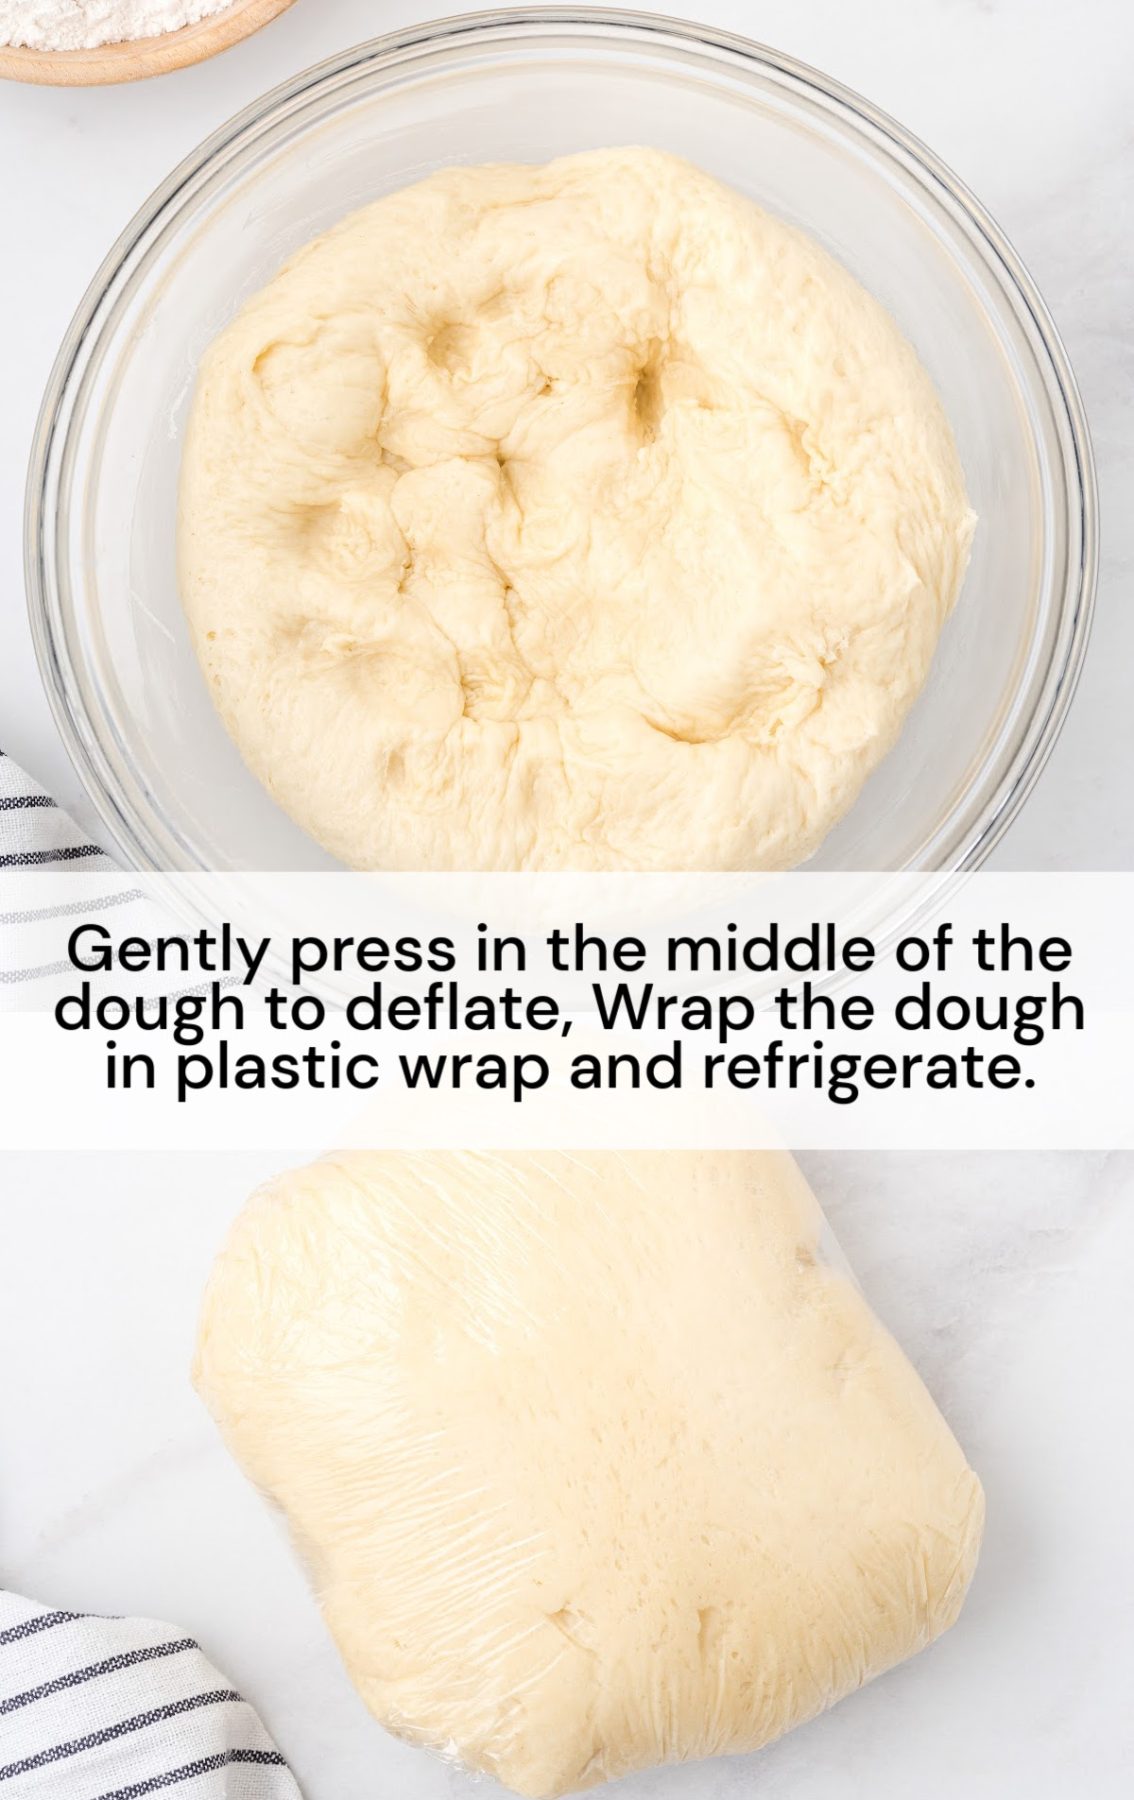
STEP FOUR: Gently press in the middle of the dough to deflate. Wrap the dough in plastic wrap and refrigerate for 6 to 8 hours, or overnight.
PRO TIP: The chilling time is important for these donuts. The butter needs a chance to solidify in the fridge which makes the dough much less sticky than when it went in the fridge.
Chilling the donut dough also allows the donuts to keep their shape so much better, and gets them nice and fluffy.
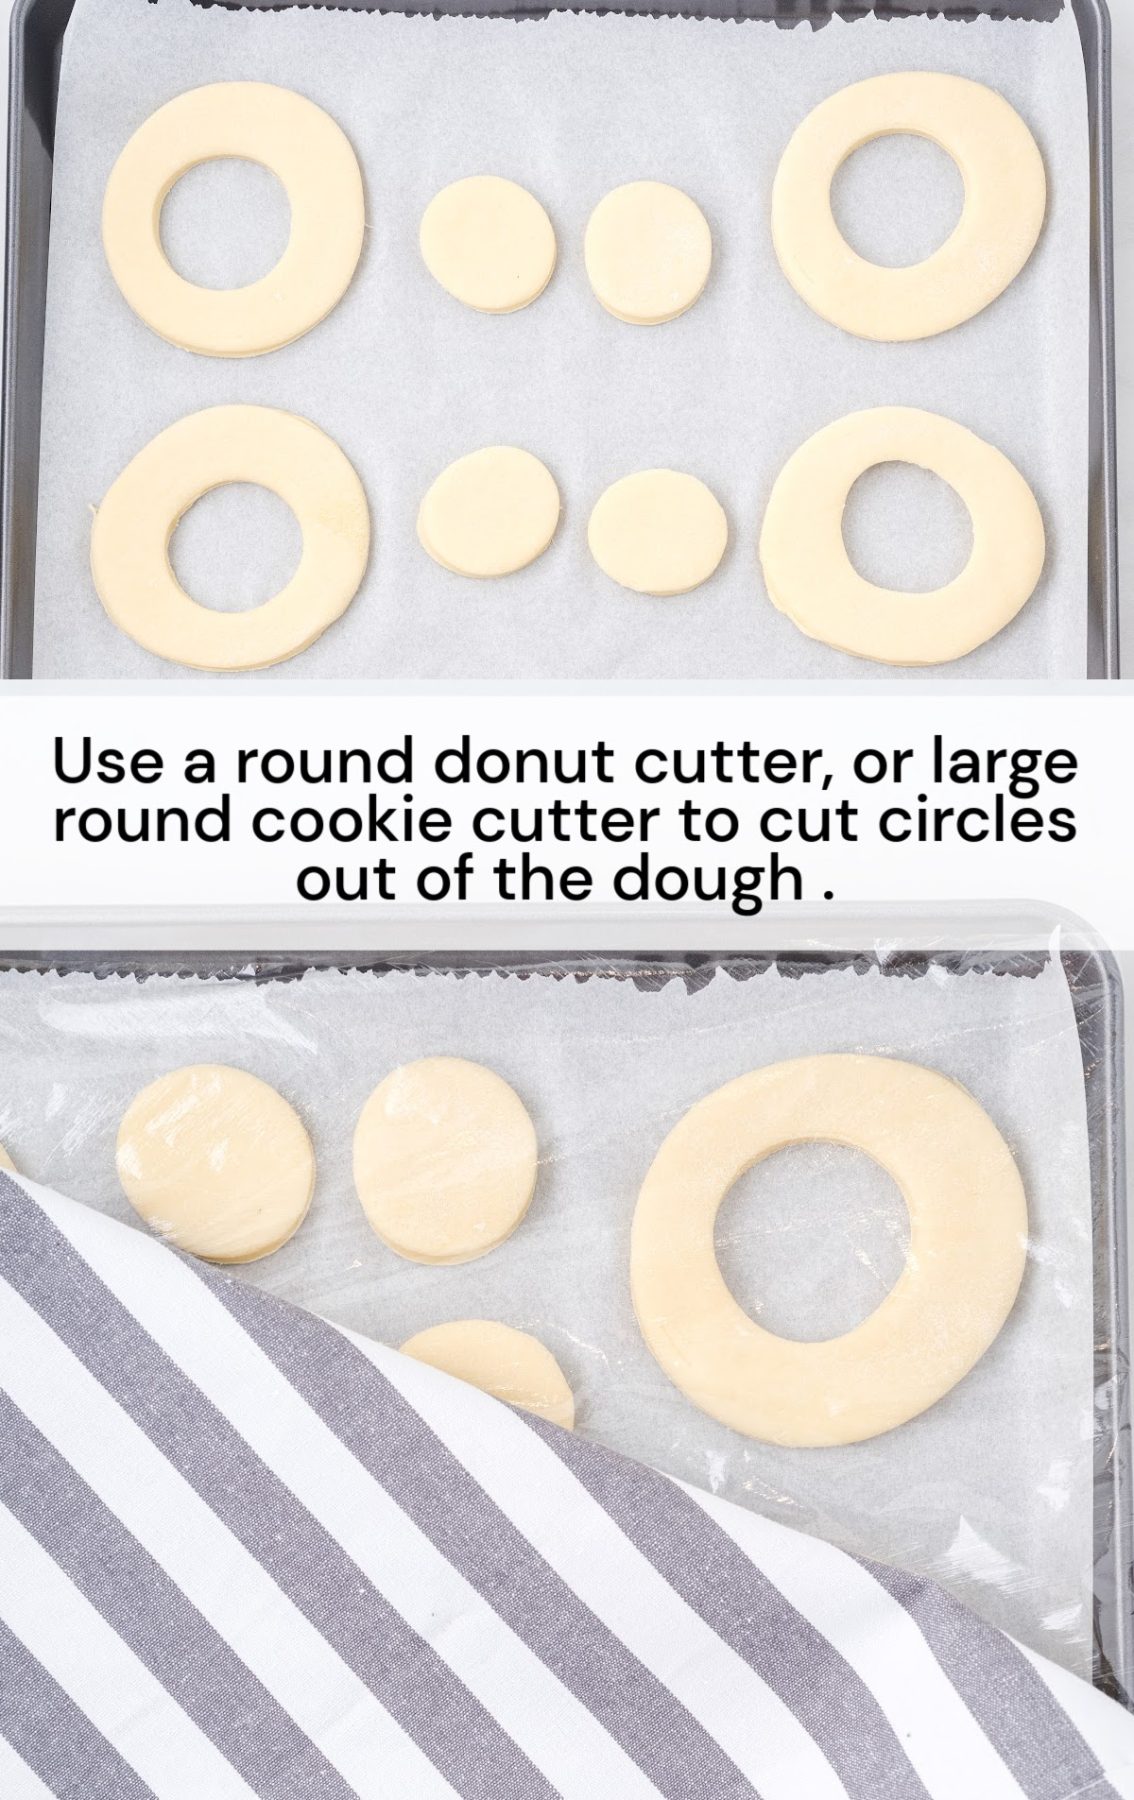
STEP FIVE: On a lightly floured surface, roll the dough out to about ½ inch thick. Use a round donut cutter or a large round cookie cutter to cut circles out of the dough. Use a smaller round cutter or something about 1 inch across that is round to cut out the center of the donut (donut holes). Place the cut-out donuts and donut holes on a parchment-lined baking sheet. Lightly cover with plastic wrap, and then drape a clean dry towel over the top and allow to rest for 1 hour.
PRO TIP: It is important not to let the donut dough rise longer than an hour. As the dough sits, the yeast flavor will become stronger, and you’ll be able to taste it more in the finished donuts.
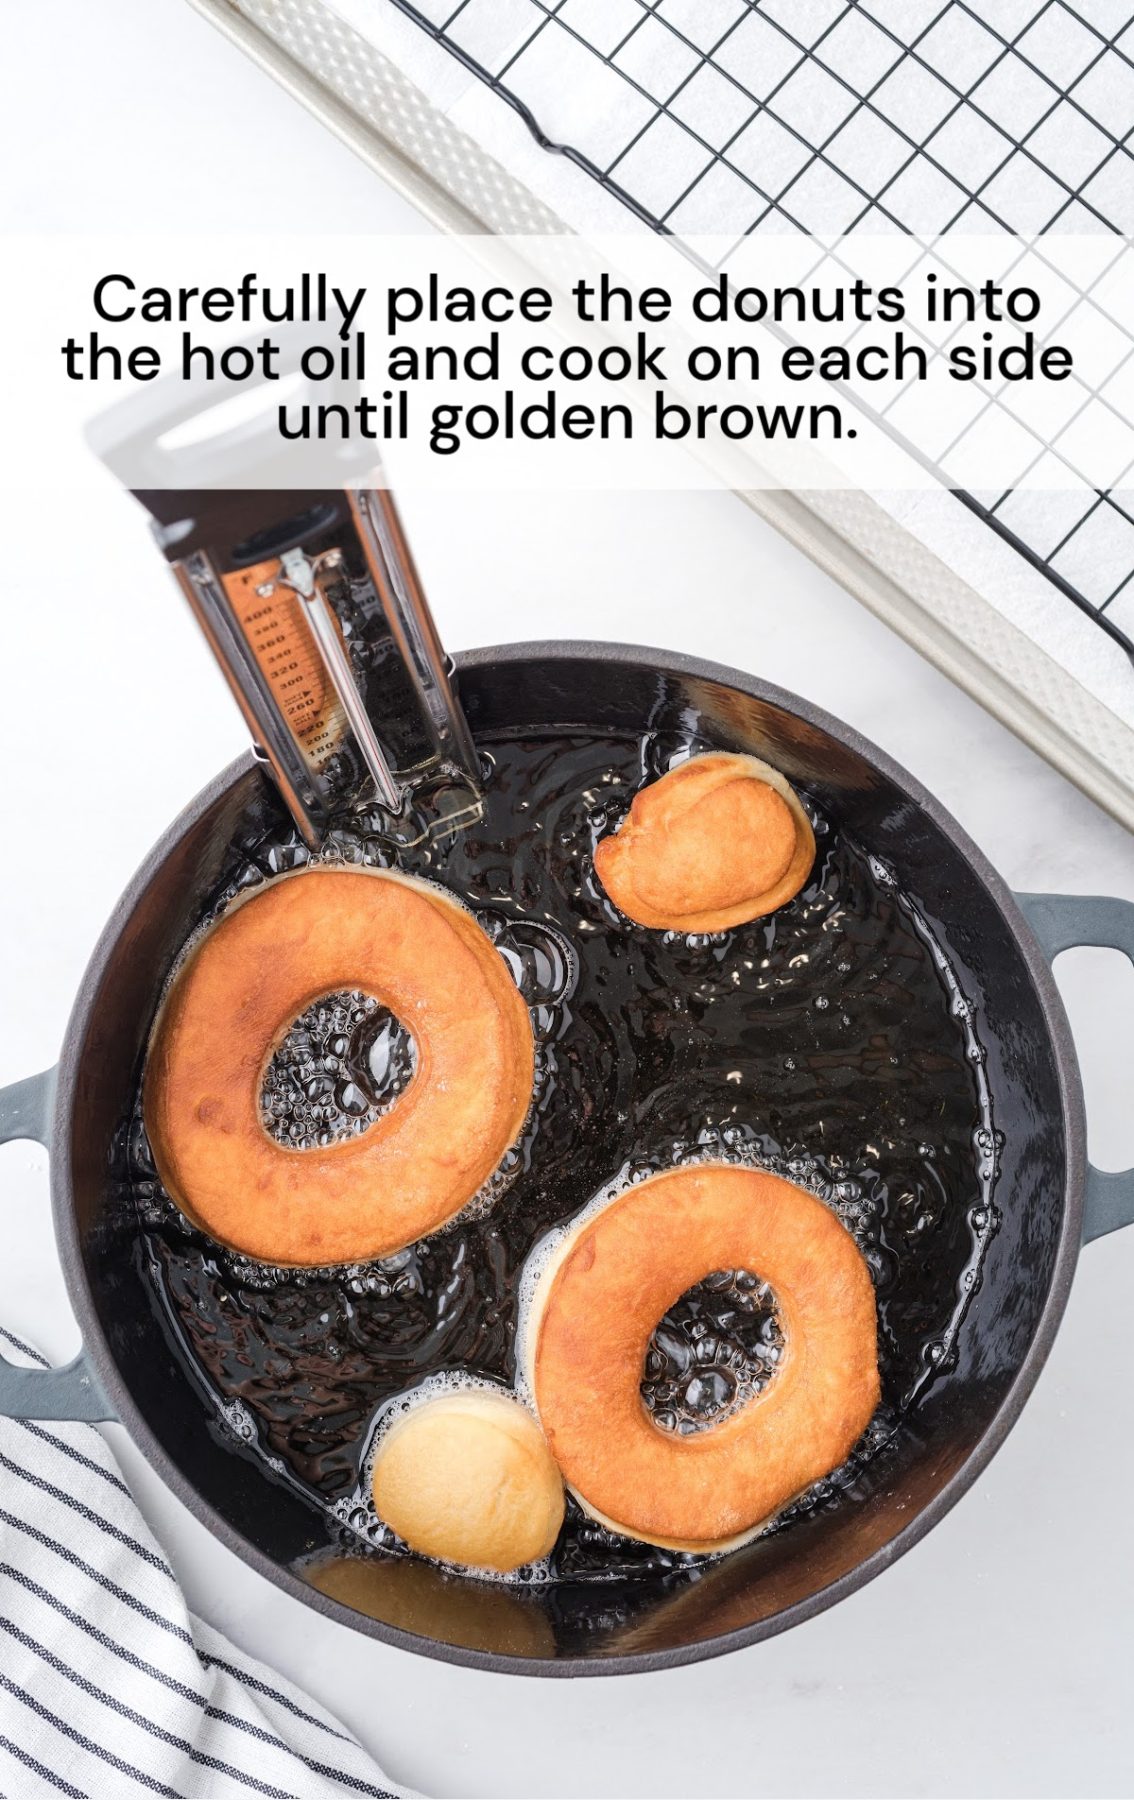
STEP SIX: In a large Dutch oven filled with 2 to 3 inches of vegetable oil over medium heat, bring the temperature of the oil up to 350°F. Use a thermometer to test the temperature. Having the temperature hotter than 350°F will cook the donuts too quickly and the inside will still be doughy. Carefully place the donuts into the hot oil and allow to cook on each side until golden brown. Work in batches so you don’t overcrowd the pot.
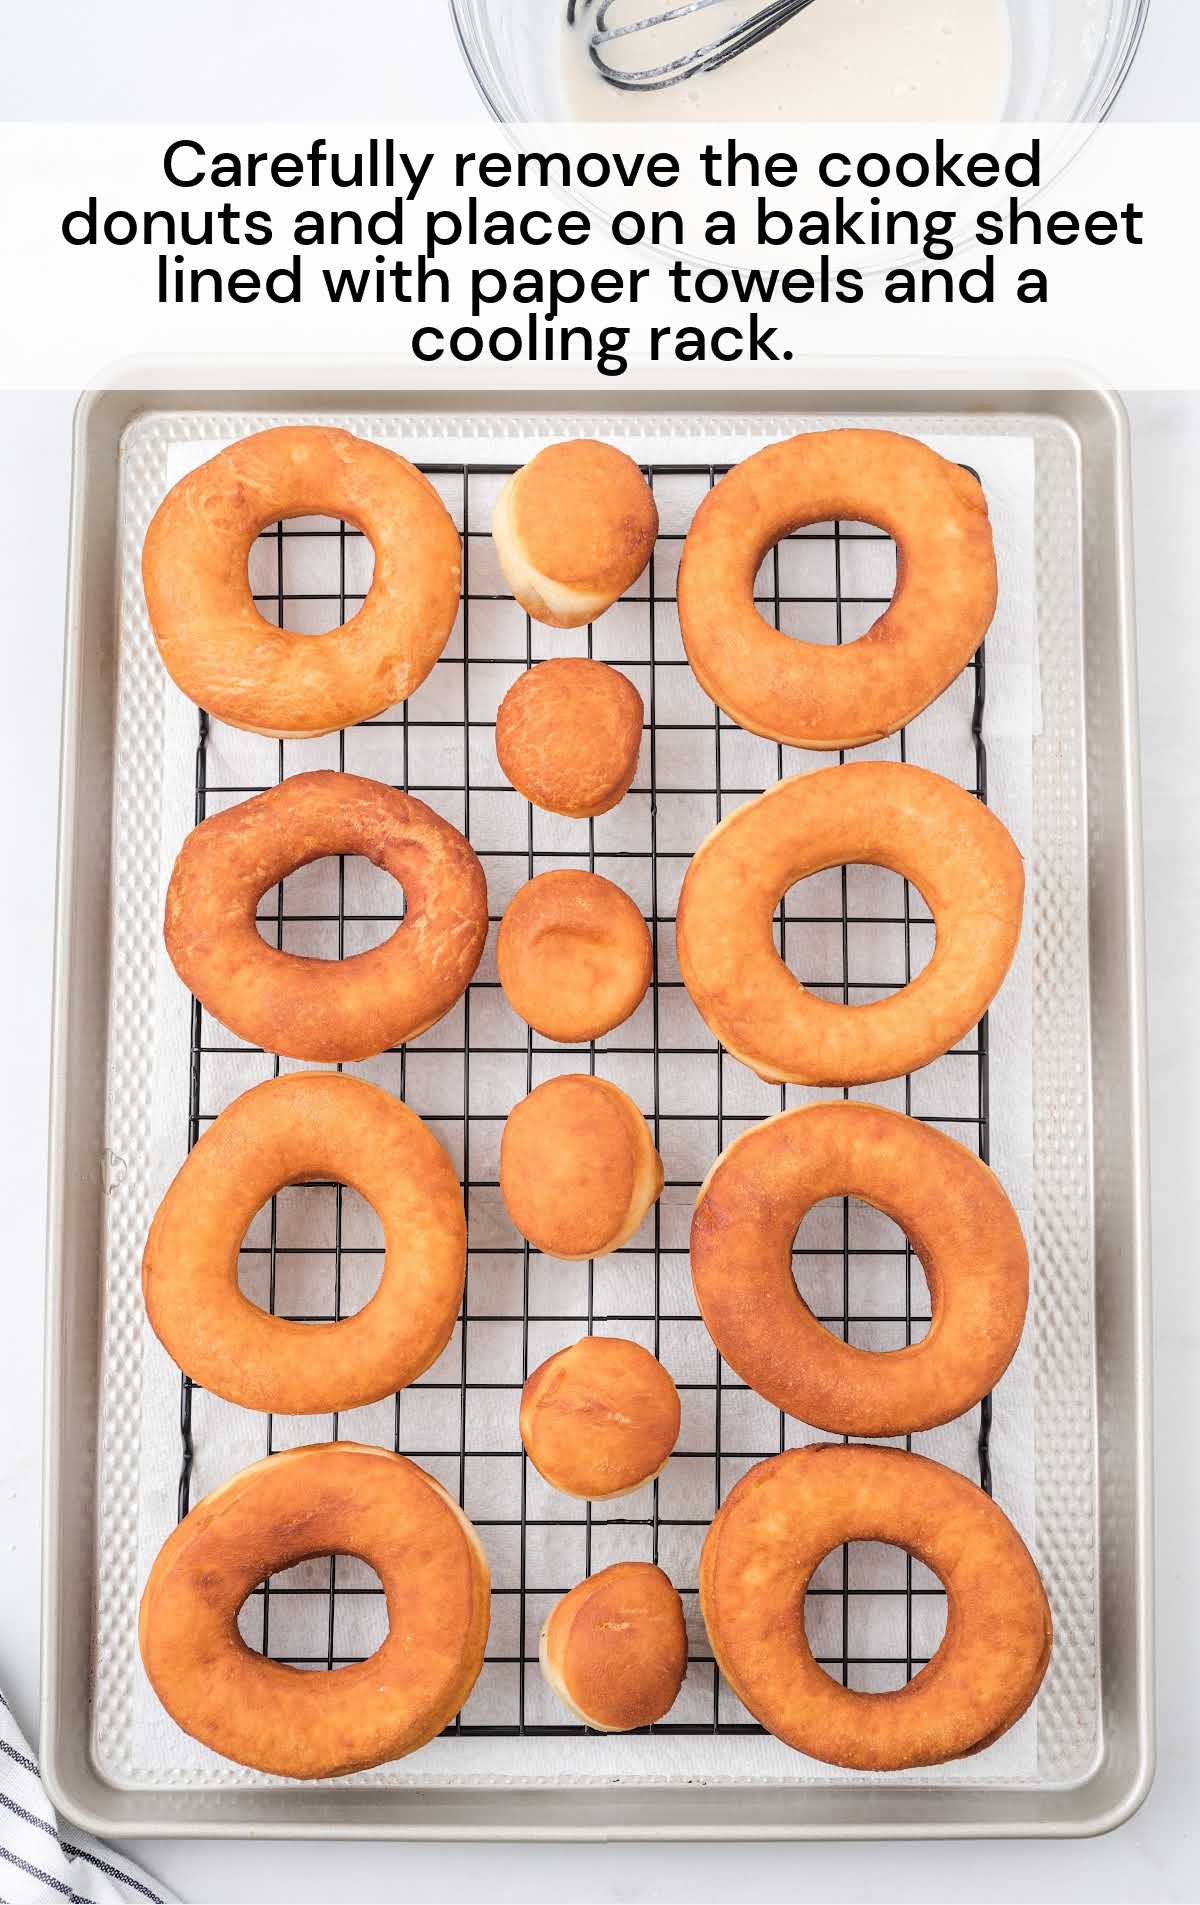
STEP SEVEN: Carefully remove the cooked donuts and place them on a baking sheet lined with paper towels and a cooling rack. Repeat the steps until all of the donuts have been cooked.
Glaze
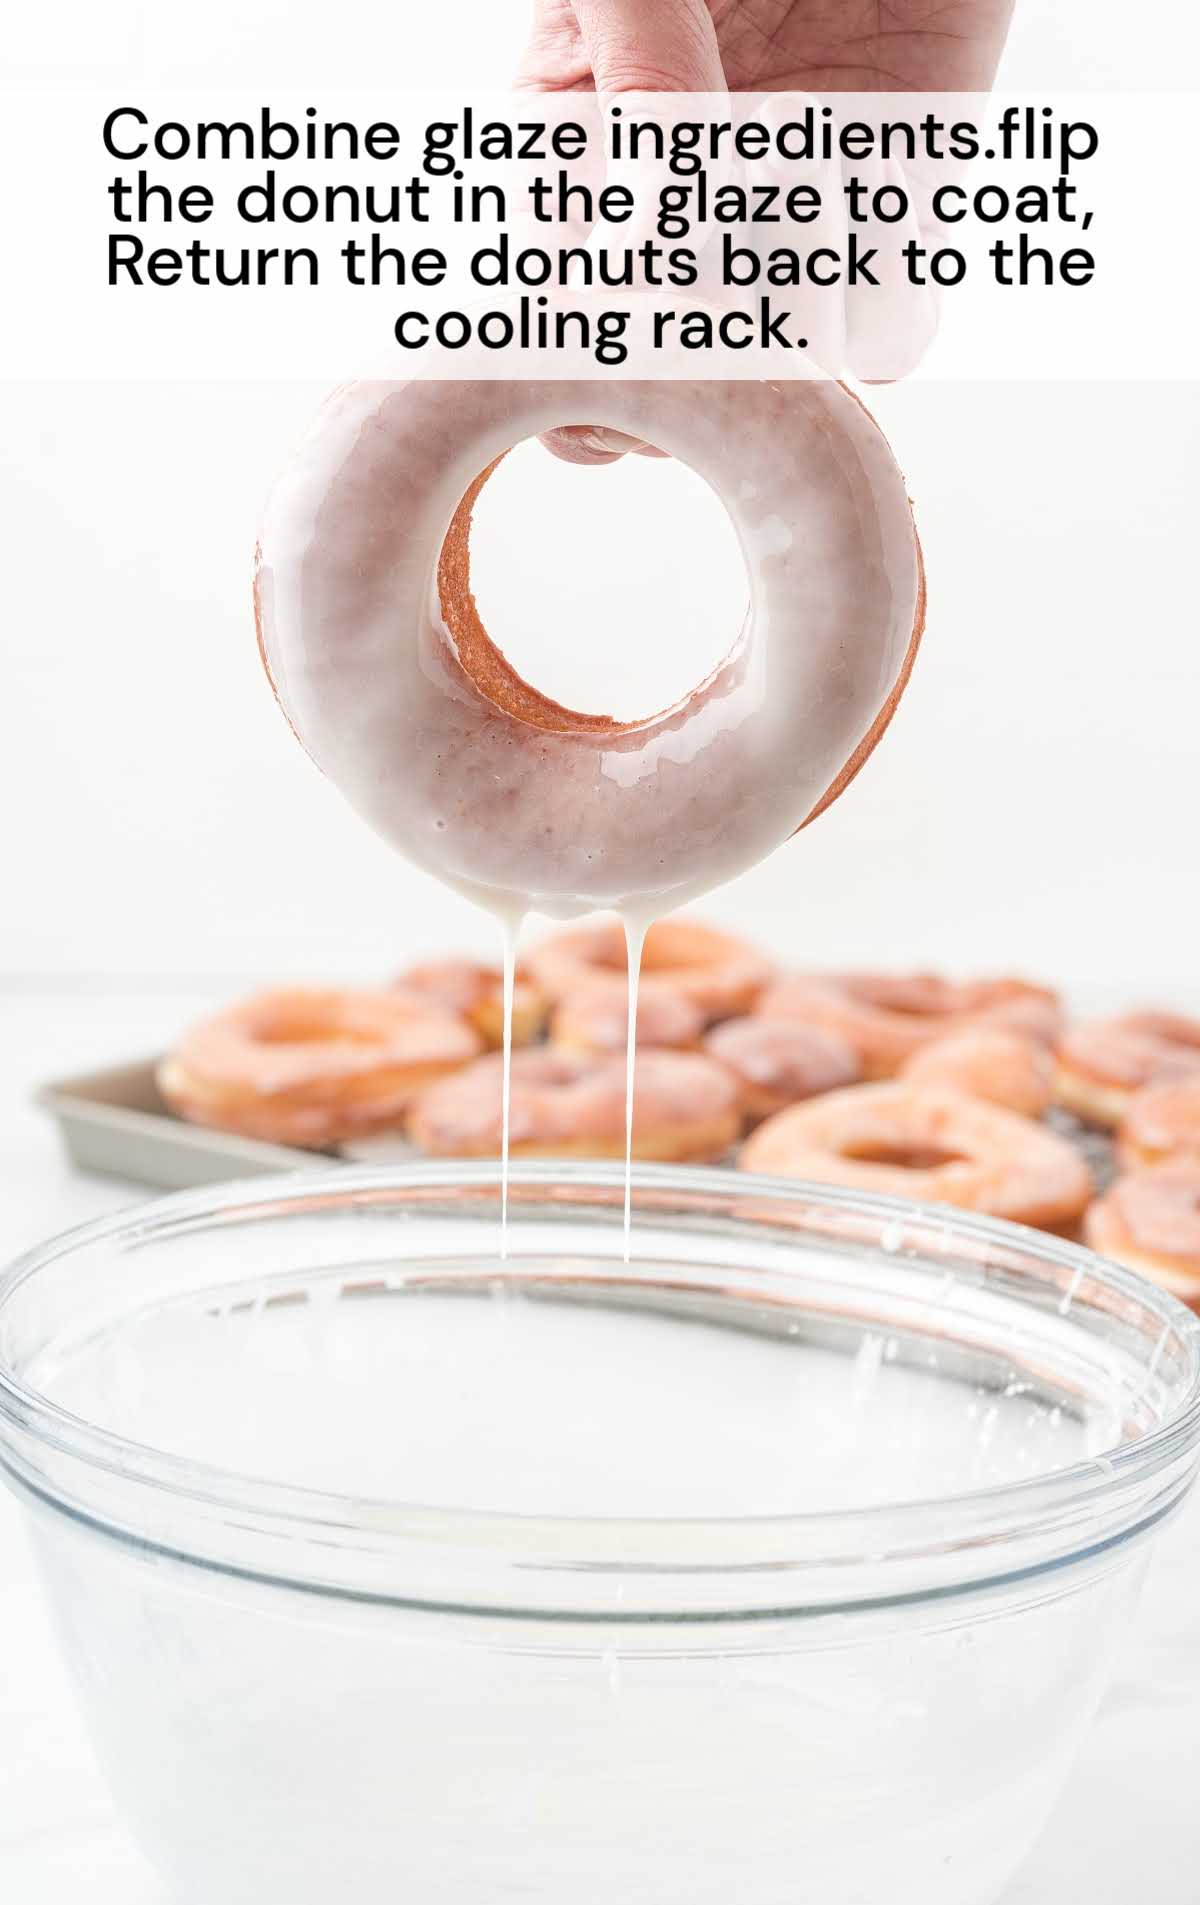
STEP EIGHT: In a separate mixing bowl combine powdered sugar, milk, vanilla extract, and butter extract. Use a whisk to combine until no lumps remain. Carefully lower each slightly cooled donut (one at a time) into the glaze. Gently flip the donut to coat the other side. Return the donuts back to the cooling rack and allow the glaze to set, about 10 minutes.
How to Serve Homemade Glazed Donuts
A sweet glaze coats these delightful baked donuts, making them an irresistible treat to enjoy with your morning cup of coffee. Serve them along with a pumpkin spice latte, iced mocha, or an iced caramel macchiato for a sweet breakfast treat or afternoon snack.
Storage
ON THE COUNTER: Donuts are best enjoyed the same day. You can store them in an airtight container at room temperature to enjoy later in the day.
IN THE FRIDGE: Homemade baked glazed donuts can also be stored in the refrigerator for 1 to 2 days.
IN THE FREEZER: We don’t recommend that you store these donuts in the freezer.
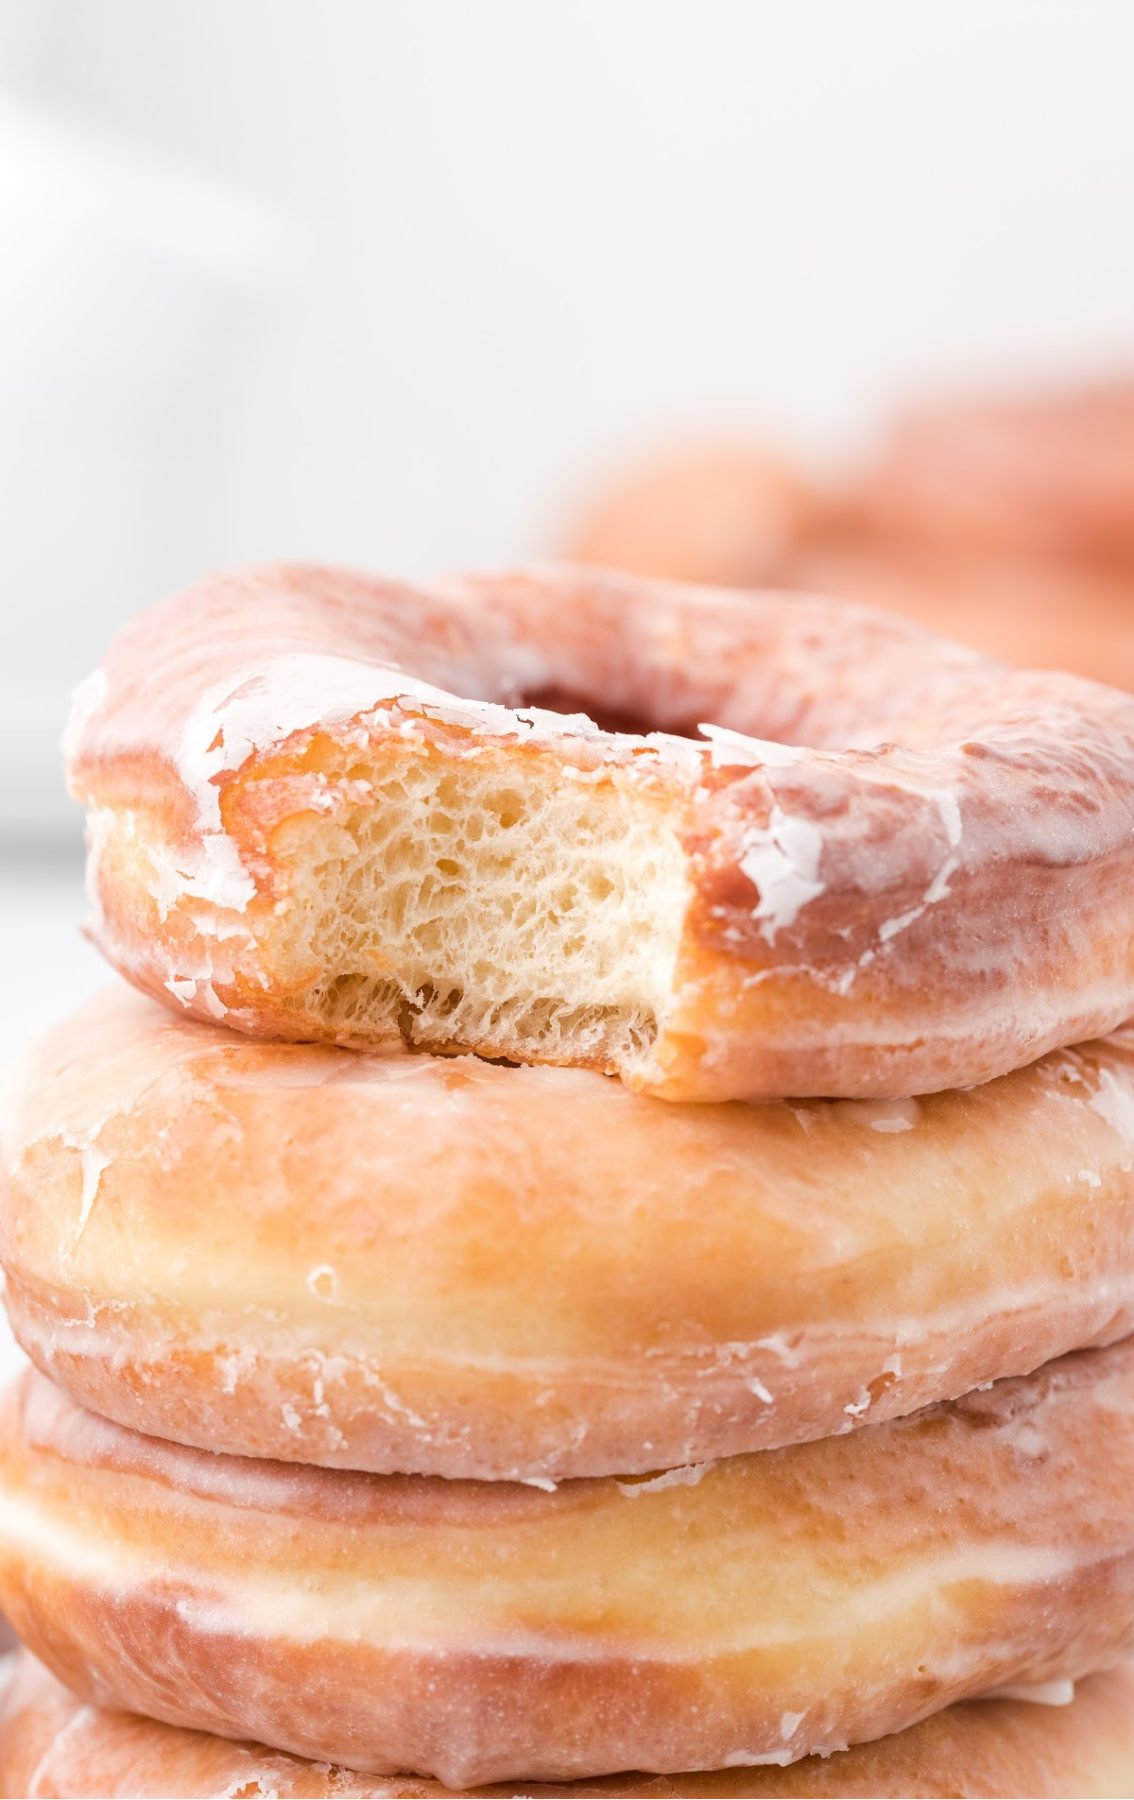
Homemade glazed donuts are the perfect addition to any breakfast, brunch, or afternoon snack. With this easy-to-follow recipe, you can make your own delicious glazed donuts from scratch with simple ingredients; much better than any coffee-shop donut you can get! These soft homemade donuts are completely addictive and the perfect treat to enjoy with your morning cup of coffee.
FREQUENTLY ASKED QUESTIONS
What can I use if I don’t have a round donut or cookie cutter?
The donuts in this easy recipe can also be cut out using the mouth of a glass plus the wider end of a piping tip to cut the inner donut hole.
How do I store these glazed donuts?
This easy donut recipe is best enjoyed fresh, but if you have a few leftover, you can keep them on the counter for a day or in the fridge for up to two days.
Can I freeze baked donuts?
We don’t recommend freezing these baked donuts as the soft, fluffy texture will change.
MORE RECIPES YOU’LL LOVE
Homemade Glazed Donuts
Ingredients
- 2¼ teaspoons instant yeast not active dry yeast
- ¾ cup warm water
- ⅓ cup sugar
- ½ teaspoon salt
- ¼ cup unsalted butter softened
- 1 egg
- 1 egg yolk
- ½ teaspoon vanilla extract
- ½ teaspoon almond extract
- 2½ to 3 cups all-purpose flour
- Vegetable oil for frying
Glaze
- 2 cups powdered sugar
- ¼ cup milk
- 1 teaspoon vanilla extract
- ½ teaspoon butter extract optional
Instructions
- In the bowl of a stand mixer, add yeast and warm water. Let stand for 10 minutes. Add sugar, salt, unsalted butter, egg, egg yolk, vanilla extract, and almond extract. Attach the dough hook and mix on low speed to combine.
- Add 2½ cups flour, half a cup at a time while the stand mixer is on low speed. Knead on low until the dough starts to form. If the dough is still very sticky add more flour, 1 tablespoon at a time, until the dough pulls away from the sides of the bowl. The dough should be somewhat tacky, but not sticky.
- Transfer the dough to a lightly greased bowl and cover it tightly with plastic wrap. Make sure to place the bowl in a draft free, warm spot in your kitchen. Allow to rise for 2 hours.
- Gently press in the middle of the dough to deflate. Wrap the dough in plastic wrap and refrigerate for 6 to 8 hours, or overnight.
- On a lightly floured surface, roll the dough out to about ½ inch thick. Use a round donut cutter or a large round cookie cutter to cut circles out of the dough. Use a smaller round cutter or something about 1 inch across that is round to cut out the center of the donut (donut holes). Place the cut-out donuts and donut holes on a parchment-lined baking sheet. Lightly cover with plastic wrap, and then drape a clean dry towel over the top and allow to rest for 1 hour (no more than 1 hour or the dough will start to get too yeasty).
- In a large Dutch oven filled with 2 to 3 inches of vegetable oil over medium heat, bring the temperature of the oil up to 350°F. Use a thermometer to test the temperature. Having the temperature hotter than 350°F will cook the donuts too quickly and the inside will still be doughy. Carefully place the donuts into the hot oil and allow to cook on each side until golden brown. Work in batches so you don’t overcrowd the pot.
- Carefully remove the cooked donuts and place them on a baking sheet lined with paper towels and a cooling rack. Repeat the steps until all of the donuts have been cooked.
Glaze
- In a separate mixing bowl combine powdered sugar, milk, vanilla extract, and butter extract. Use a whisk to combine until no lumps remain. Carefully lower each slightly cooled donut (one at a time) into the glaze. Gently flip the donut to coat the other side. Return the donuts back to the cooling rack and allow the glaze to set, about 10 minutes.


Leave a Comment