Last updated on
Banana Pudding Pie

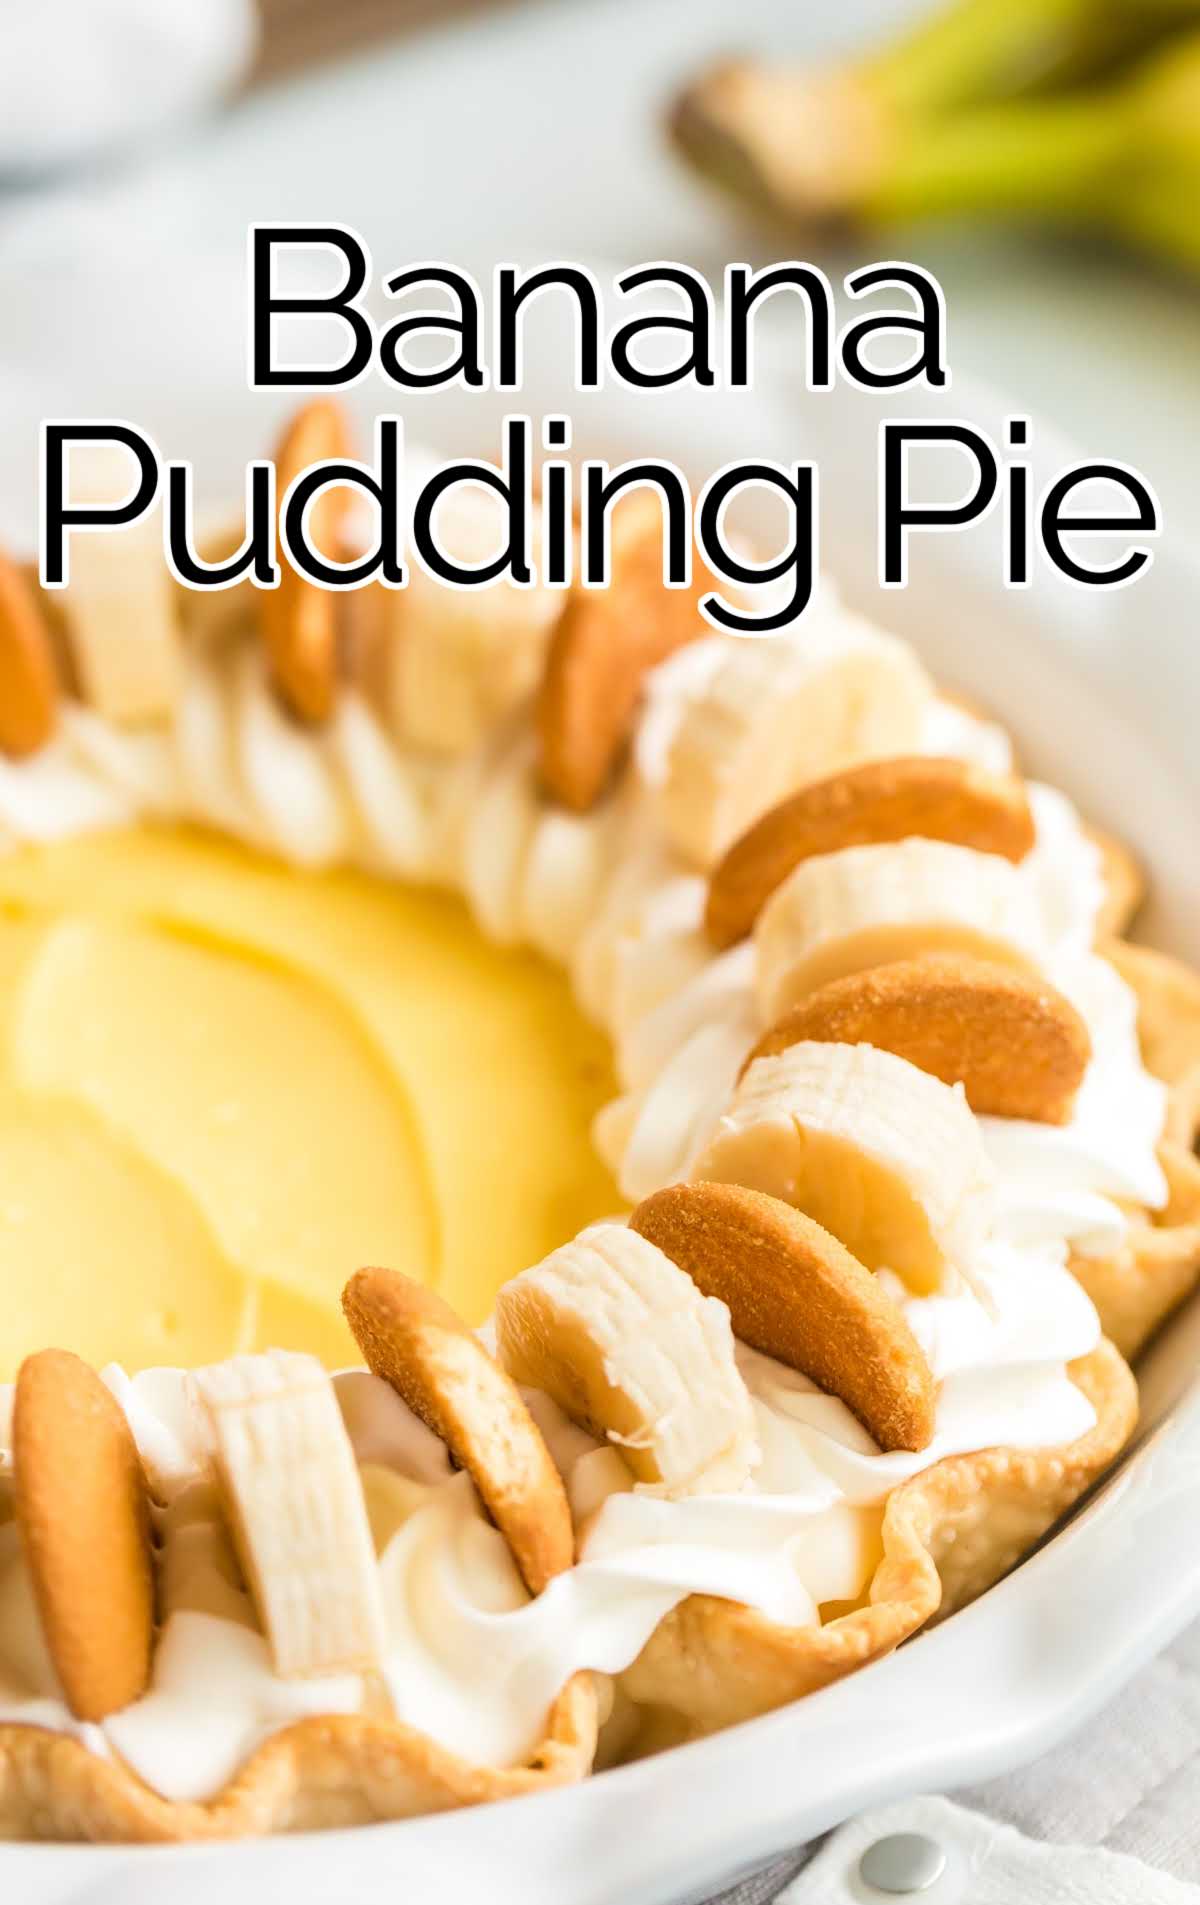
Banana pudding pie is a nearly no-bake dessert that is sweet, cool, and creamy. The classic banana pudding dessert you love, but in an easy pie.
Jump to RecipeTable of Contents
Banana pudding pie is sweet, creamy, and full of banana pudding flavor. This homemade pie made with vanilla pudding, freshly sliced bananas, and Nilla Wafers is the classic dessert you love, but in a pie.
If you love banana pudding you’ll want to make Banana Pudding Cake, Banana Pudding Cookies, and Banana Pudding.
Banana Pudding Pie Ingredients
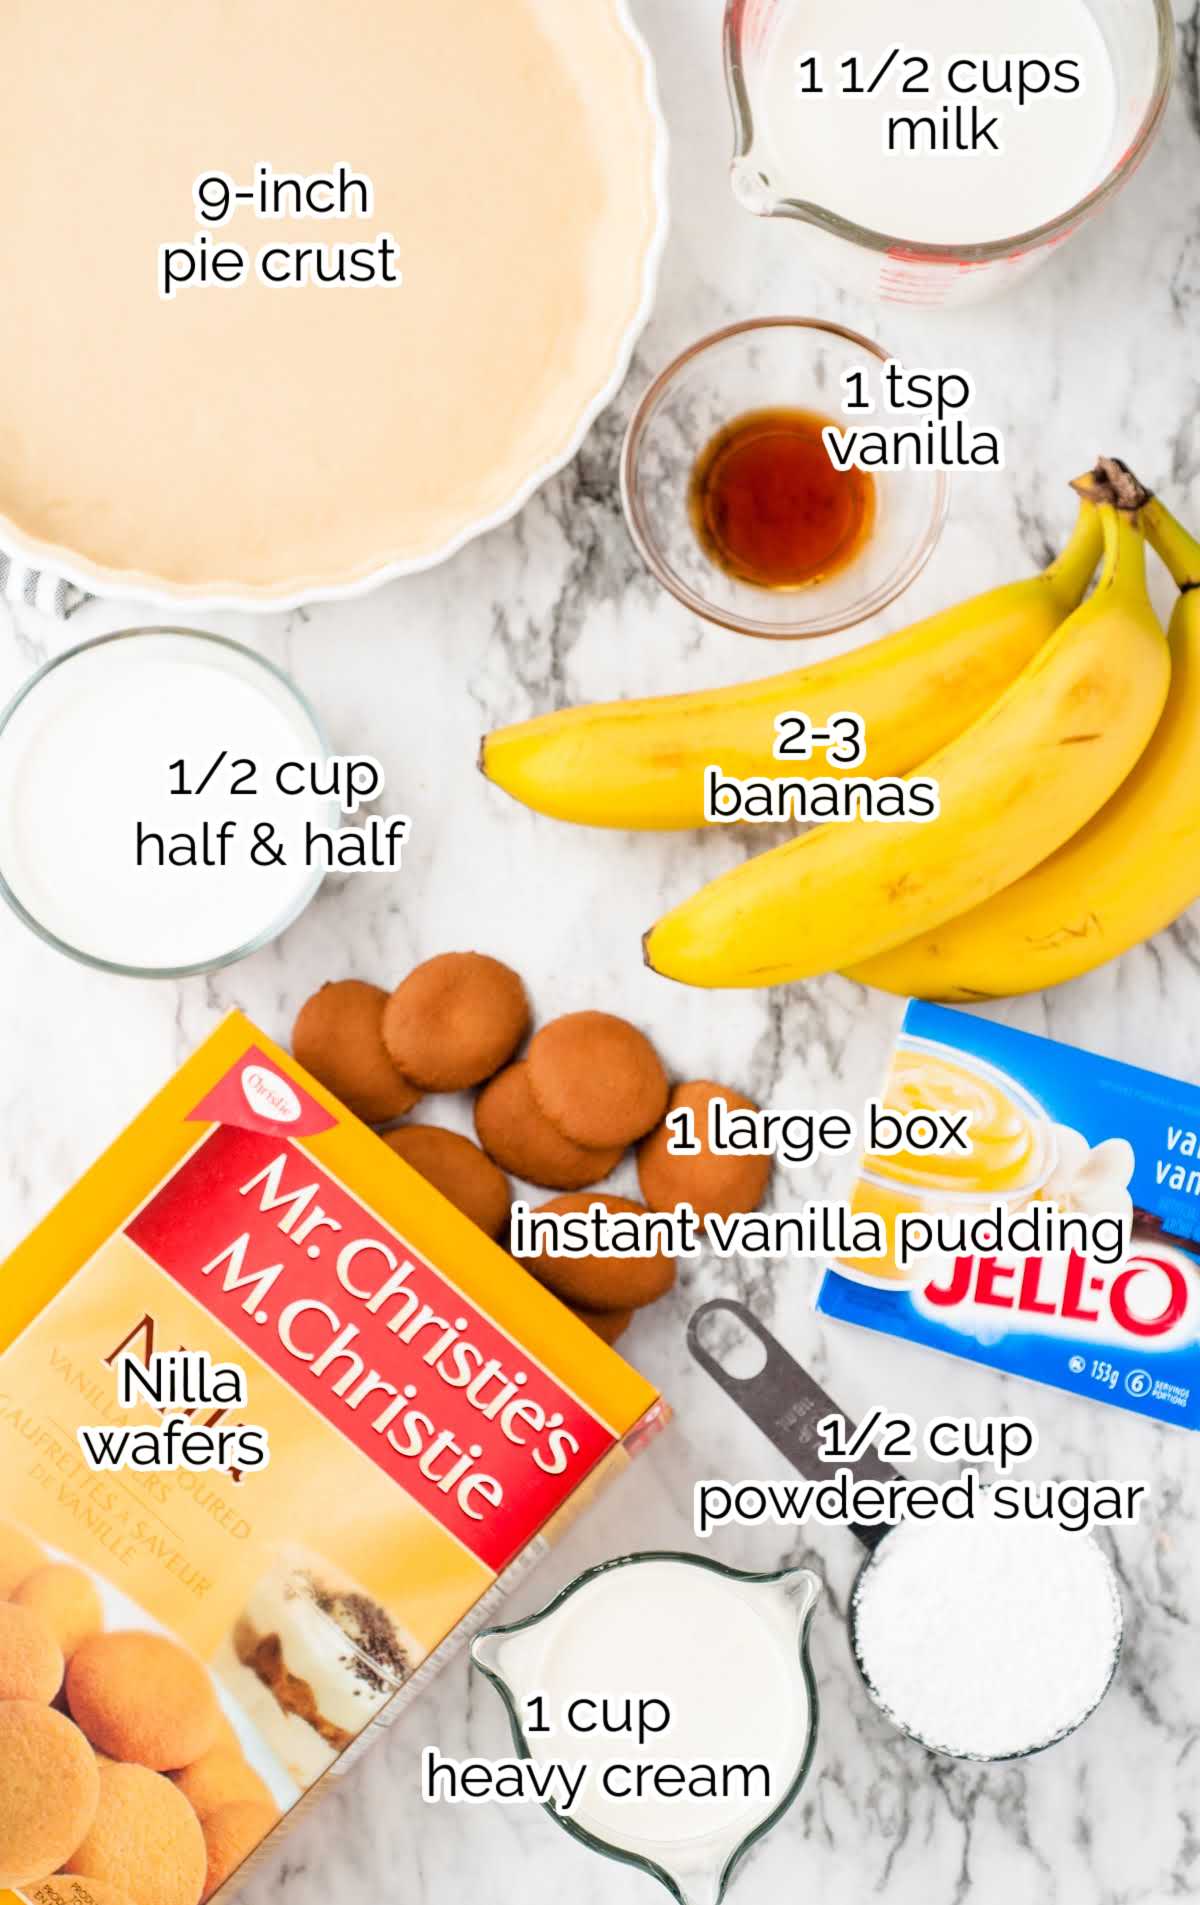
You will need:
- 1 large box instant vanilla pudding mix
- 1½ cups milk
- ½ cup half and half
- 2 to 3 large bananas
- Nilla Wafers
- 1 cup whipped heavy cream
- ½ cup powdered sugar
- 1 teaspoon vanilla
- 1 (9-inch) pie crust
Substitutions and Additions
CRUST: If you like a little more crunch in this classic dessert you can opt for a Nilla wafer crust or a graham cracker crust.
PIE CRUST: You can use a store-bought pie crust or make your own.
BANANA EXTRACT: Swap out the 1 teaspoon of vanilla extract for banana extract to give your pie an even more fruity banana flavor.
How to Make This Banana Pudding Pie Recipe
STEP ONE: Preheat the oven to 450°F.
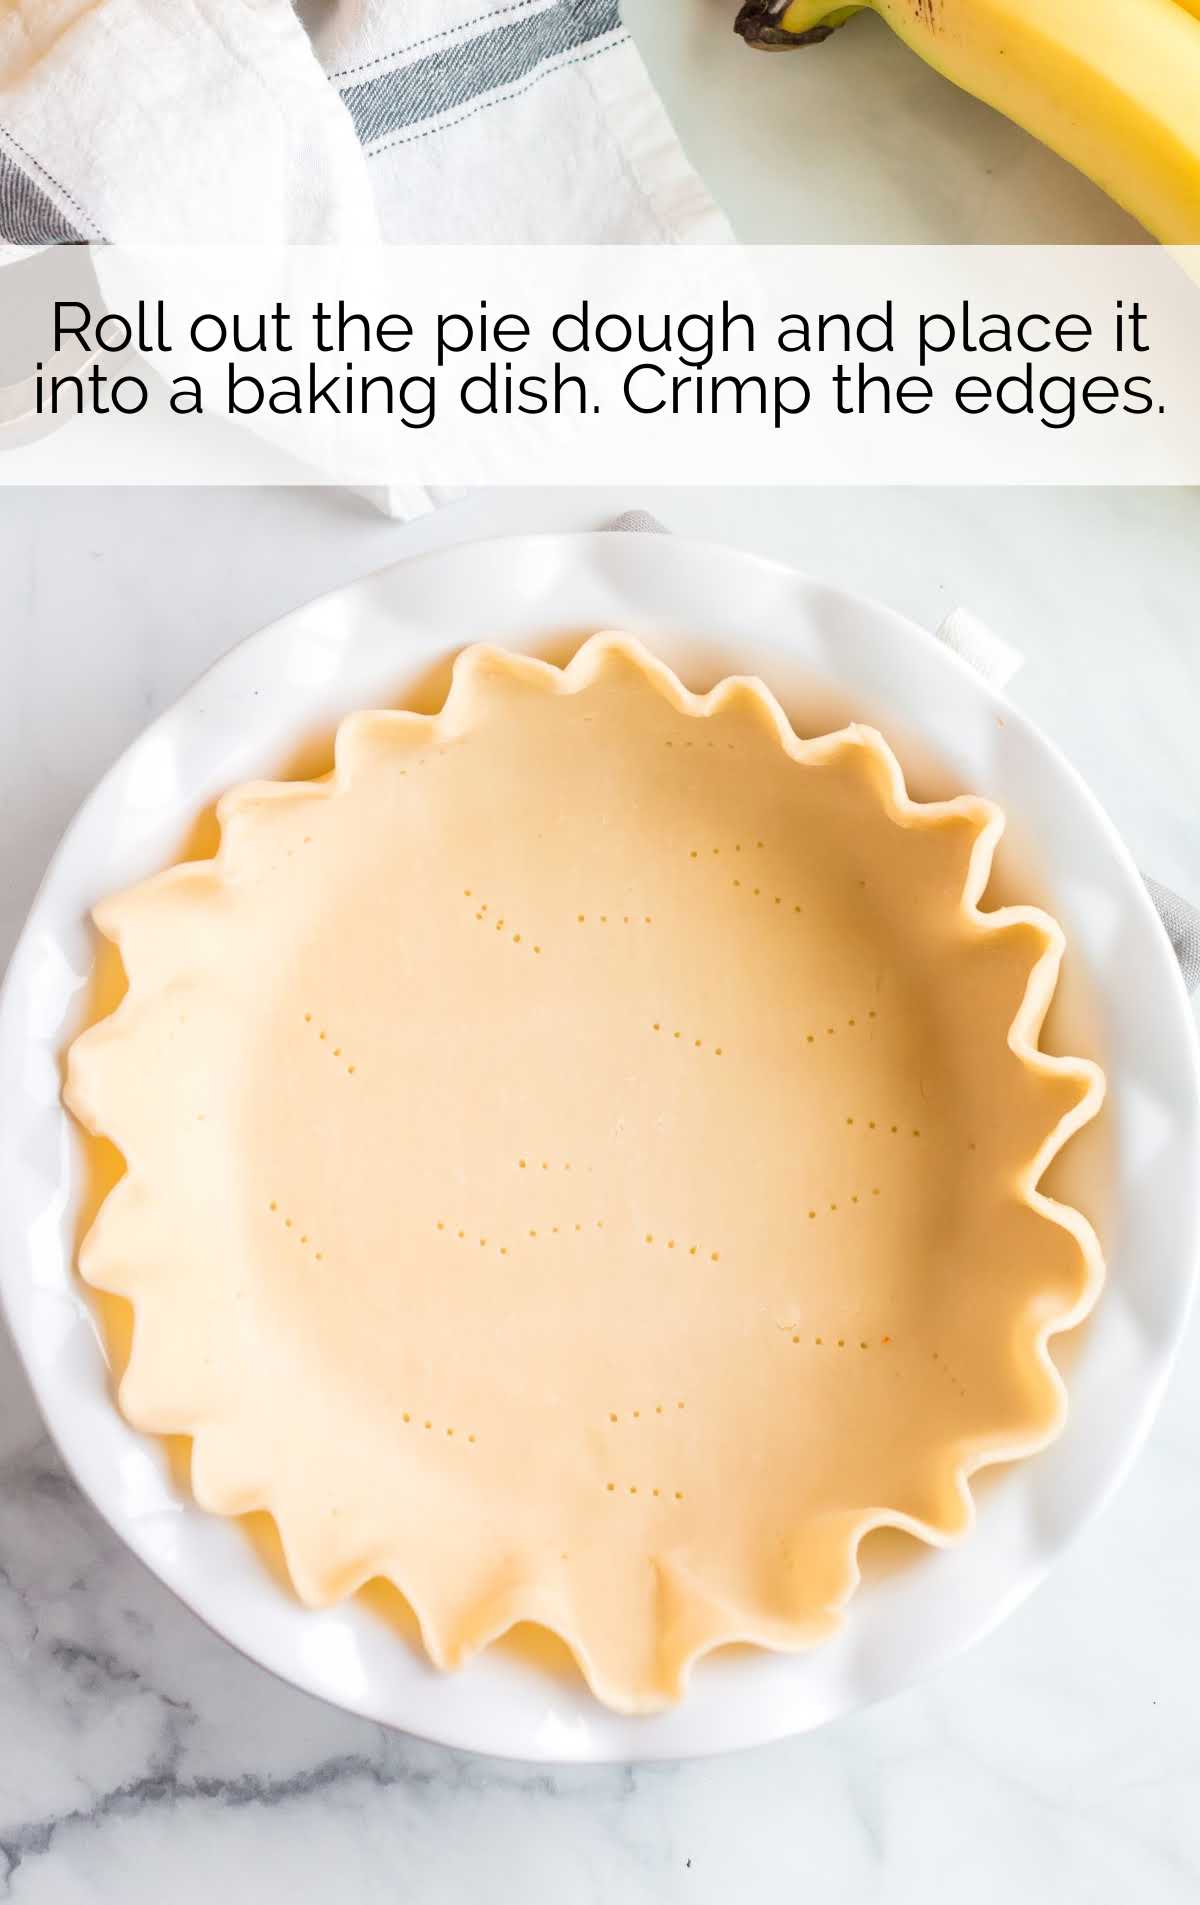
STEP TWO: While the pie dough is still chilled, roll it out and place it into a 9-inch baking dish. Crimp the edges of the pie crust.
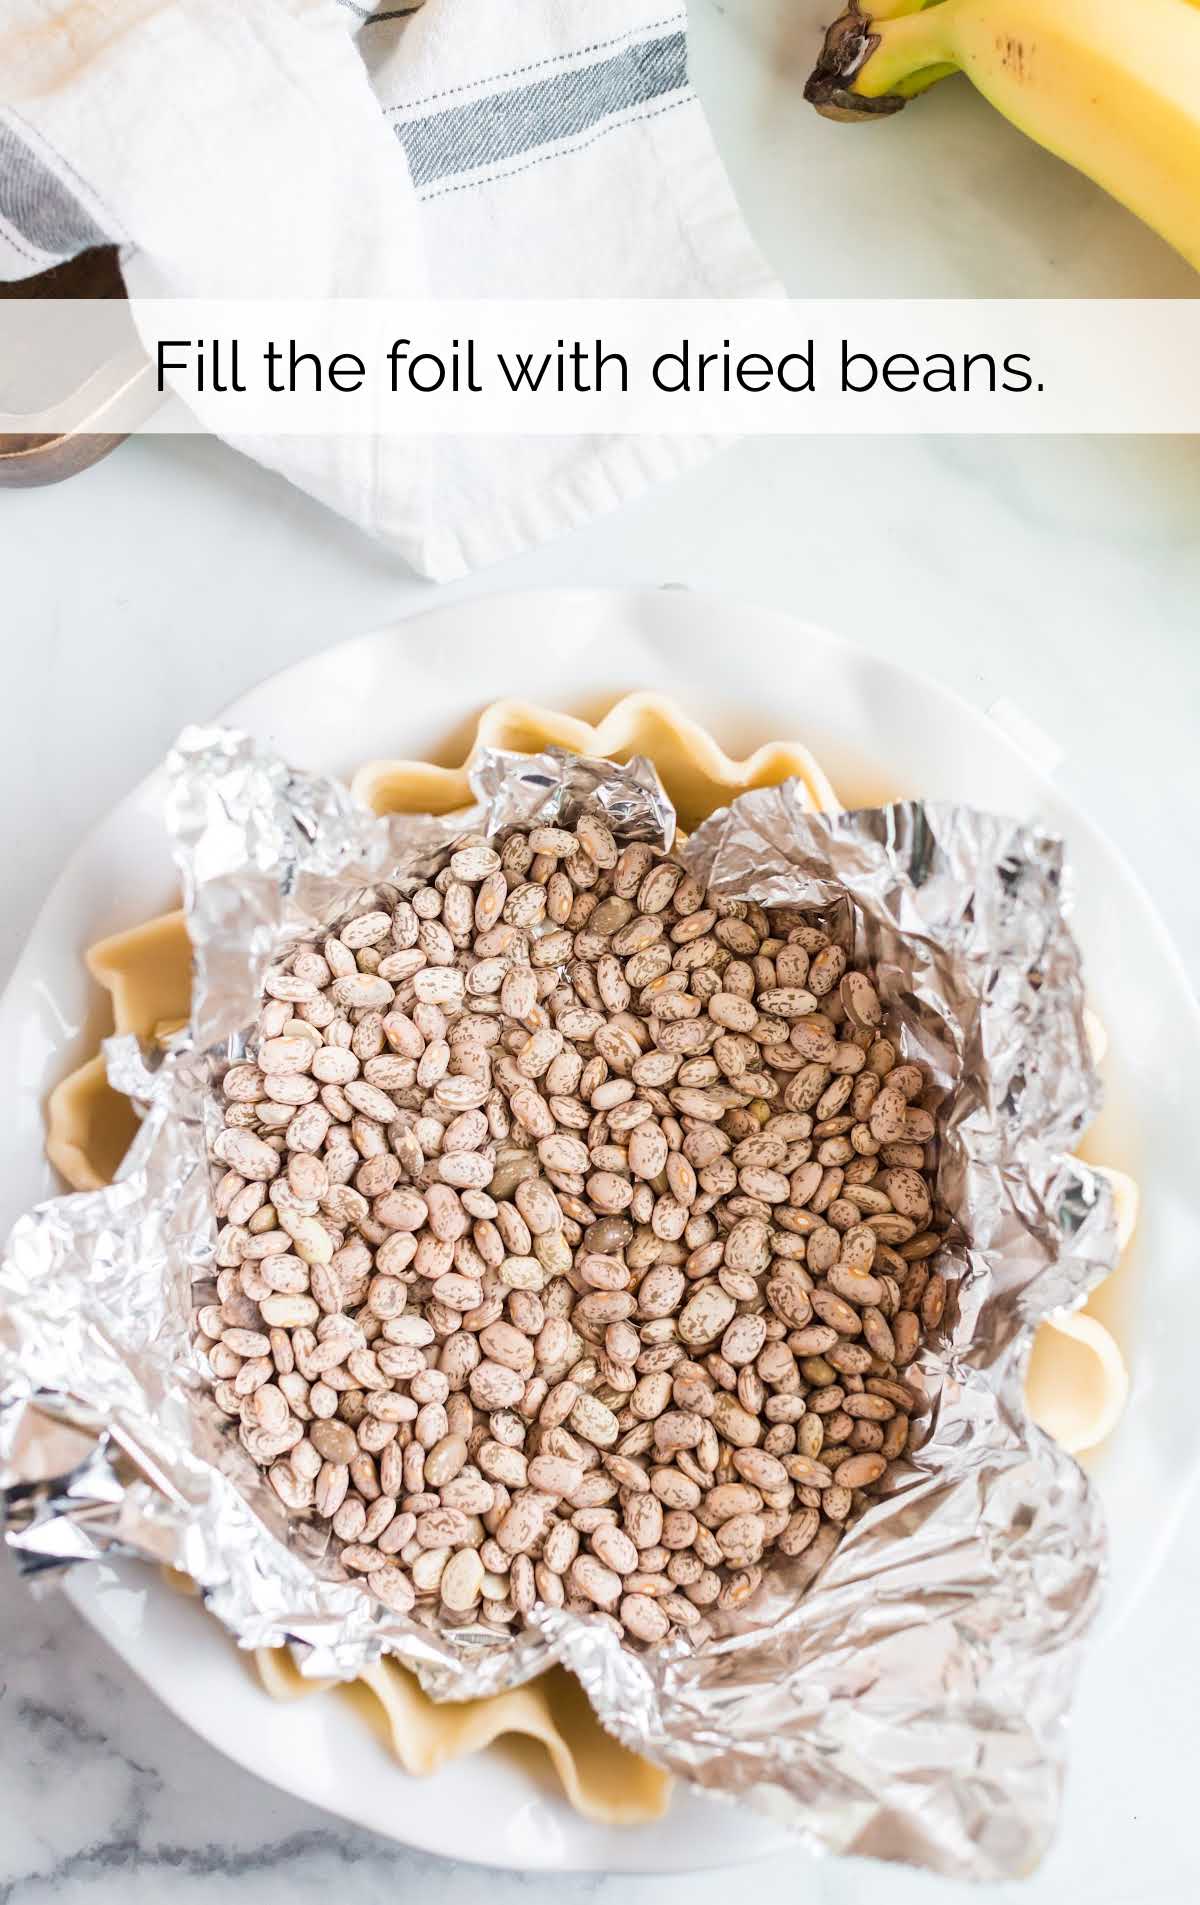
STEP THREE: Gently place a piece of foil down into the pie crust and fill it with dried beans or pie weights.
PRO TIP: Pie weights help keep the pastry from puffing up or losing its shape in the oven. If you don’t have pie weights, dried beans, or uncooked rice, work just as well.
STEP FOUR: Let the crust sit for several minutes on the counter so that it comes to room temperature.
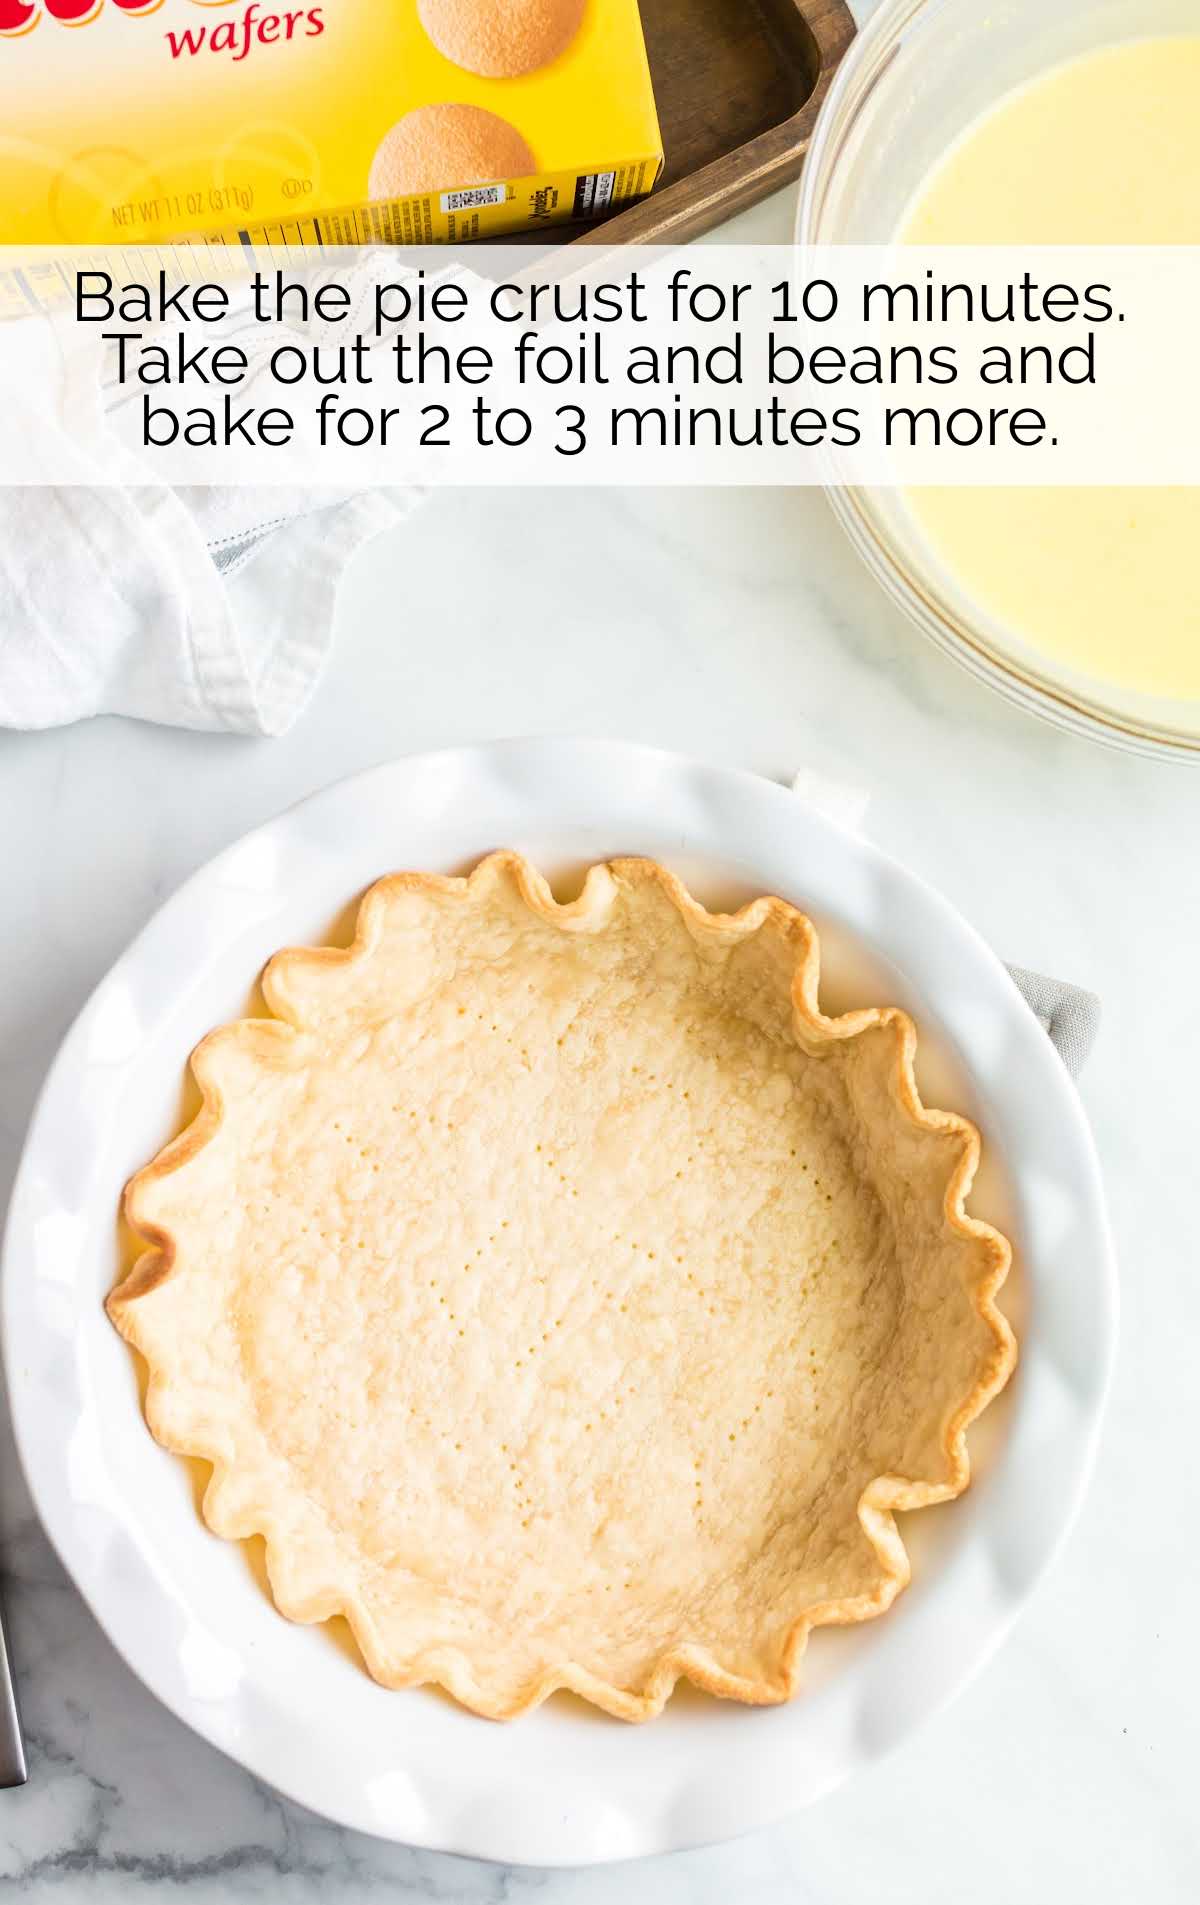
STEP FIVE: Once the oven has preheated, bake the pie crust for 10 minutes. Briefly remove it from the oven, take out the foil and beans or pie weights and then place it back into the oven for 2 to 3 more minutes.
STEP SIX: Remove the pie crust from the oven and let it cool completely before proceeding.
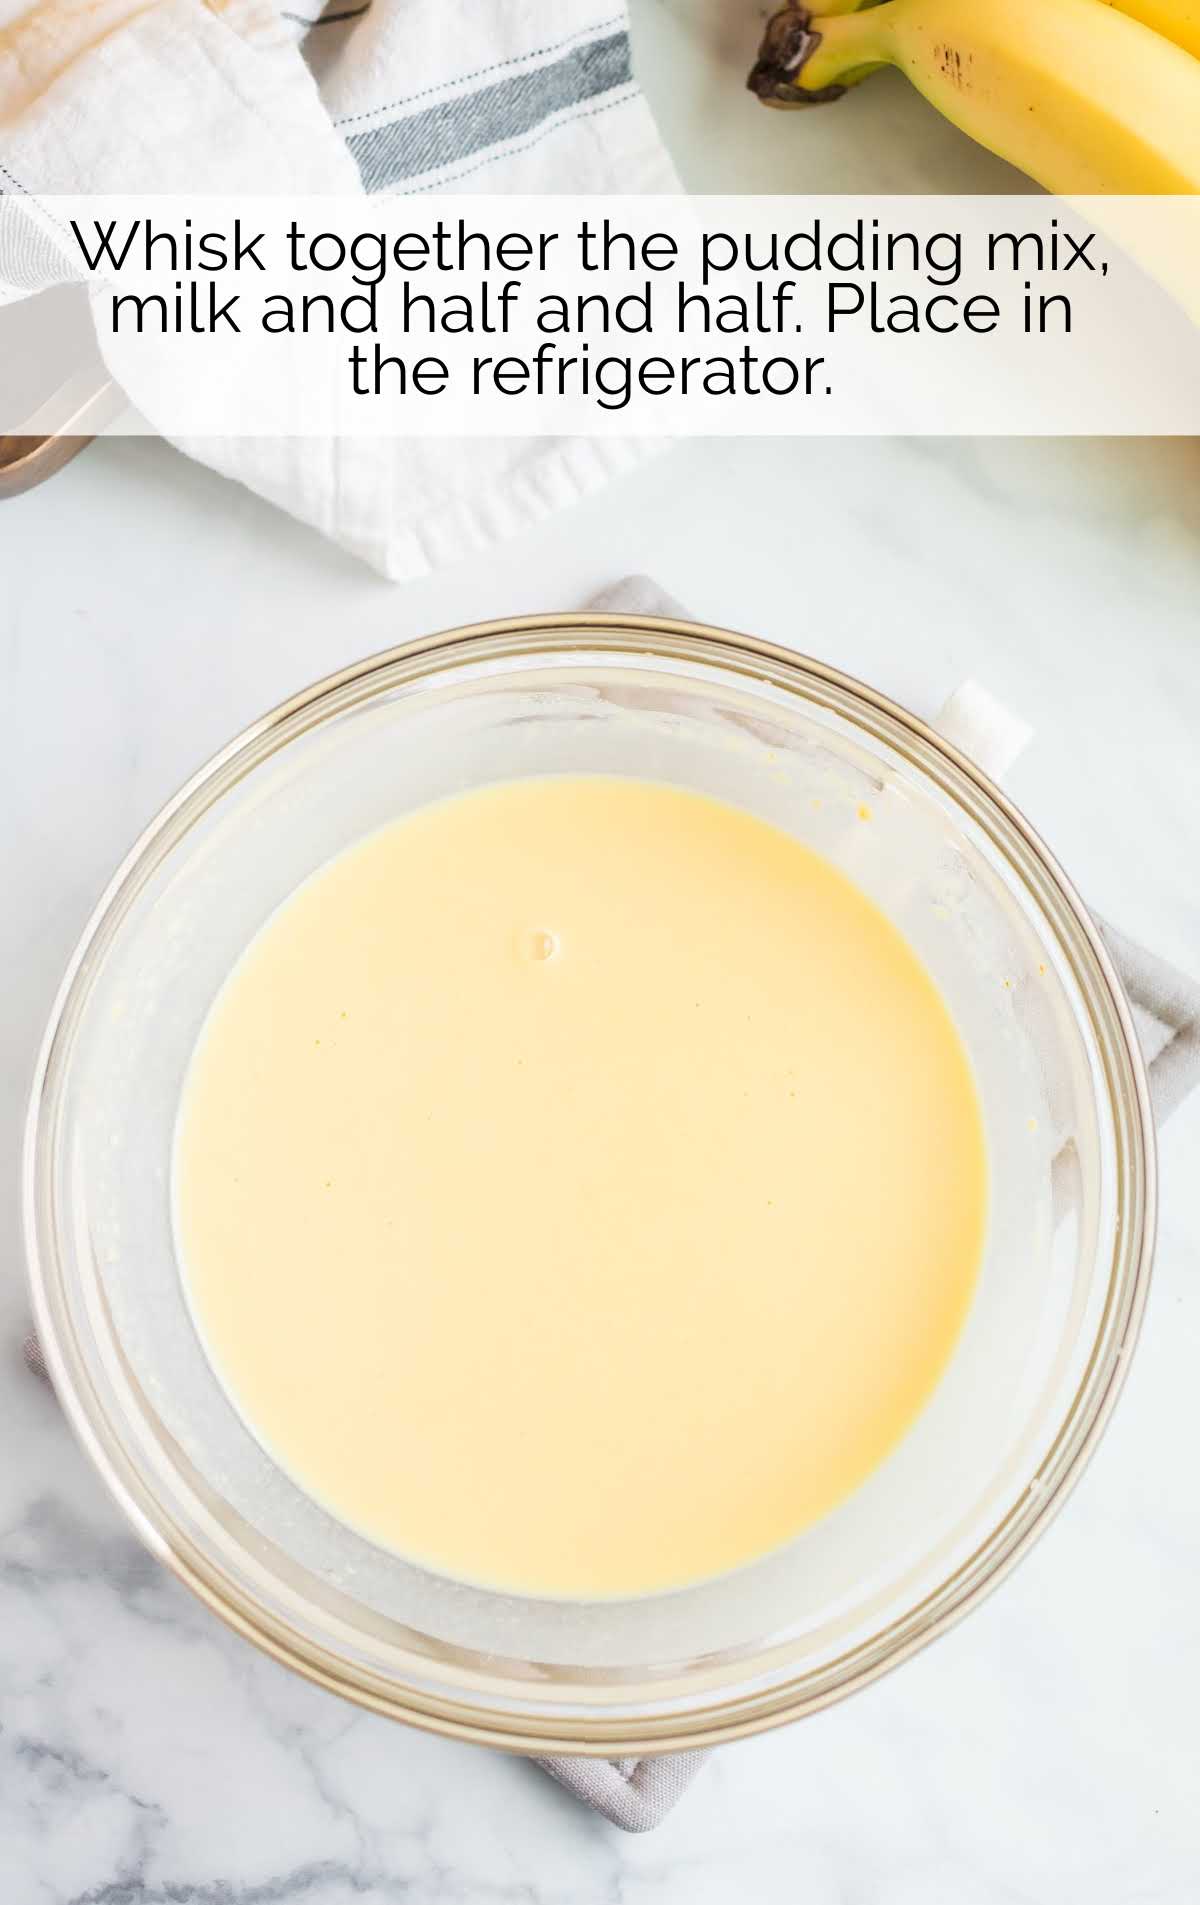
STEP SEVEN: To make the pudding filling, whisk together the pudding mix, milk, and half and half. Place in the refrigerator and chill until ready to use.
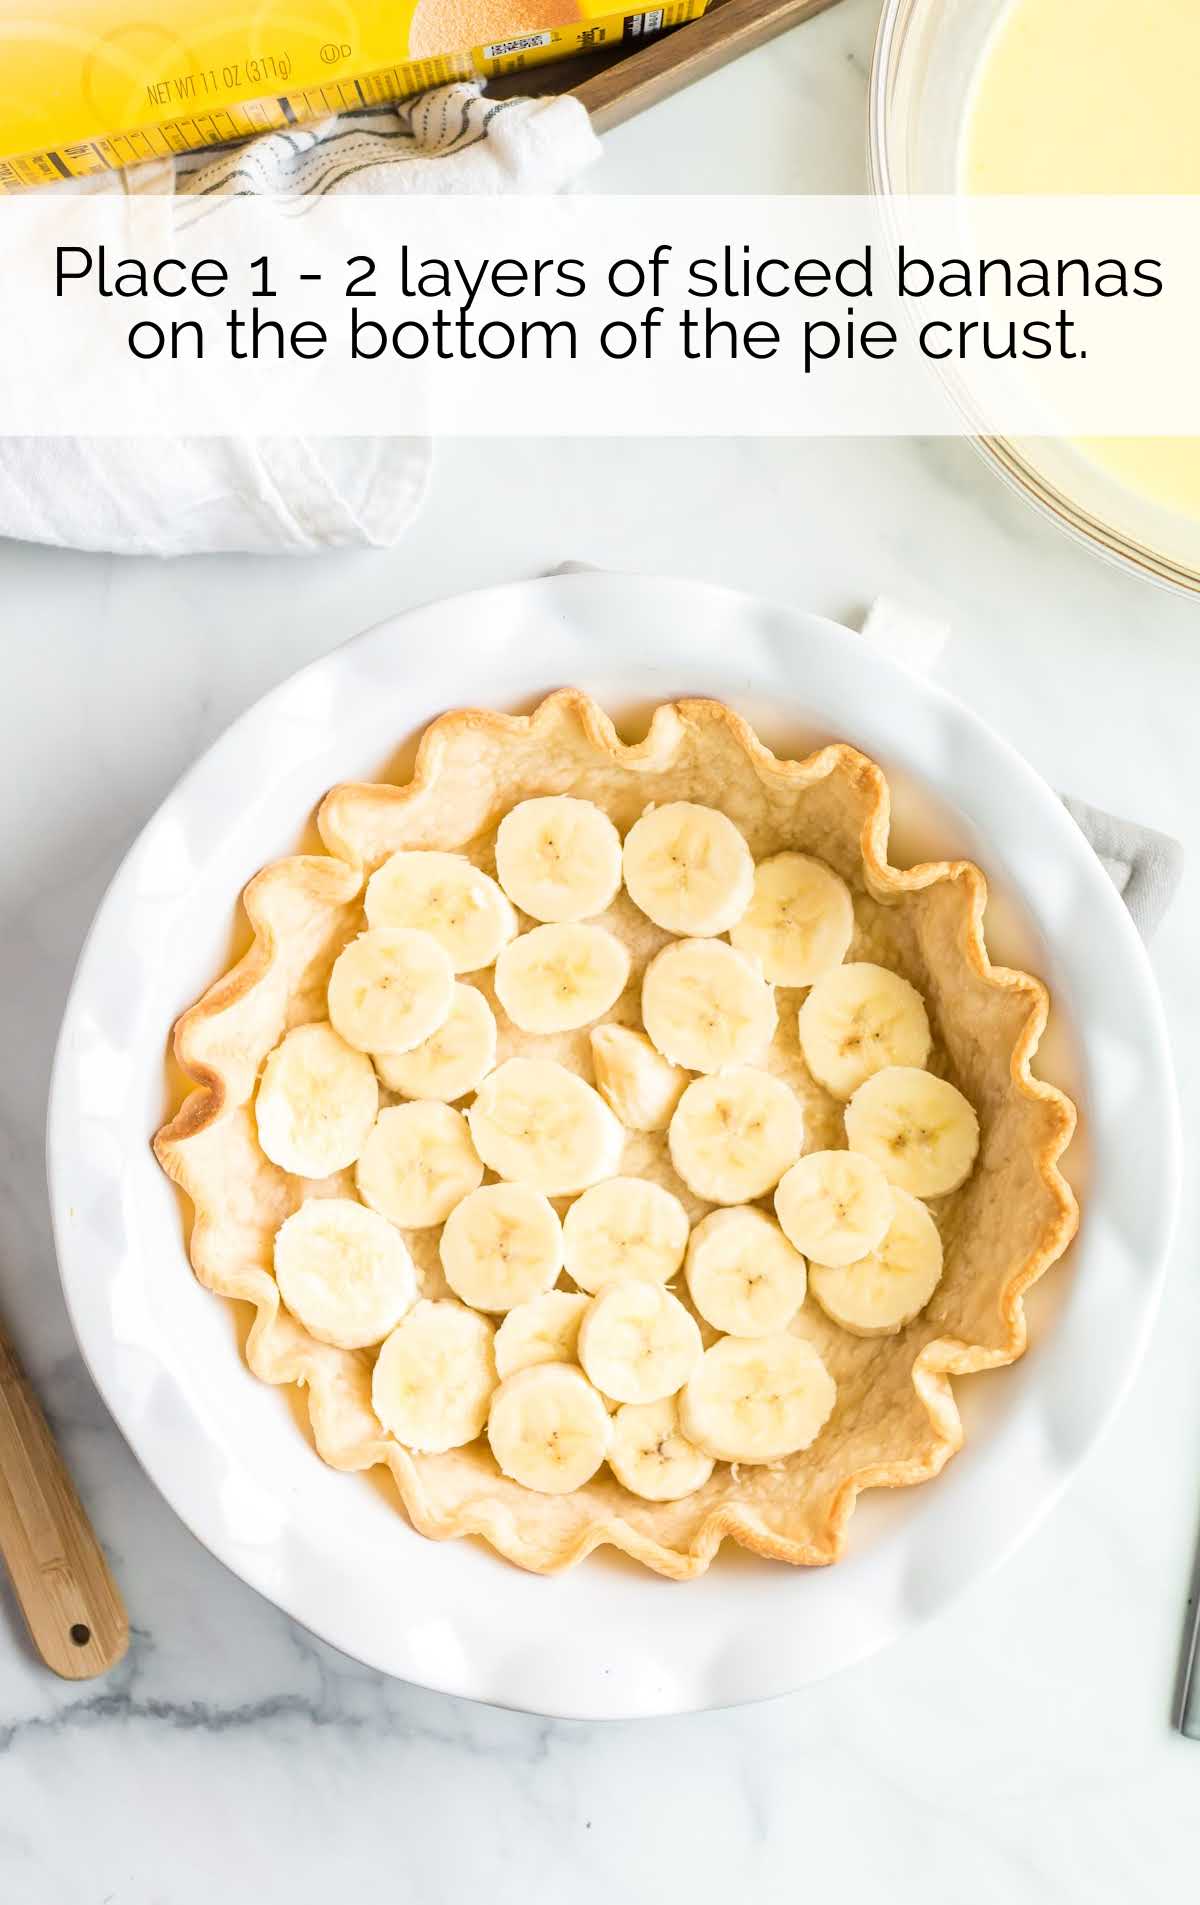
STEP EIGHT: Once the pie crust has cooled completely, place 1 to 2 layers of sliced bananas on the bottom of the pie crust.
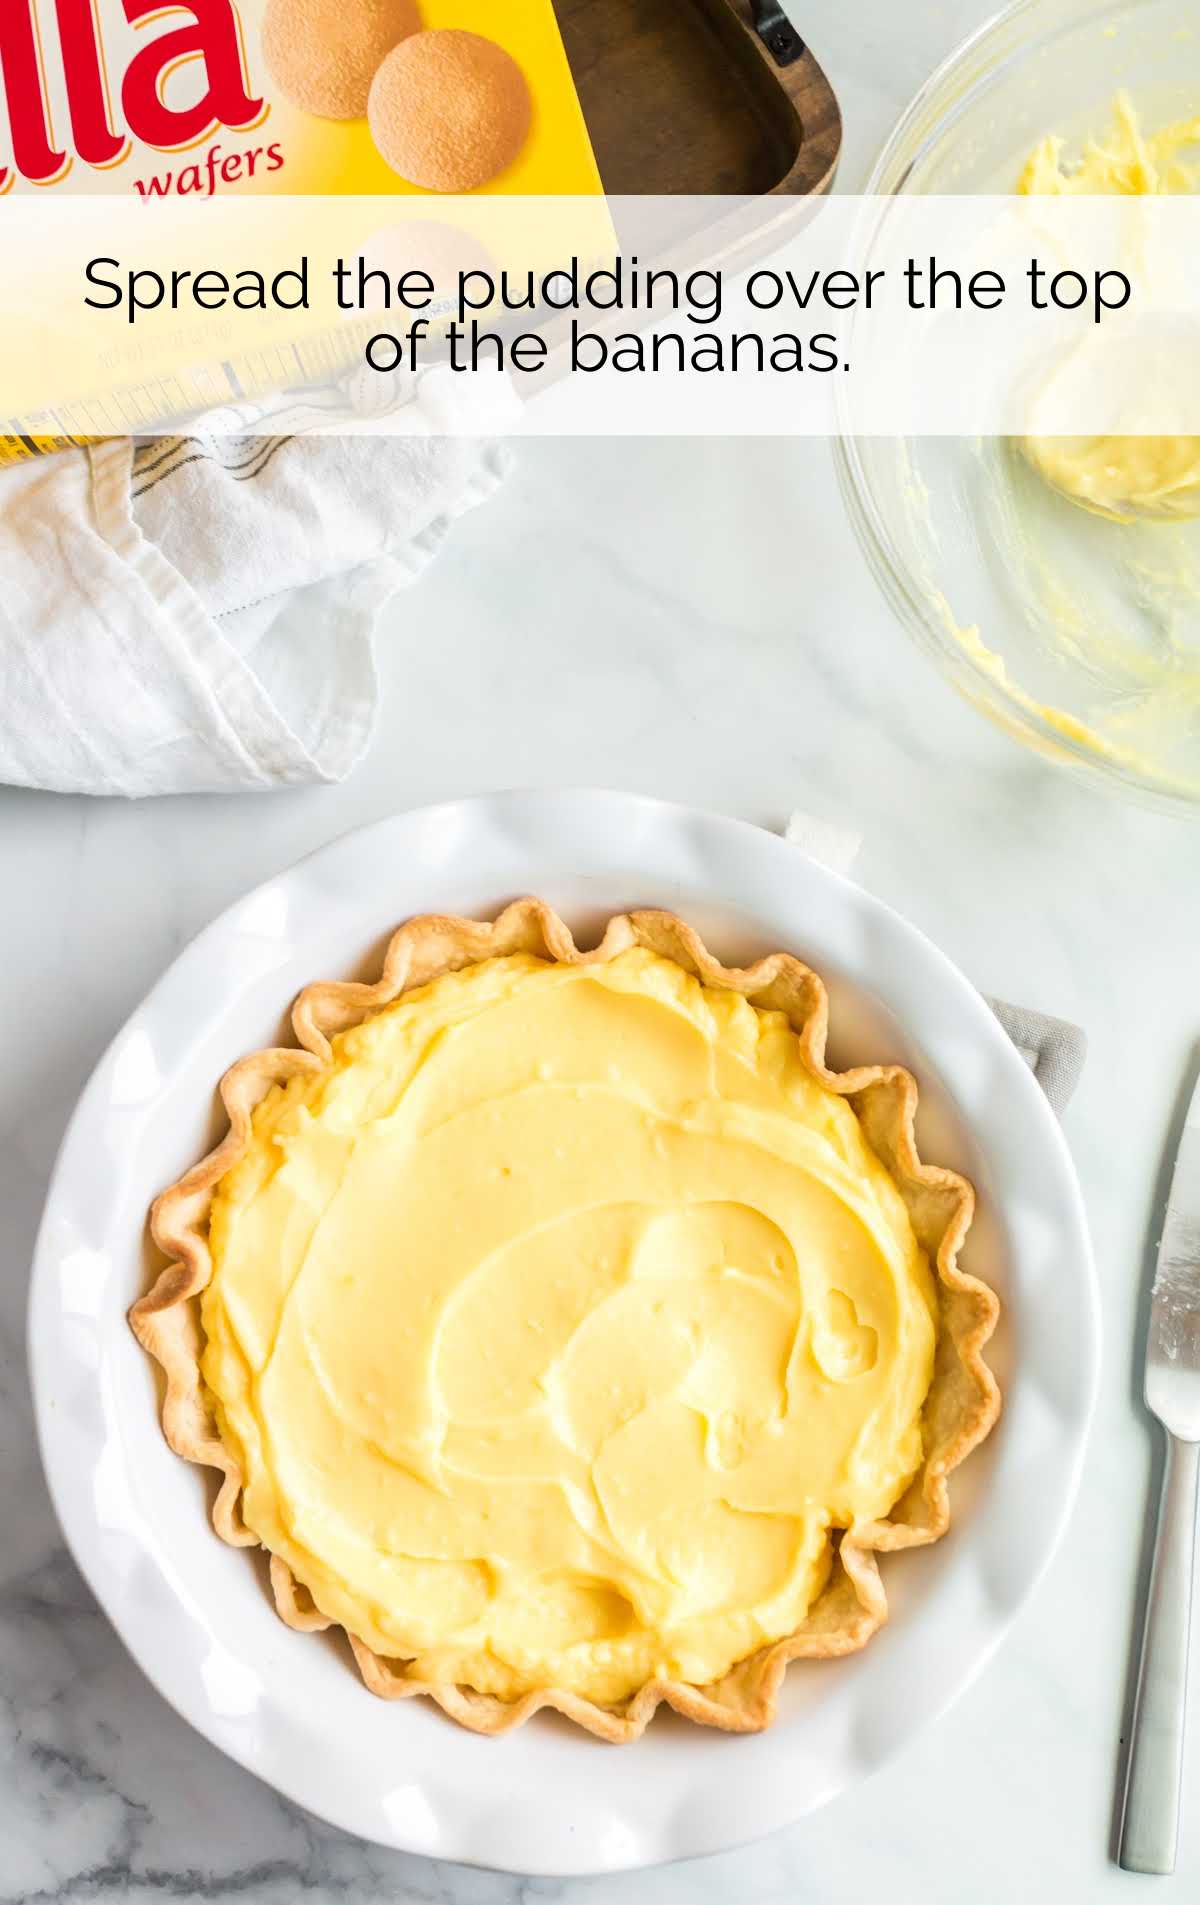
STEP NINE: Spread the chilled pudding filling over the top of the bananas.
STEP TEN: To make the whipped cream, pour whipping cream into the base of a stand mixer fitted with the whisk attachment. Add vanilla and powdered sugar. Mix on low until the powdered sugar is mixed in, then turn to high and whip for 1 minute or until stiff peaks form.
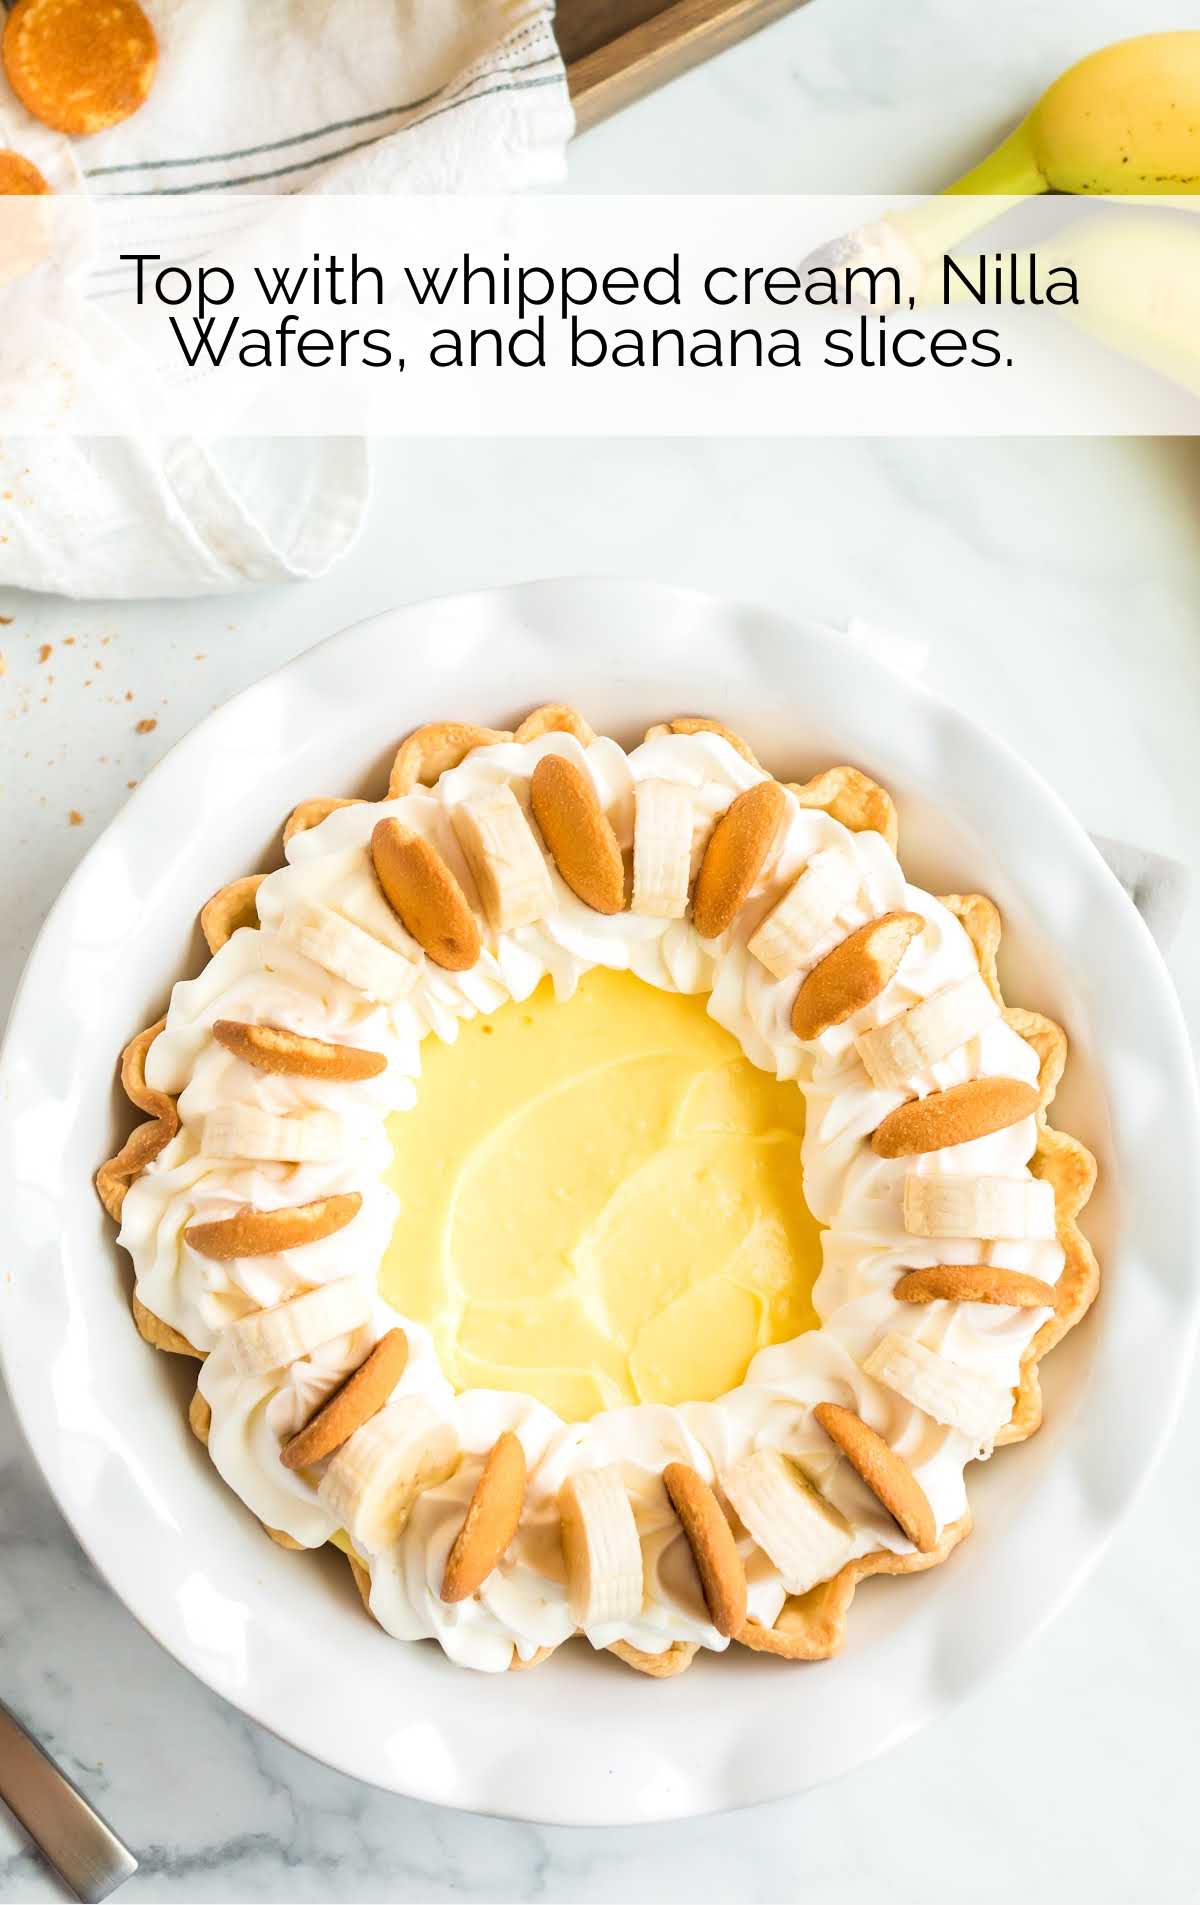
STEP ELEVEN: Place whipped cream in a piping bag and pipe around the edges of the pie. Alternate the top of the whipped cream with Nilla Wafers and banana slices.
PRO TIP: If you’re serving right away, you can fully assemble at once. However, if you’re making it ahead of time, I would suggest waiting to add the whipped cream, bananas, and wafers until you’re going to serve your guests so nothing gets soggy or discolored.
How to Serve
This fluffy banana pudding pie would be a sweet dessert to serve at a summer picnic, potluck, or get-together with friends and family. Serve your pie with a scoop of vanilla ice cream on the side or drizzle caramel sauce over the top of the finished pie for an even more decadent treat. It’s the perfect dessert for a hearty family meal including this delicious classic pot roast.
Storage
IN THE FRIDGE: Store this banana pie in the fridge covered with aluminum foil or plastic wrap for 3 to 4 days.
IN THE FREEZER: You can freeze banana pudding pie for up to a month. If you plan to freeze your pie, leave off the toppings (whipped cream, bananas, and Nilla Wafers) until you’re ready to serve it. This will keep the topping fresh and prevent the cookies from getting soggy.
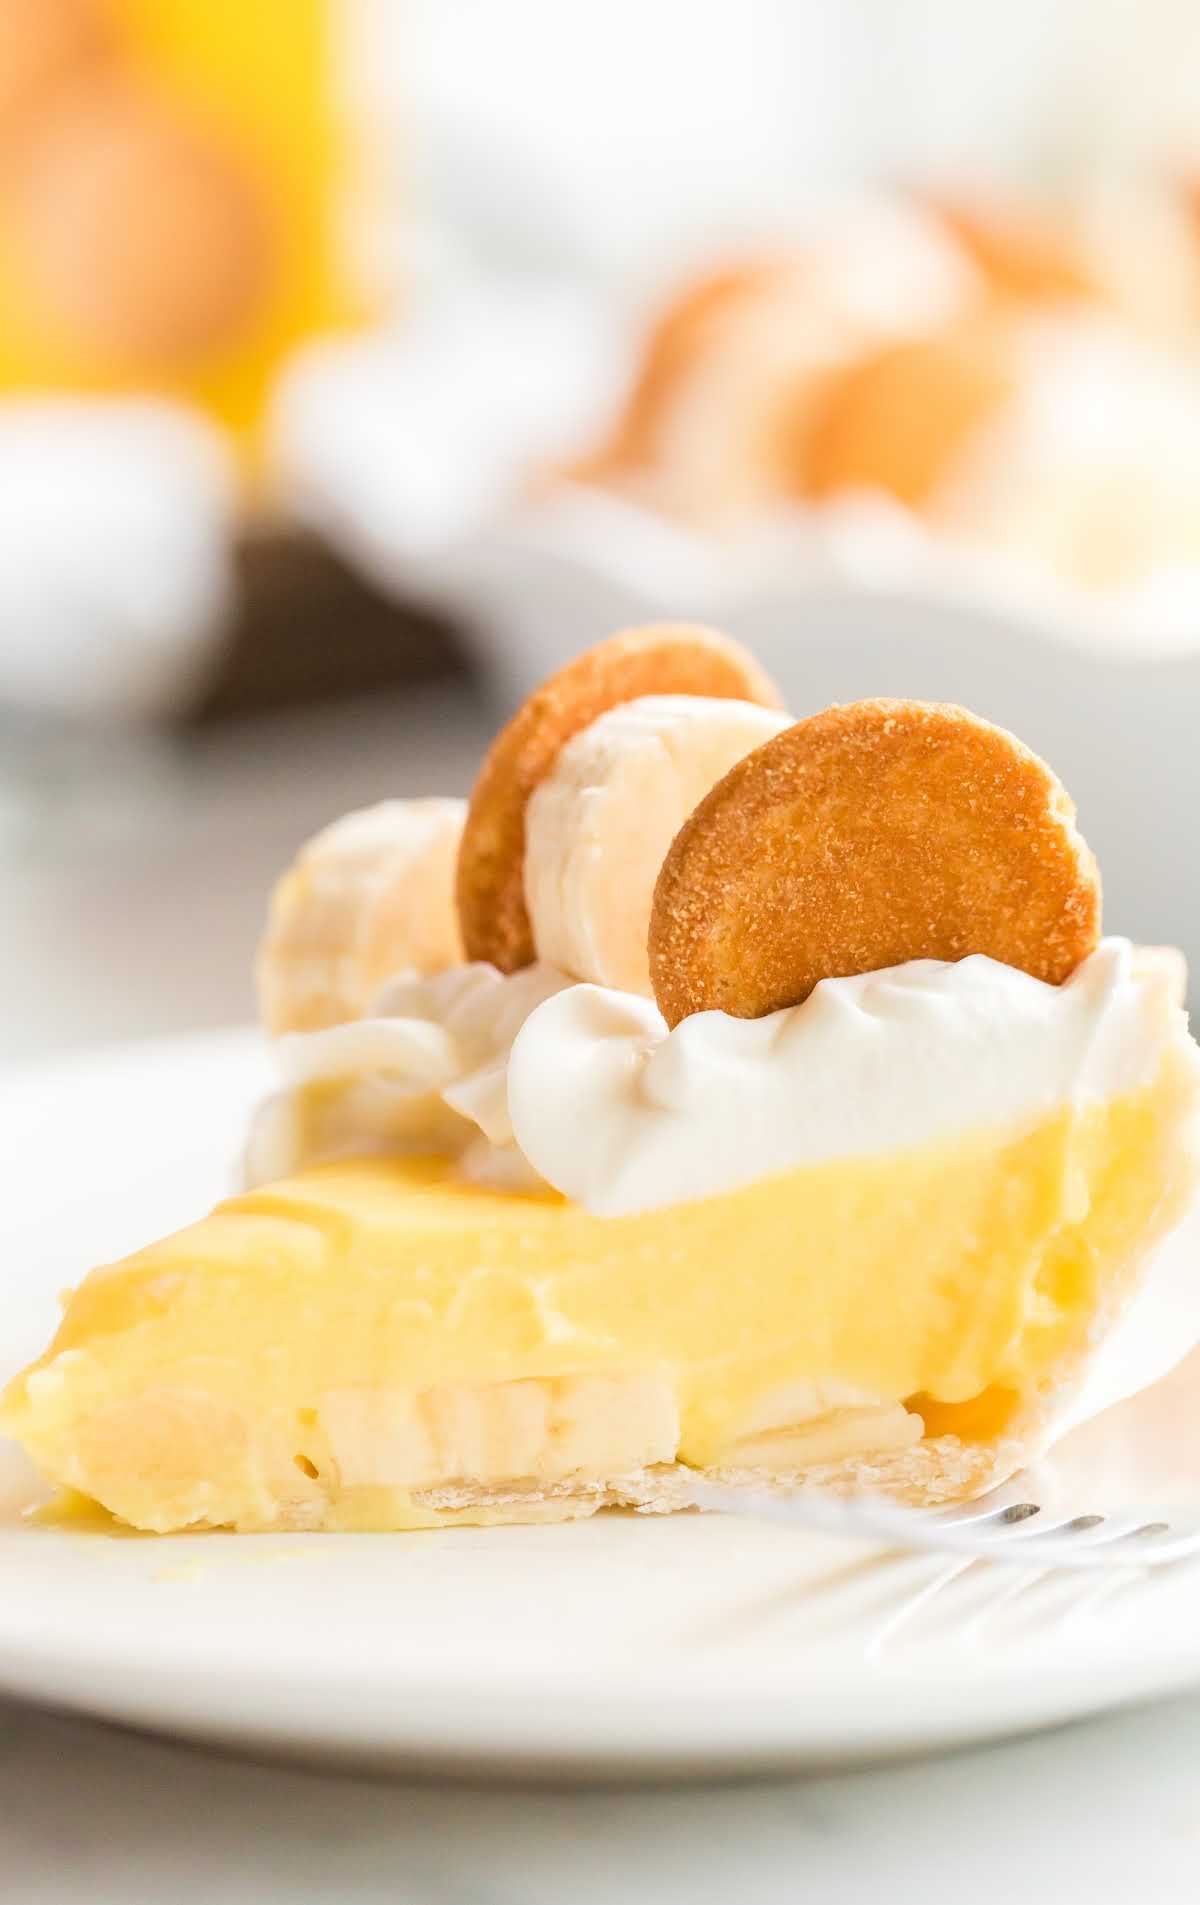
Banana pudding pie is a nearly no-bake dessert that is sure to be a new favorite. This cool pie has a flaky pie crust, topped with creamy pudding, fluffy whipped cream, and fresh banana slices before adding vanilla wafers for a sweet cookie crunch. This pie is the classic banana pudding dessert you love, but in an easy to slice and serve pie.
Frequently Asked Questions
Can I use homemade pudding in this recipe?
If you prefer to use homemade vanilla pudding for this recipe, it would taste just as delicious as the store-bought pudding.
Can I freeze this pie?
This simple recipe can be frozen for up to a month. We’d recommend waiting to add the whipped topping and banana and cookie garnish until you are ready to thaw and serve.
Can I use a store-bought pie crust?
If you want to save some time making this pie, you can use a store-bought pie crust instead of homemade.
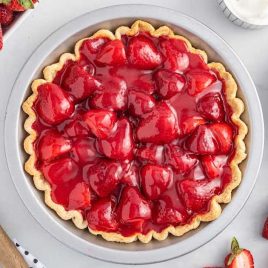
More Recipes You’ll Love


Banana Pudding Pie
Banana pudding pie is a nearly no-bake dessert that is sweet, cool, and creamy. The classic banana pudding dessert you love, but in an easy pie.
Ingredients
- 1 large box instant vanilla pudding mix
- 1½ cups milk
- ½ cup half and half
- 2 to 3 large bananas
- Nilla Wafers
- 1 cup whipped heavy cream
- ½ cup powdered sugar
- 1 teaspoon vanilla
- 9 inches pie crust
Instructions
- Preheat the oven to 450°F.
- While the pie dough is still chilled, roll it out and place it into a 9-inch baking dish. Crimp the edges of the pie crust.
- Gently place a piece of foil down into the pie crust and fill it with dried beans or pie weights.
- Let the crust sit for several minutes on the counter so that it comes to room temperature.
- Once the oven has preheated, bake the pie crust for 10 minutes. Briefly remove it from the oven, take out the foil and beans or pie weights and then place it back into the oven for 2 to 3 more minutes.
- Remove the pie crust from the oven and let it cool completely before proceeding.
- To make the pudding filling, whisk together the pudding mix, milk, and half and half. Place in the refrigerator and chill until ready to use.
- Once the pie crust has cooled completely, place 1 to 2 layers of sliced bananas on the bottom of the pie crust.
- Spread the chilled pudding filling over the top of the bananas.
- To make the whipped cream, pour whipping cream into the base of a stand mixer fitted with the whisk attachment. Add vanilla and powdered sugar. Mix on low until the powdered sugar is mixed in, then turn to high and whip for 1 minute or until stiff peaks form.
- Place whipped cream in a piping bag and pipe around the edges of the pie. Alternate the top of the whipped cream with Nilla Wafers and banana slices.
Notes
- You could opt to use Cool Whip whipped topping instead of making your own whipped cream for this recipe. If you do, you would leave out the whipping cream, powdered sugar, and vanilla from the ingredient list.
- Pie weights help keep the pastry from puffing up or losing its shape in the oven. If you don’t have pie weights, dried beans, or uncooked rice, work just as well.
- If you’re serving right away, you can fully assemble at once. However, if you’re making it ahead of time, I would suggest waiting to add the whipped cream, bananas, and wafers until you’re going to serve your guests so nothing gets soggy or discolored.


Leave a Comment